Free Seller Access
Free seller accounts are limited to basic platform access. To unlock the tools below, an upgrade to a paid plan is required.
- RFP Dashboard
- Fill From Spreadsheet
- Fill From Historical data
- Inventory API
- Contract Dashboard
- Archival of Contracts (including revisions as versions are updated)
- Audit Trails
- Post Instructions Dashboard
- Dedicated Support
Available in free version:
Accessibility to RFP, Contract, and Posting Instructions
All RFPs, Contracts, and Post Instructions are accessible from DOmedia's automated email notifications ONLY.
Free accounts do not have dashboards to store and organize data. Feature access per selling company within the distribution email varies; although the RFP Dashboard button remains visible for all, it does not function as a link if the recipient uses the free version of the platform. Please click the correct link to avoid errors.
How to Respond to RFP
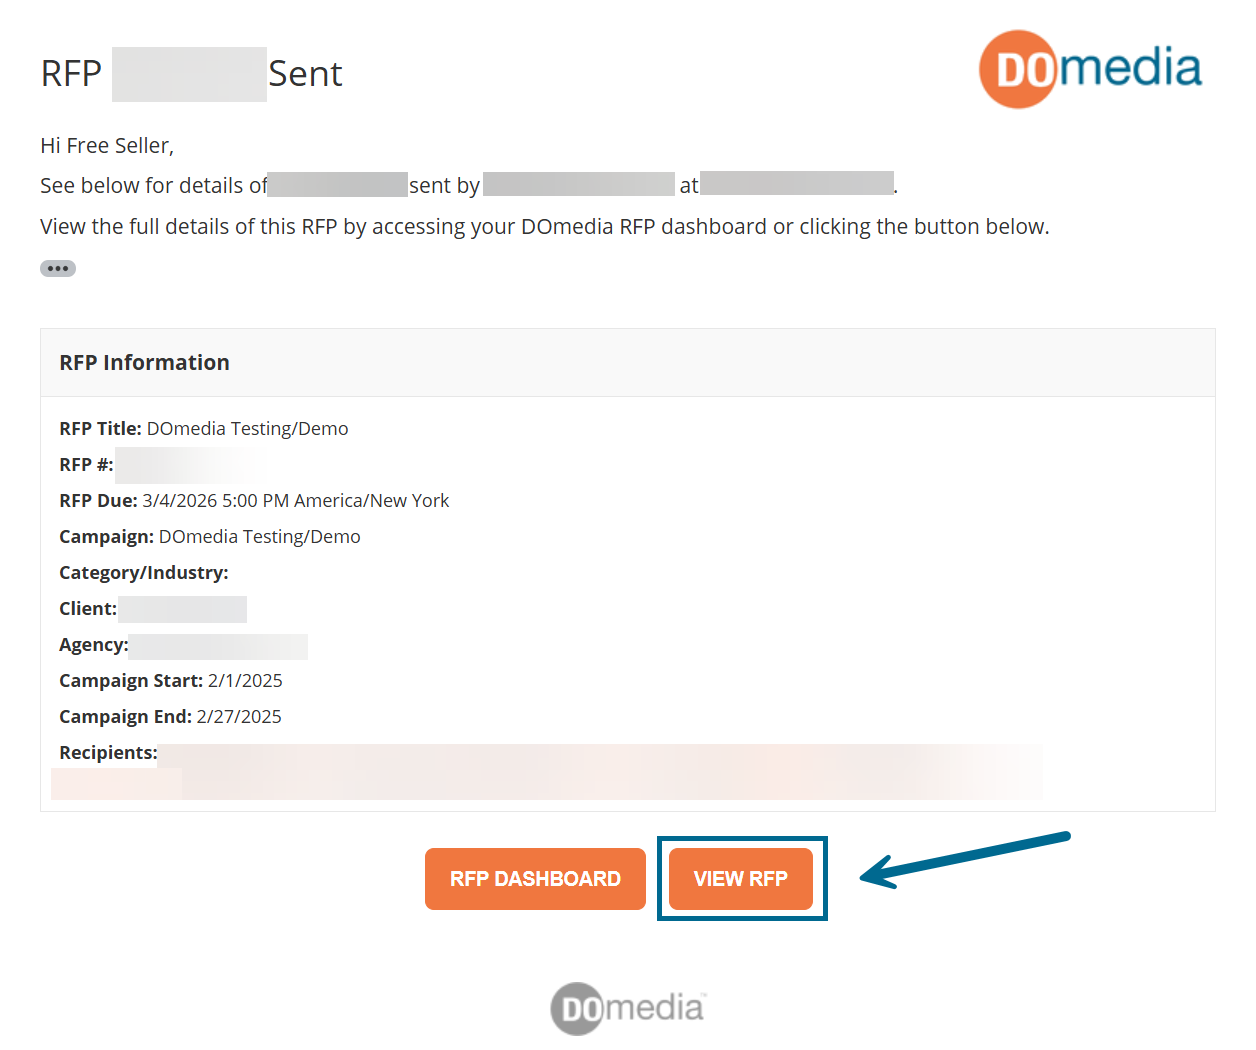
Ensure you are logged into DOmedia, then proceed to the email and click 'View RFP' as shown.
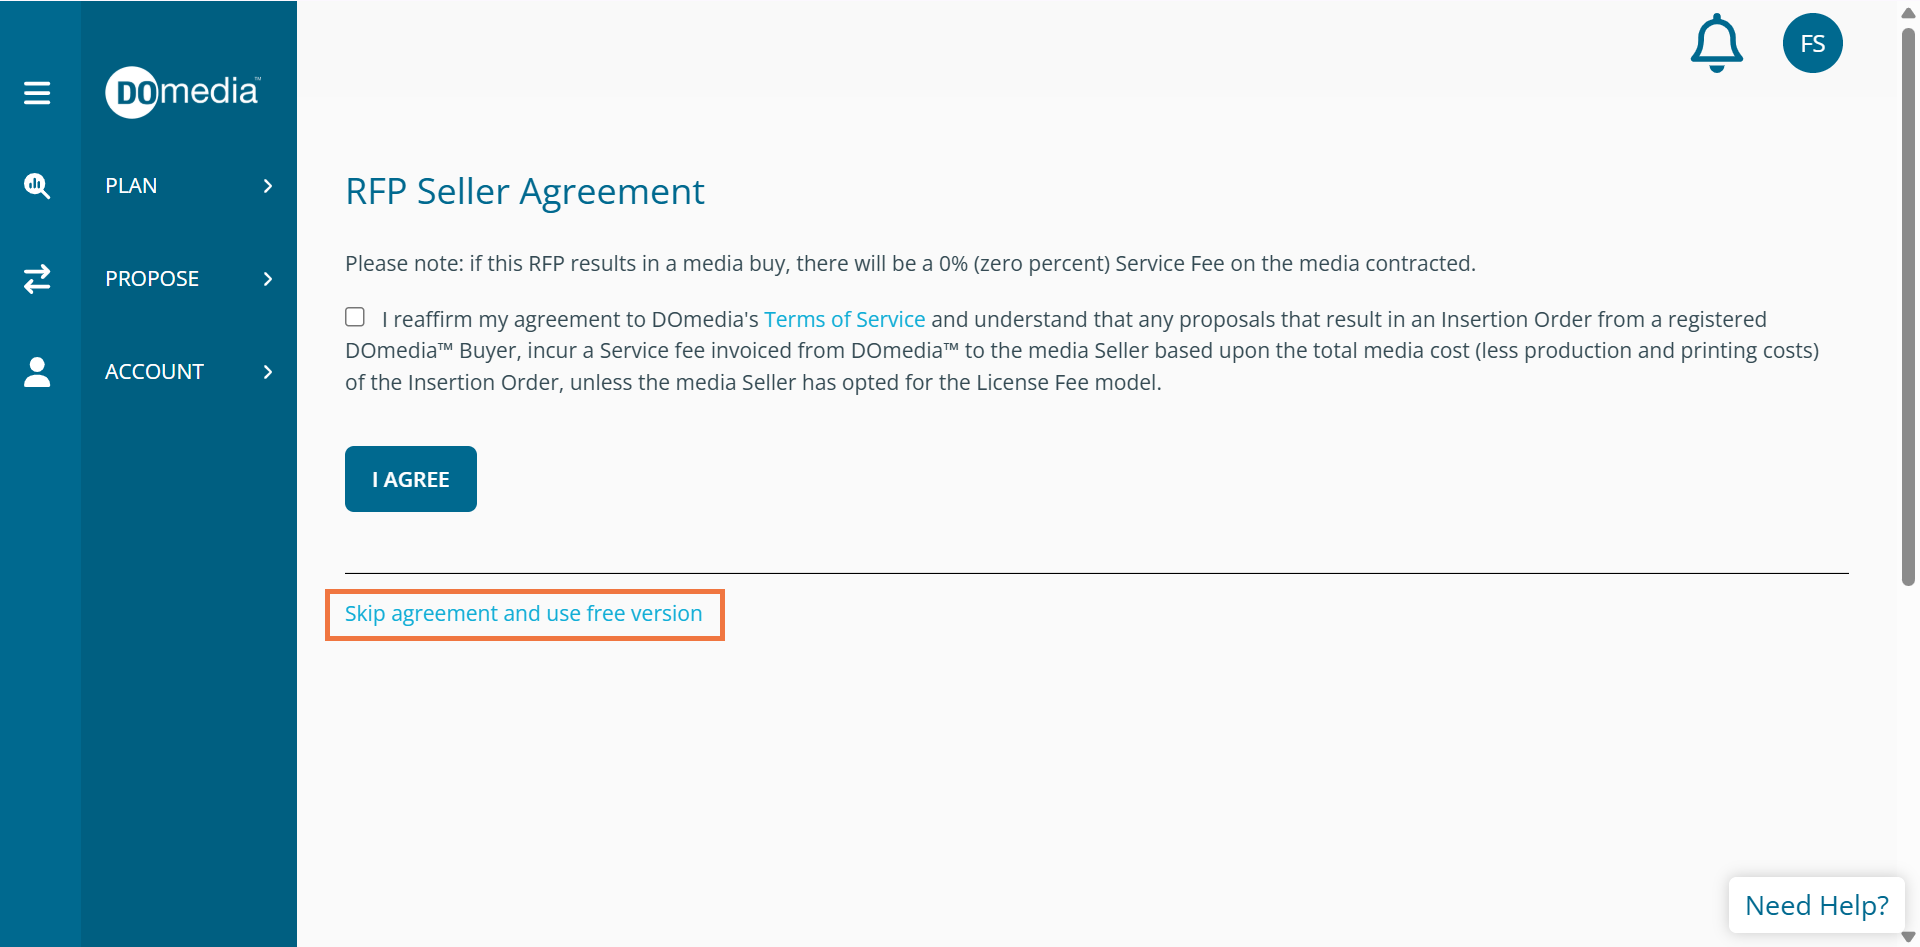
To continue as a Free Seller click Skip agreement and use free version
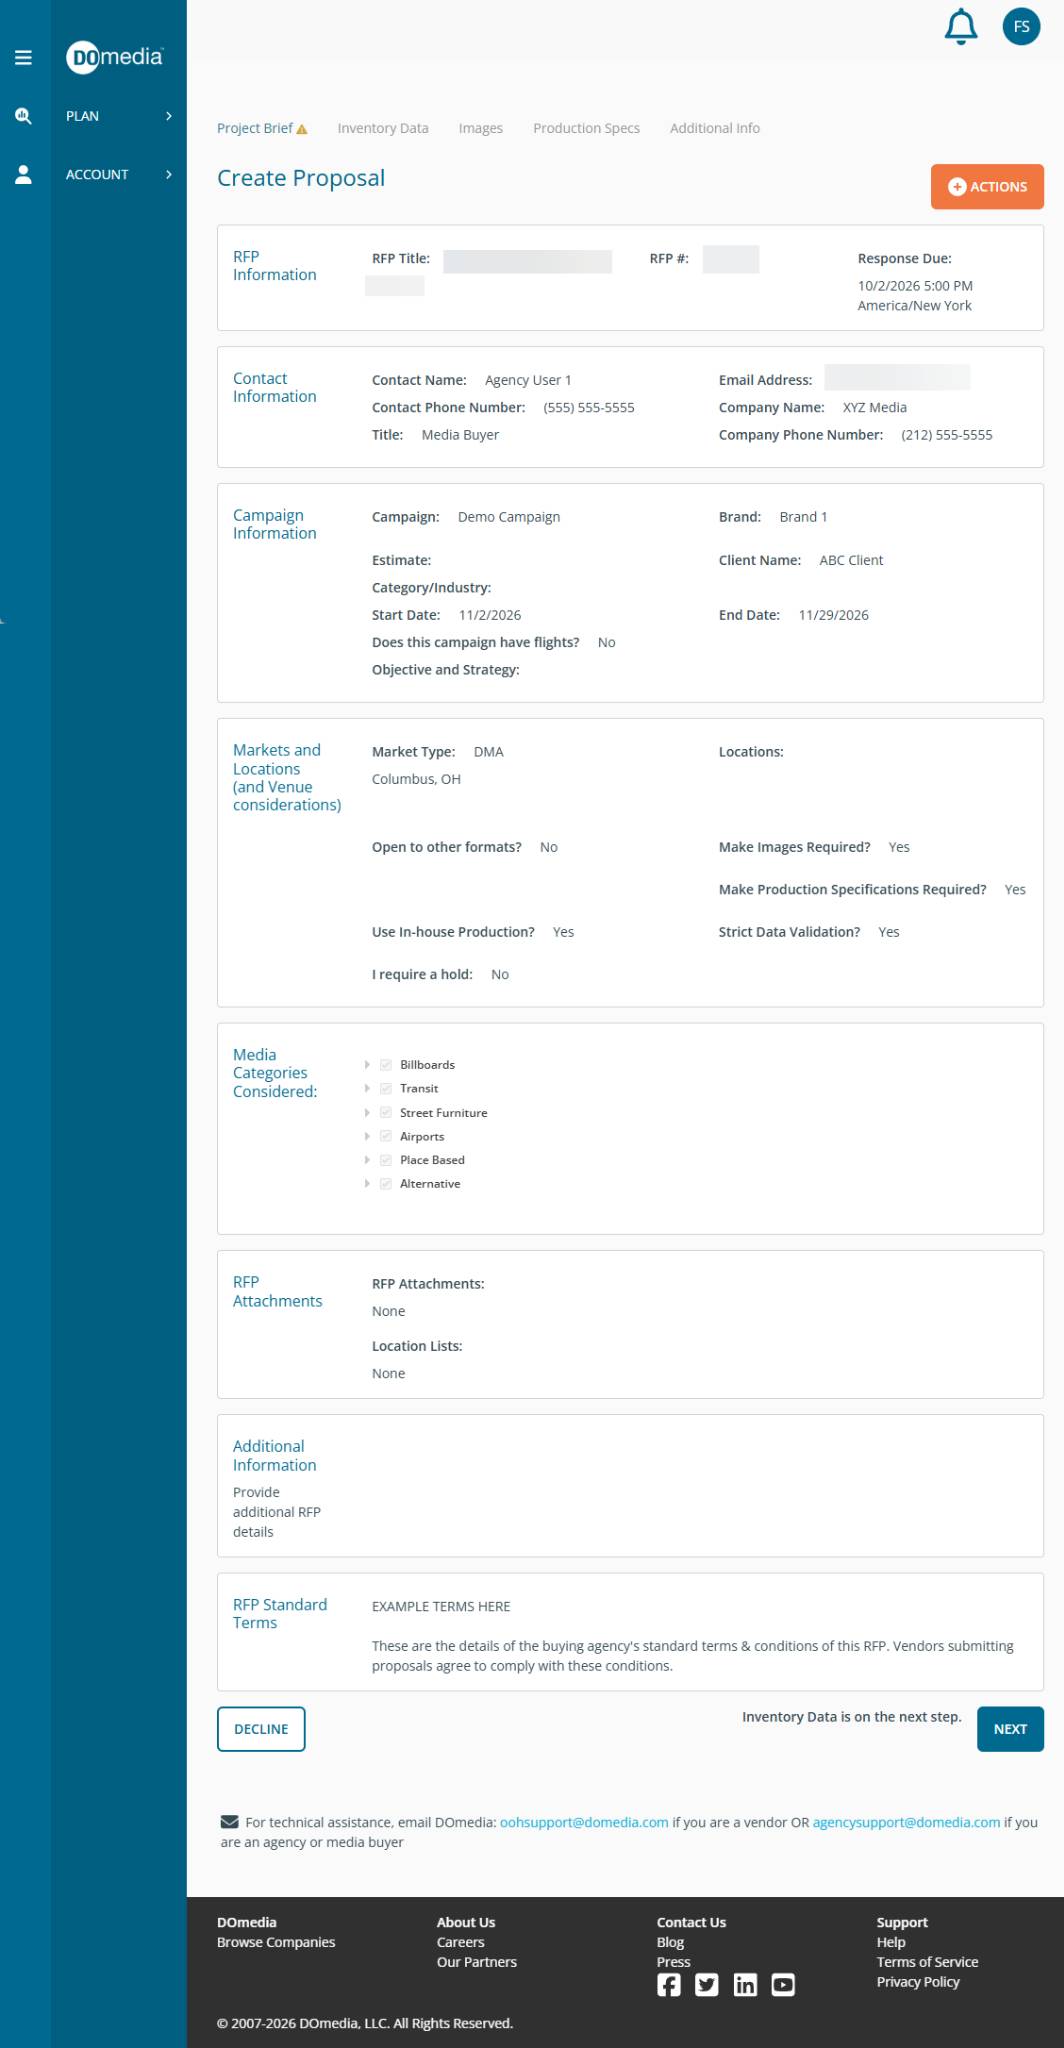
Project Brief Next you will find campaign-level details outlined by the buyer. If you have inventory to propose select 'Next' in the bottom right-hand corner of the page. You may also choose to 'Decline' from the other corner. This will prompt a text field with an option to send a comment to the buyer as an update.
Inventory Data
An explanation of each of these standard columns/fields is available by clicking the 'Field Definitions' link. For more information on how to locate the Field Definitions, click here.
Where do I start?
You can begin by typing values into the first row - this represents your first location or media offering in your proposal. You can enter values directly into the grid or cut and paste them from another spreadsheet. Be sure that your columns match the standard columns - you cannot change or add columns in the grid. Click here to view instructions on editing proposals.
Unable to make edits to the grid? Check the Seller/Buyer Editable setting. Notes on this are also explained later in this article, above the contracting section.
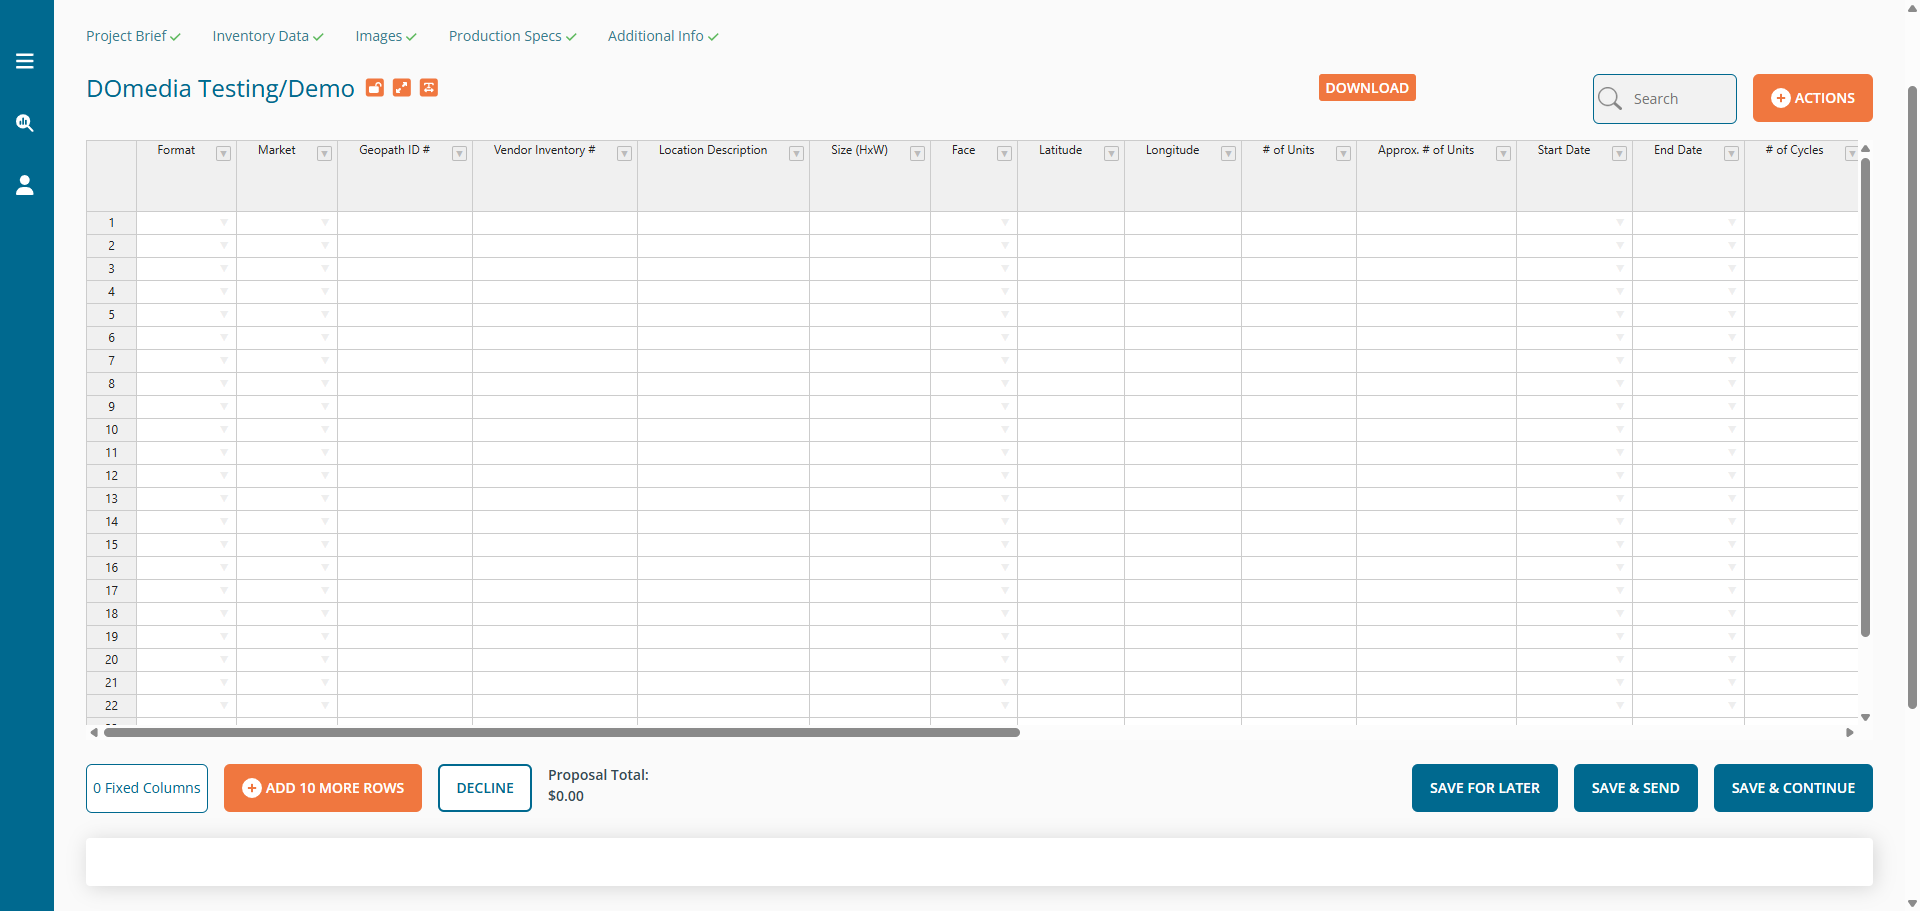
Once you have the inventory you'd like to propose in the grid, there are other actions you can take to improve your proposal to the agency.
If your units are Geopath audited and the agency included the corresponding columns, you can click Update Audience Values to pull in the impression data from Geopath.
Images
After Inventory Data, you'll move to the Images step to upload or review images for each row in your proposal. This screen shows a card for each location in your grid — you can also switch to a List view using the toggle at the top if you'd rather see everything in a table.
Each card shows whether an image is missing (with a red alert icon) or has already been added (a green checkmark), along with the format and market for that row. If a row is missing its Geopath data, you can also access Street View directly from the card to help capture or select an image.
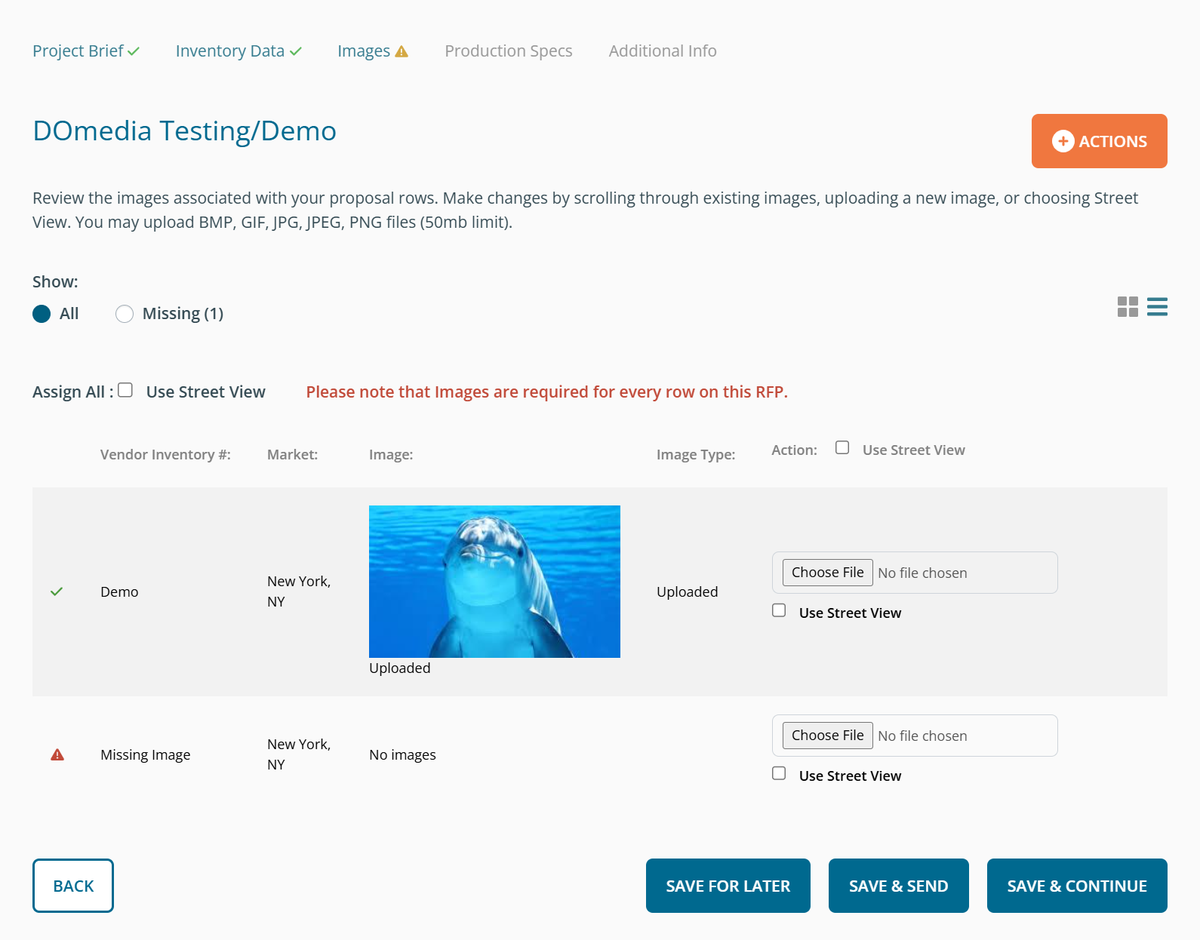
If the buyer requires images on every row of this RFP, you'll see a note at the top of the page letting you know. If you'd like to ask the buyer to waive that requirement, use the 'Request Remove Image Requirement' link.
For step-by-step help uploading images, visit How to upload Images to an RFP.
Once finished, click 'Save for Later' to come back later, 'Save & Continue' to move to Production Specs, or 'Save & Send' if you're ready to submit your proposal now.
Production Specs
Next is the Production Specs step, where you'll add or review production specification details and files for each row in your proposal. You can expand or collapse each row's fields using the toggle at the top of the page, and each row shows the same completion indicator used on the Images step so you can quickly spot anything still missing.
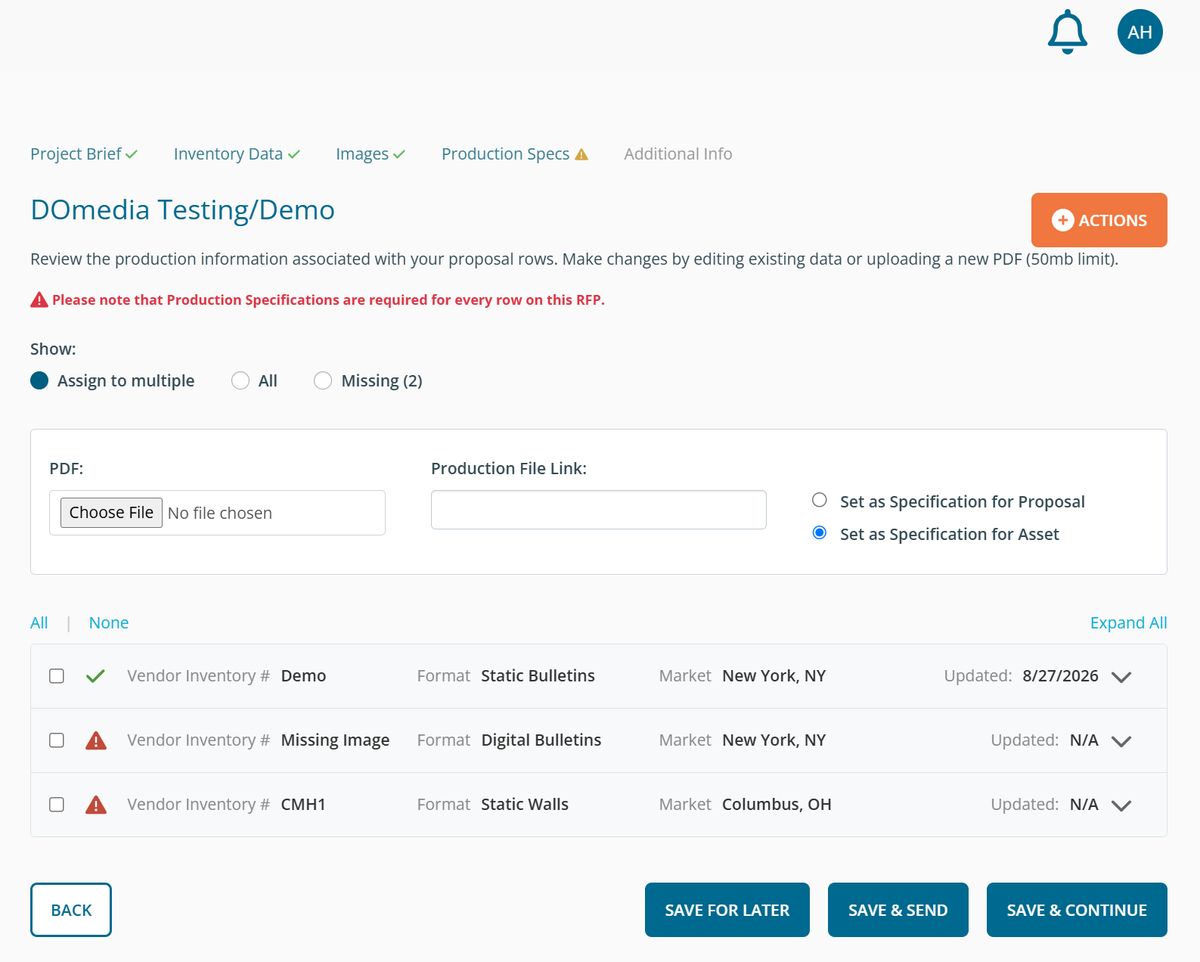
If the buyer requires production specs on every row of this RFP, you'll see a note at the top of the page. If you'd like to ask the buyer to waive that requirement, use the 'Request Remove Prod Spec Requirement' link.
For step-by-step help with this step, visit How to upload Prod Specs.
Once finished, click 'Save for Later' to come back later, 'Save & Continue' to move to Additional Info, or 'Save & Send' if you're ready to submit your proposal now.
Note: On any of these steps, if you have unsaved changes and try to navigate away — by clicking Back or selecting a different step in the progress bar — you'll be asked whether you want to discard your changes first.
Additional Information
The last step of responding to an RFP is adding additional information to your proposal, such as attachments and other additional information.
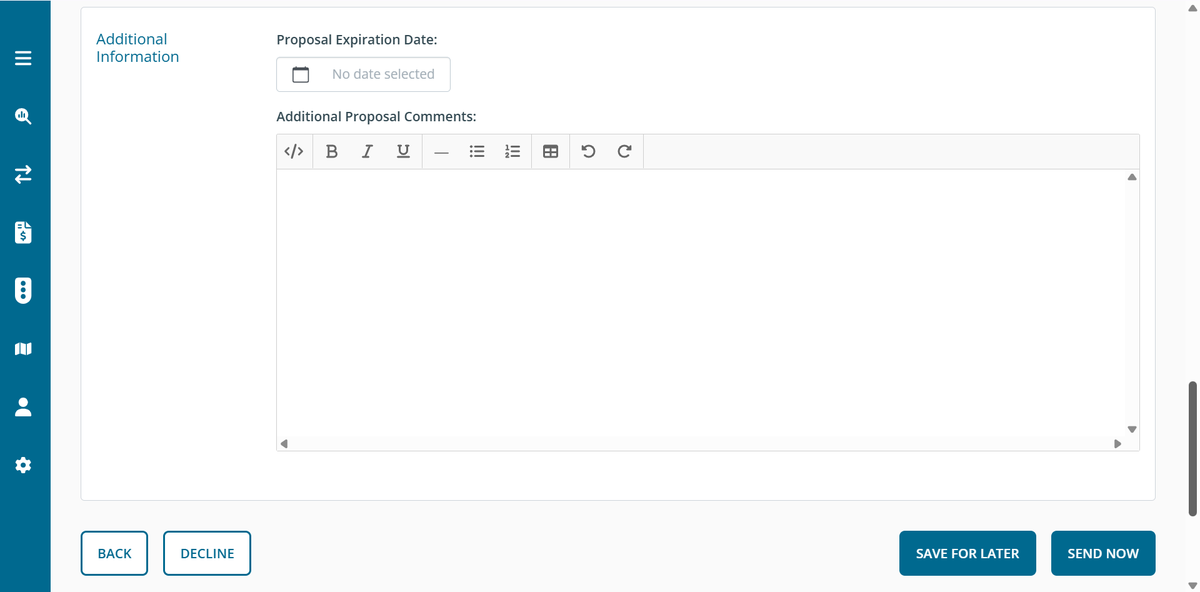
Once you have added any attachments and other additional information, click 'Send Now'. The buyer will be informed that your company's proposal has been submitted.
Check the Seller/Buyer Editable setting
Seller Editable
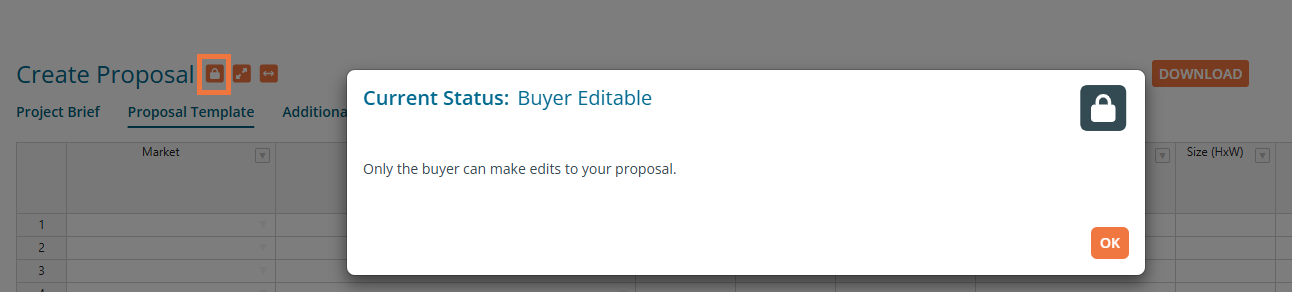
RFPs allow the buyer and seller to review and edit the proposal - but not at the same time! When the buyer initially sends an RFP, the grid is automatically set to Seller Editable and you can work on your proposal. Buyer Editable
When the buyer begins their review of proposals - usually after the RFP deadline - they will change the status to Buyer Editable to ensure there are no changes made while they are compiling proposals for review.
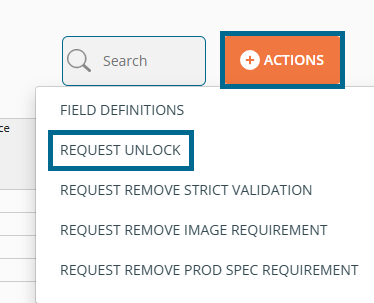
A buyer may also change the status to Buyer Editable at any time due to other circumstances. If you need to edit a proposal, you can click Request Unlock and that will trigger a message to the buyer to give you edit privileges.
How to Respond to Contracts
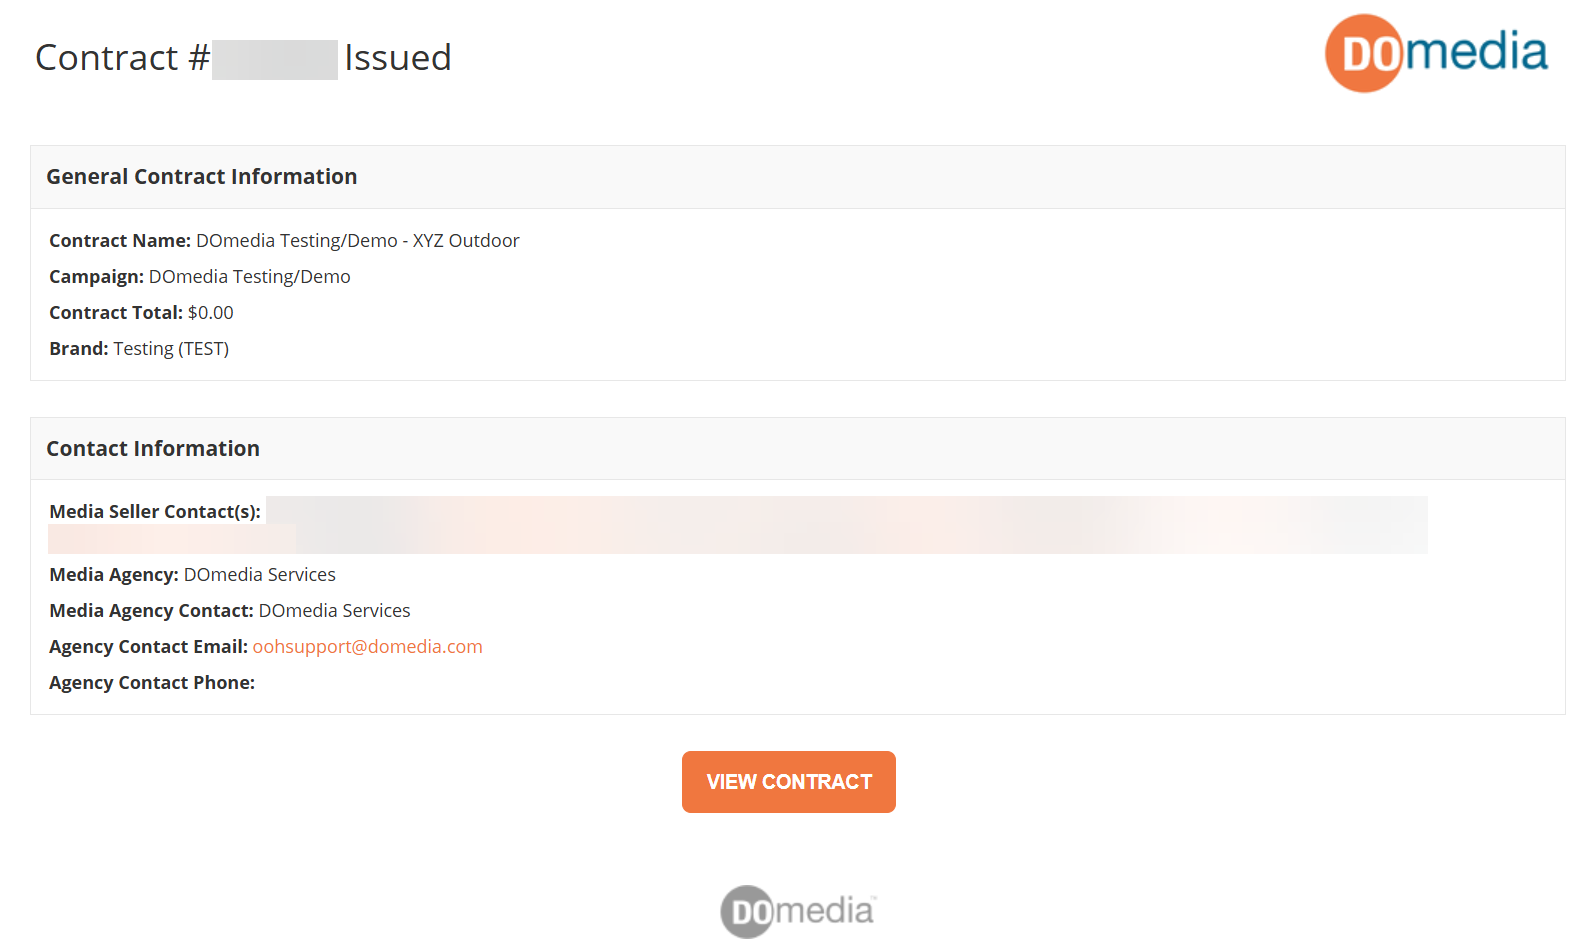
Ensure you are logged into DOmedia and click the 'View Contract' button on the notification email you received.
Review
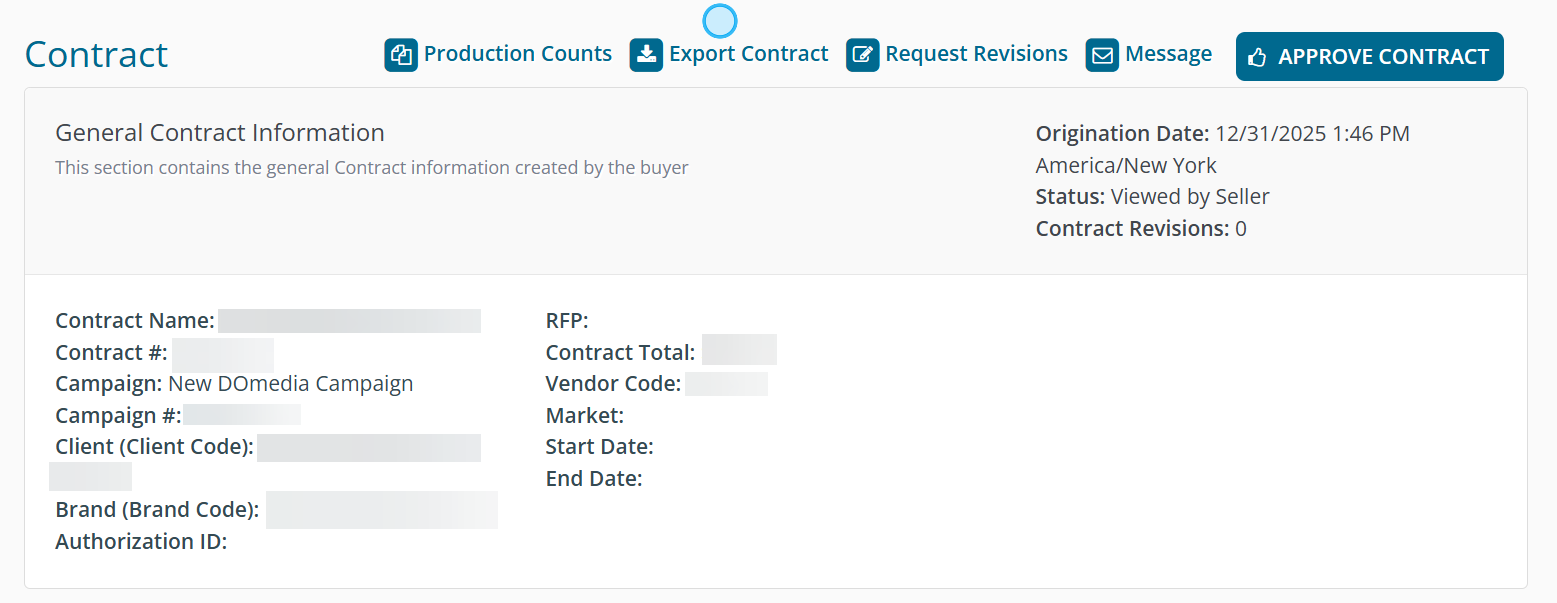
From the View Contract page, you can review the contract, starting with the General Contract Information at the top of the page. Here you'll find the high-level information for the Contract, such as the Client, Campaign, and Contract Total.
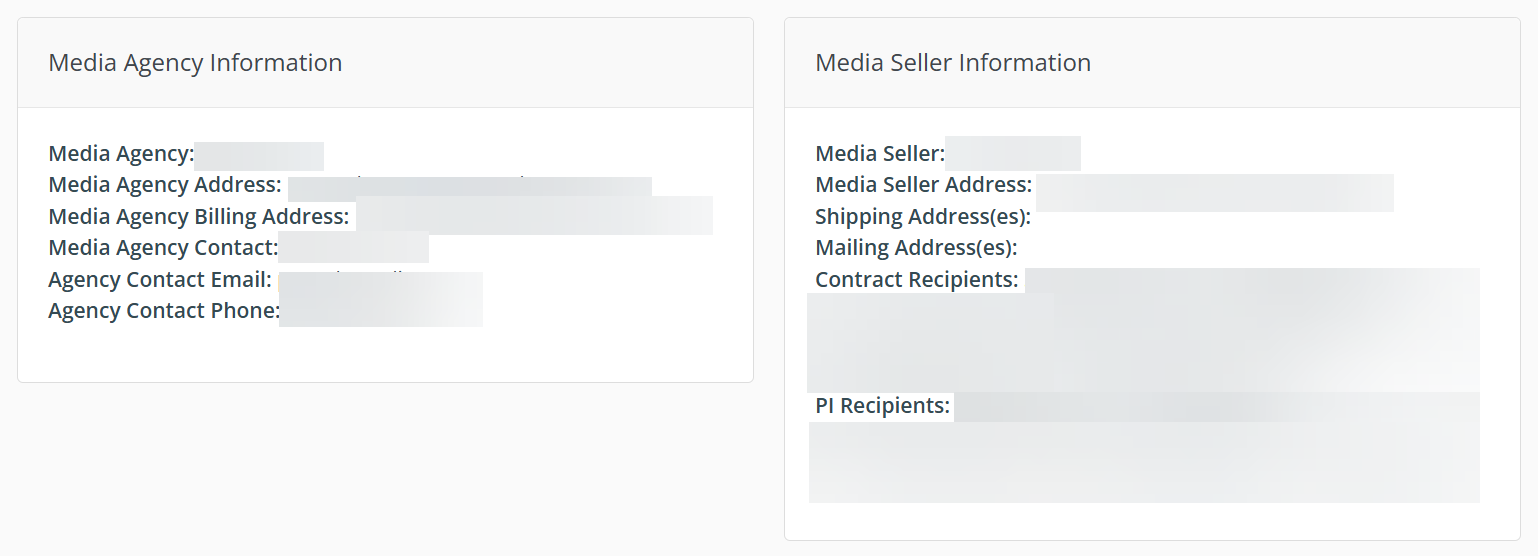
Pay close attention to the Media Seller Information section. Here you'll want to make sure that your company's billing and shipping addresses are correct.
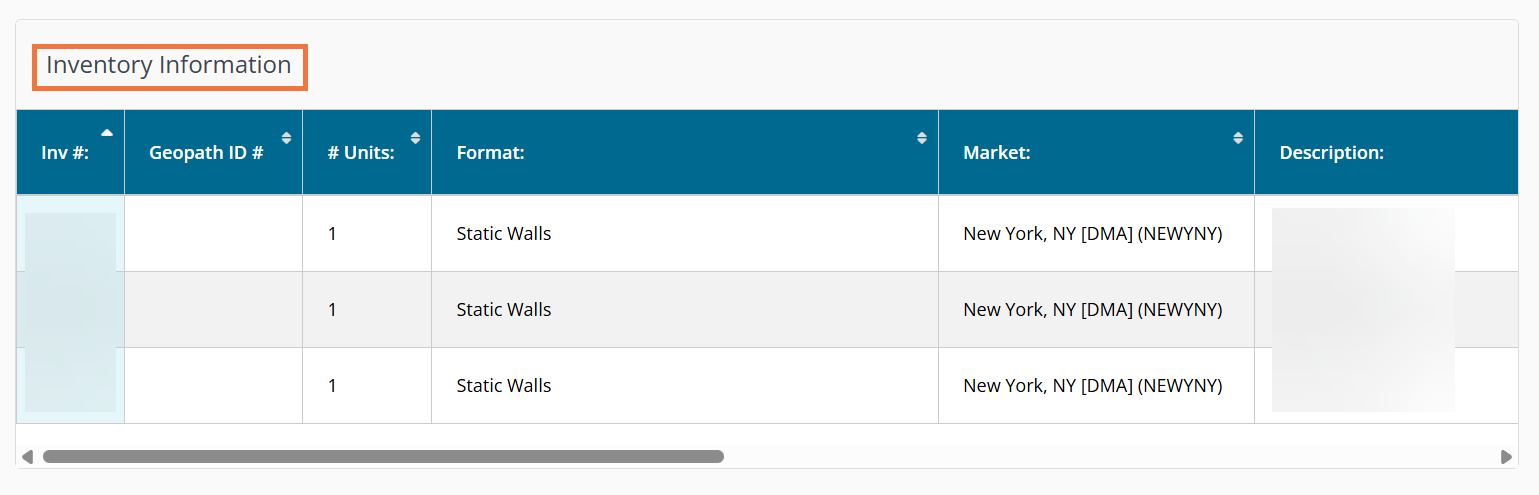
As you scroll down the page, you'll see the Inventory Information and Billing Addendum sections of the contract.
The Inventory Information section is a Summary View of the contract. It is broken out by Unit and / or Market depending on your format.
The Billing Addendum section is similar to the Inventory Information section, but instead of being a Summary View of the buy, it is broken out by Cycle.
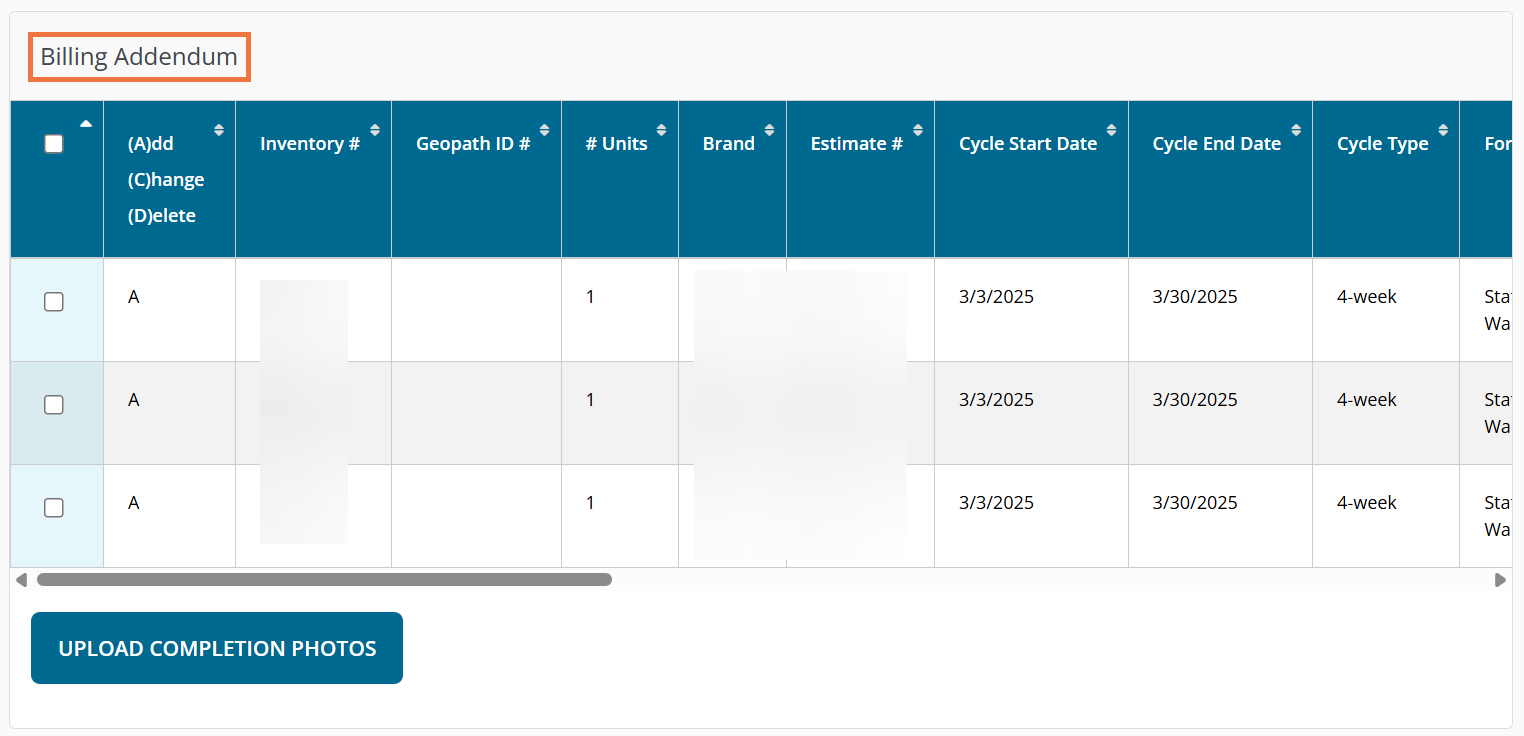
So, if a buyer is placing an order for 3 4-week cycles for a billboard or 3 one-day cycles for a mobile billboard, the billing addendum will break out the buy into one row for each cycle
Approve / Request Contract Revisions
Once you've reviewed the contract, you can take one of the following actions:
1. Approve Contract
Approve Contract - Approve the contract to change the contract's status to 'In Contract', apply your digital signature to the contract export, and send an automated update email to the buyer.

2. Request Revisions
Request Revisions - Using this button, you are able to send any revision requests directly to the contract issuer if any errors or inconsistencies are found.

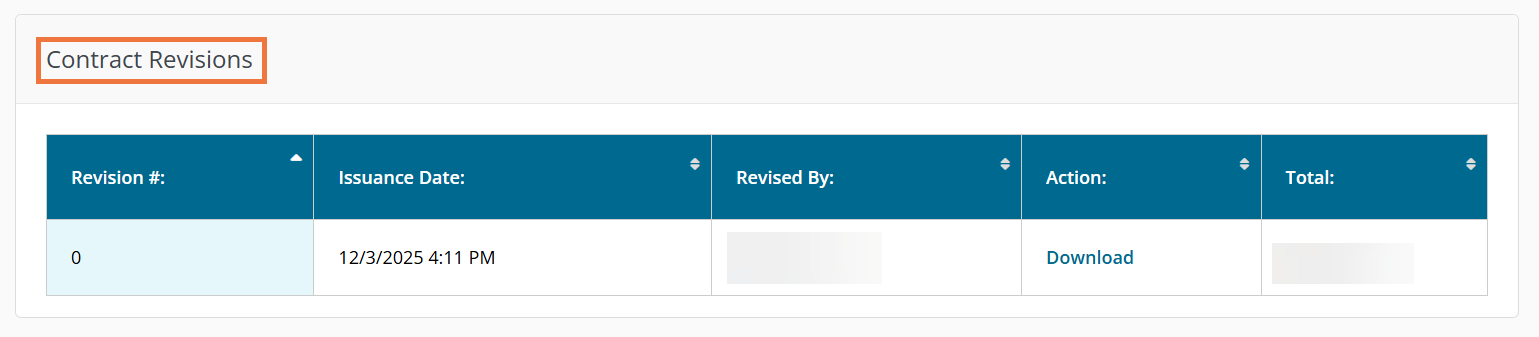
Once approved, you may also export a copy of the signed contract by clicking Export Contract at the top of the page. Clicking this button will download the contract as a PDF.

How to Respond to Posting Instructions
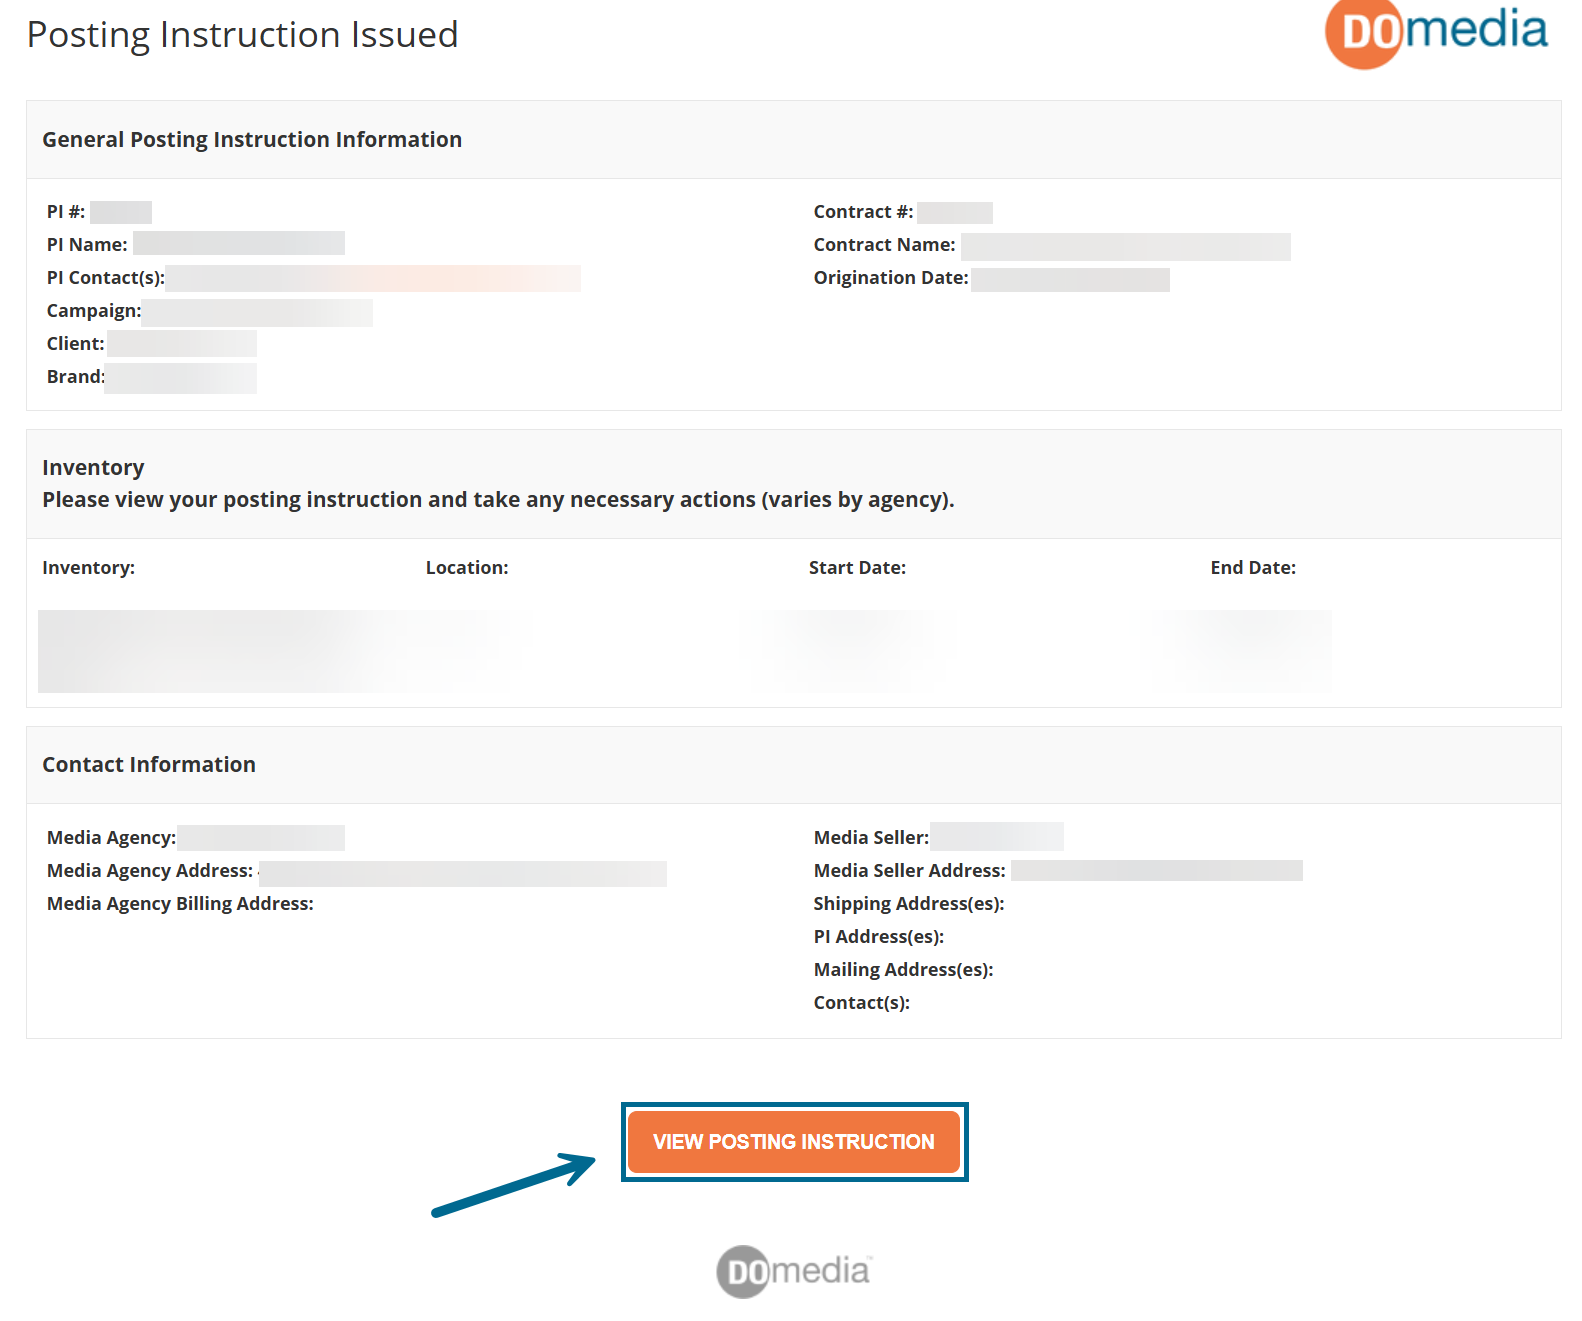
To access a Posting Instruction, click the button to "View Posting Instruction" in the email you received in order to view the specific PI: