
Seller: How do I add a new asset to my inventory?
Overview
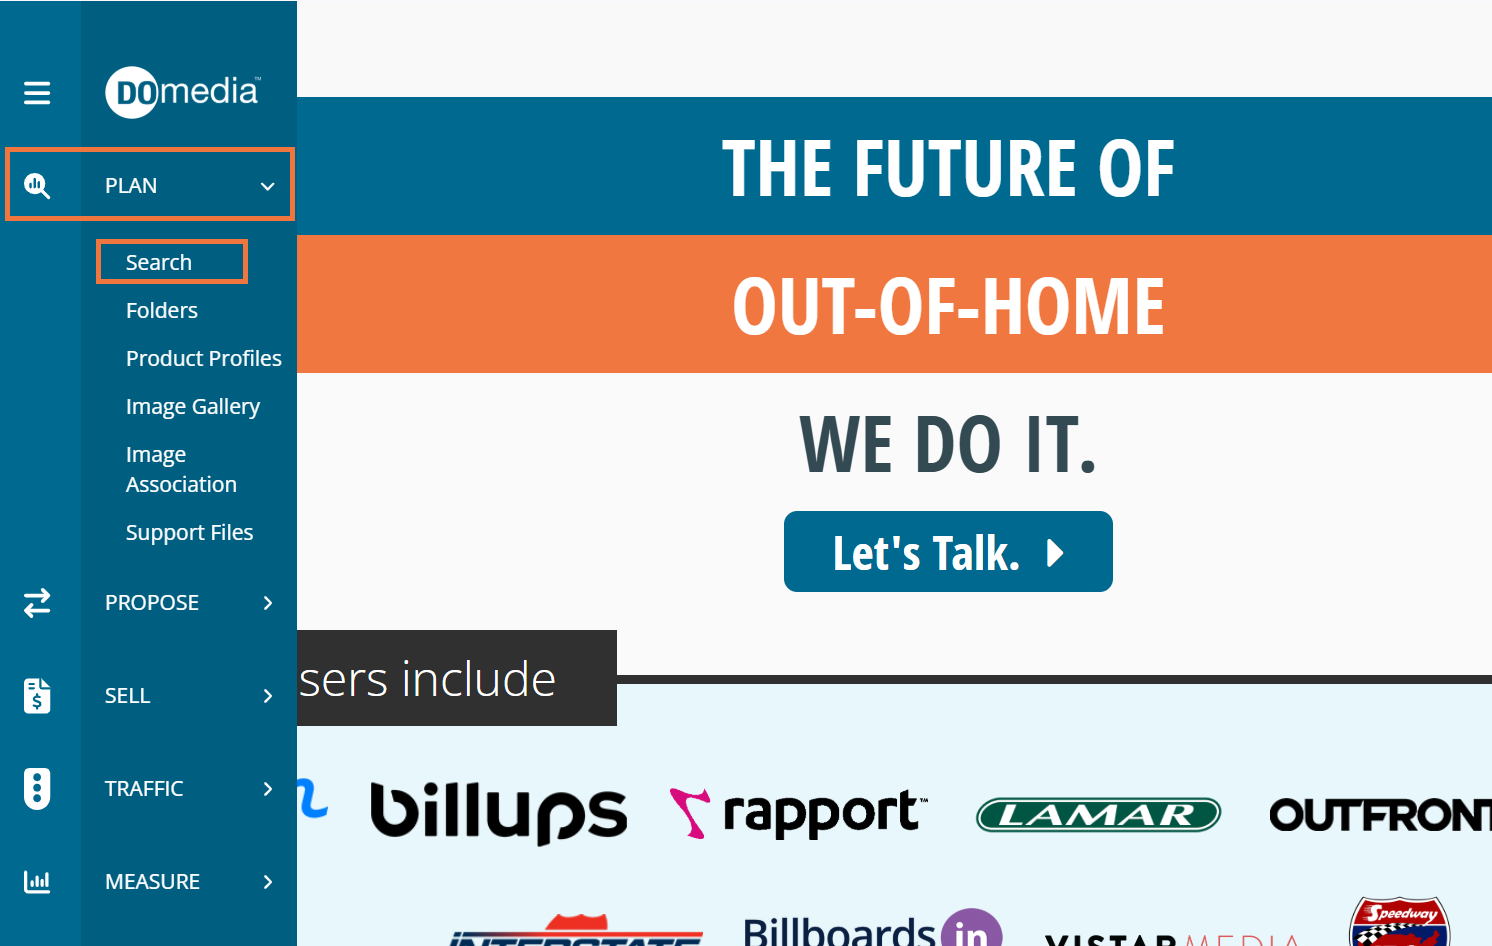
To add a new piece of inventory, click Plan in the menu tab on the left, and then click 'Search' in the drop-down.
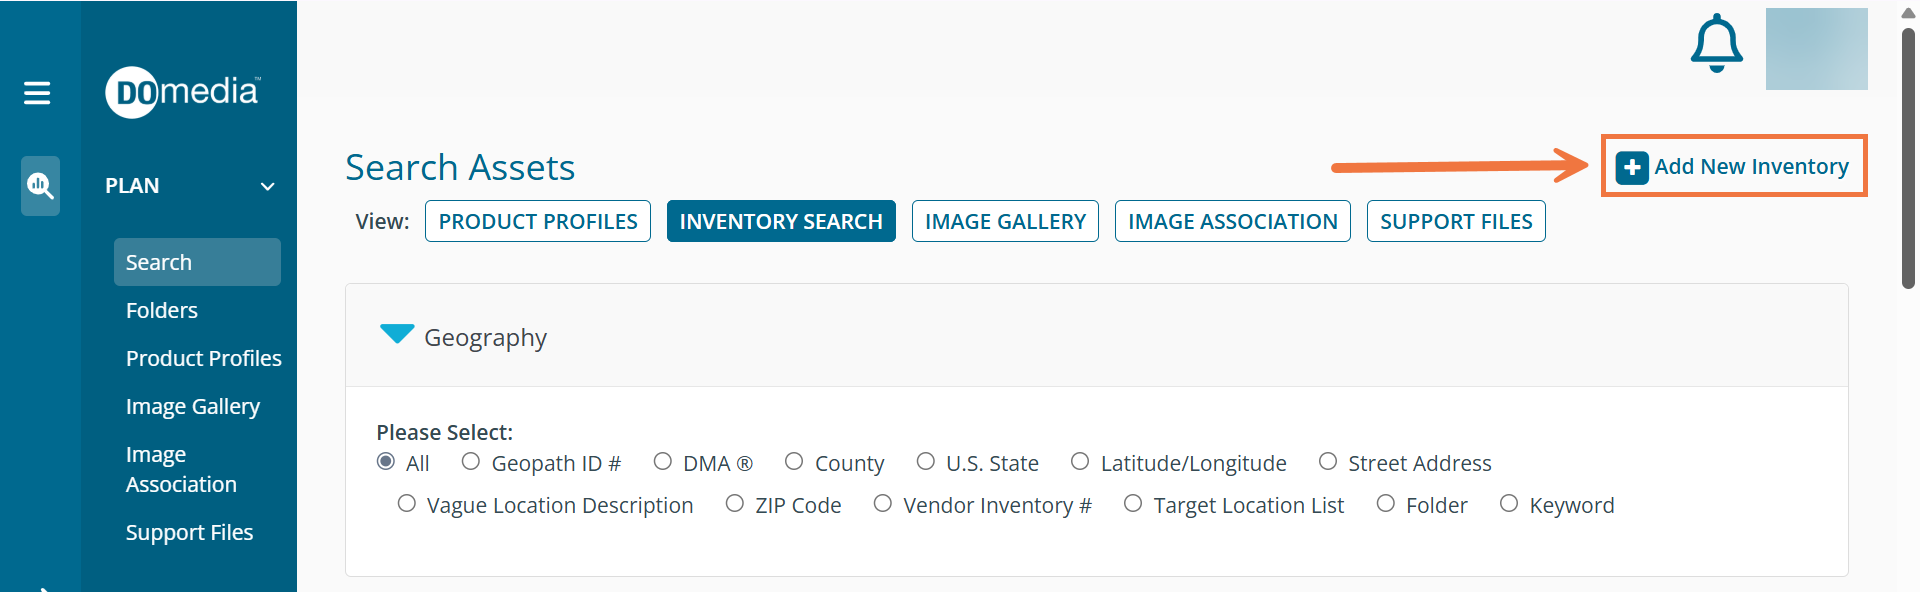
Click 'Add New Inventory' in the top right-hand corner of the Search Assets page.
Here you will enter information regarding:
-the title of the advertising opportunity
-the inventory number to help you keep track of the profile
-whether or not you want the profile to be visible in the free searchable marketplace
-a description of the opportunity
-what category the advertising opportunity falls under
-any restrictions
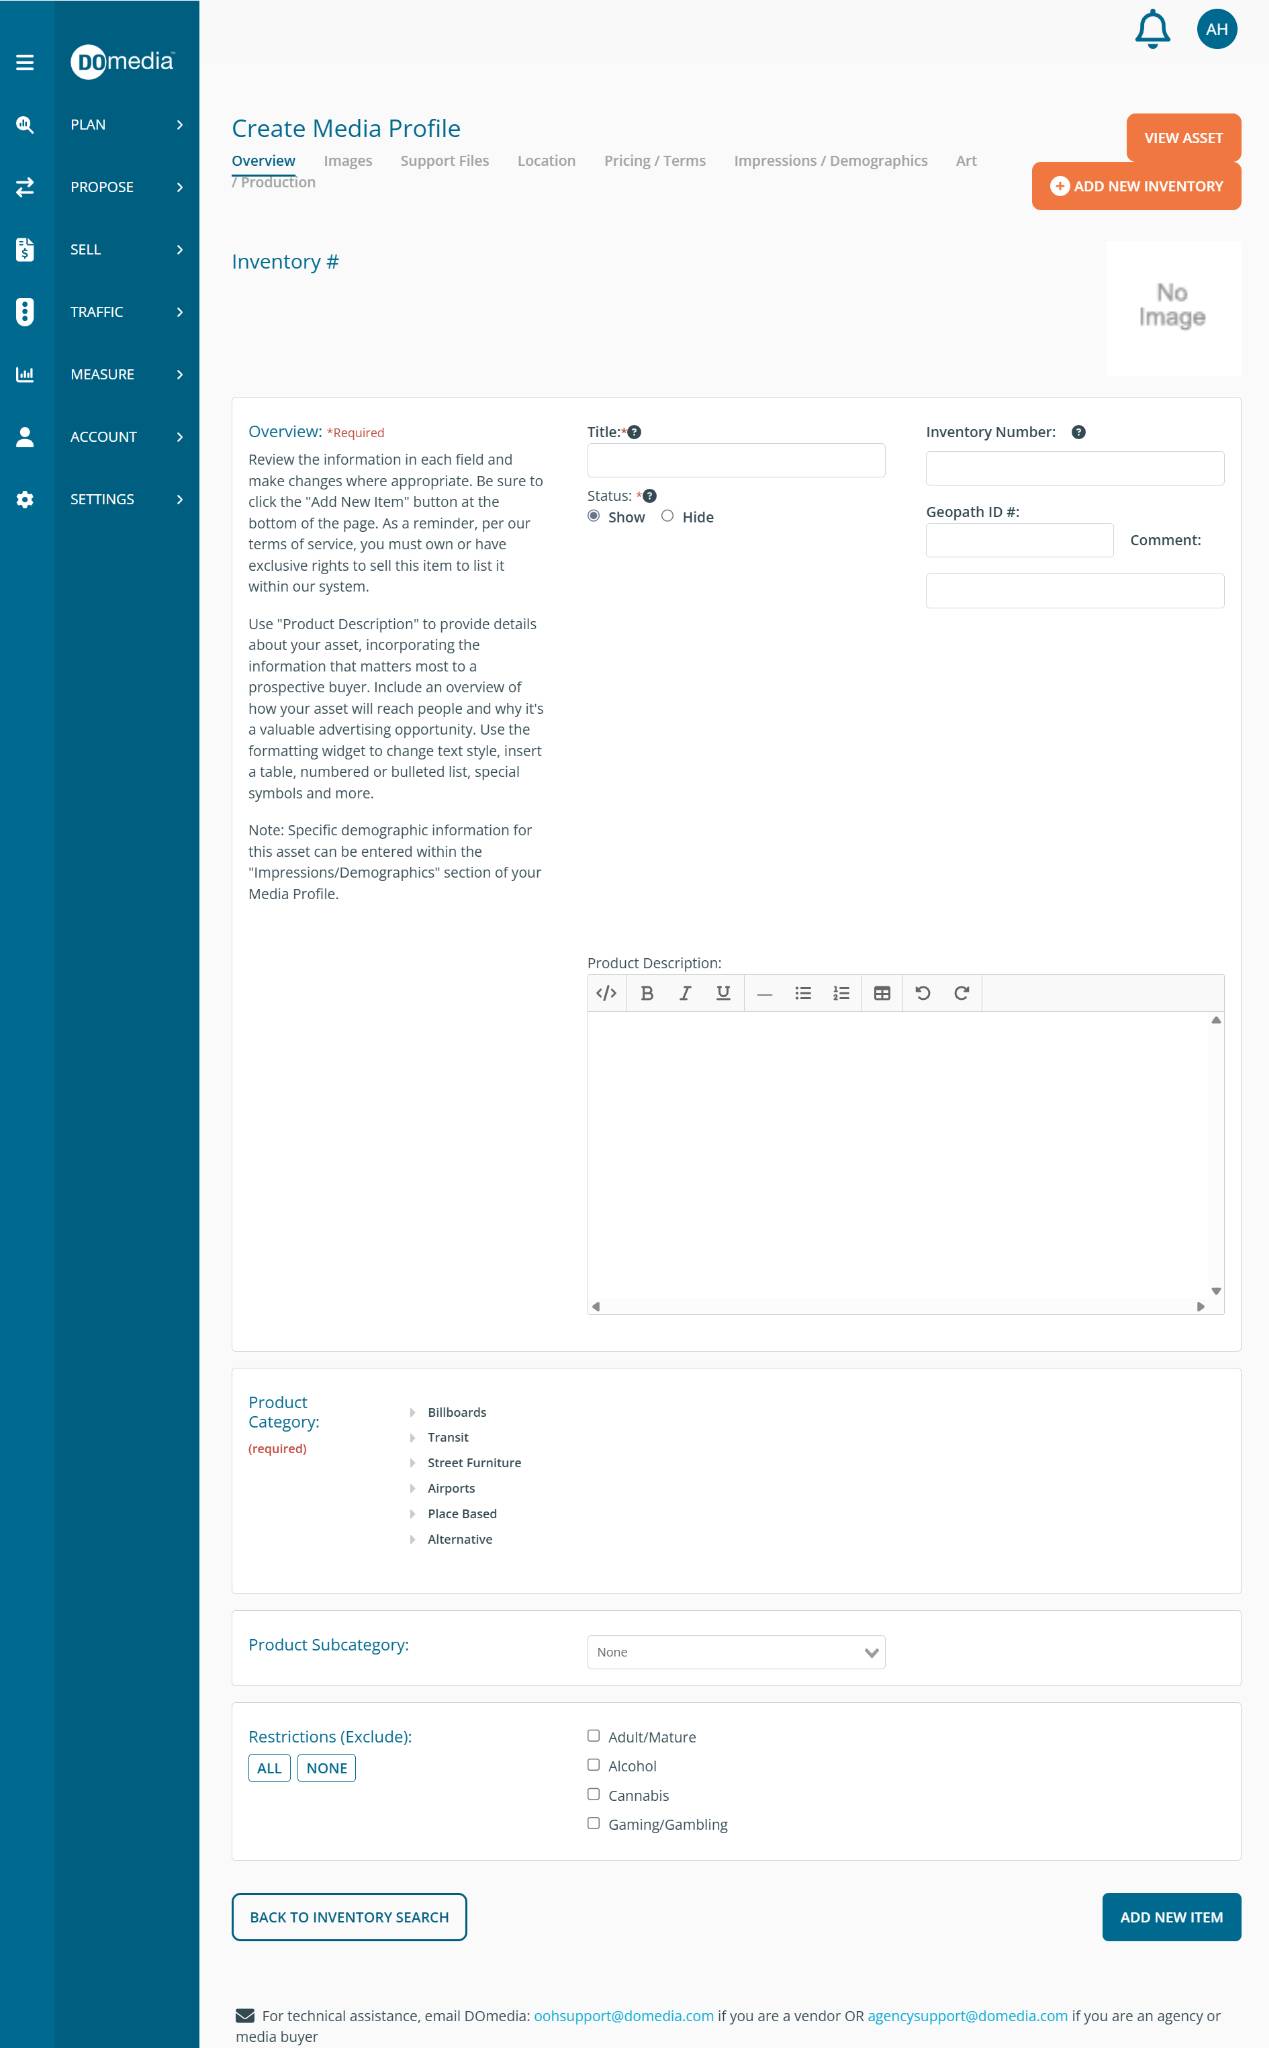
Once this information is completed and saved by clicking 'Add New Item', you have successfully created an asset. DOmedia encourages you to enter as much detailed information as possible. This will allow advertisers and agencies to consider the opportunity with complete information.
There are additional tabs for each media profile. From these tabs, you can enter the other information that is associated with an asset.
Images
From the Images tab you can associate images to your newly created asset. For directions on how to do so, please see below or 'Seller: How do I upload images of my inventory? How do I use the Image Association tool? '
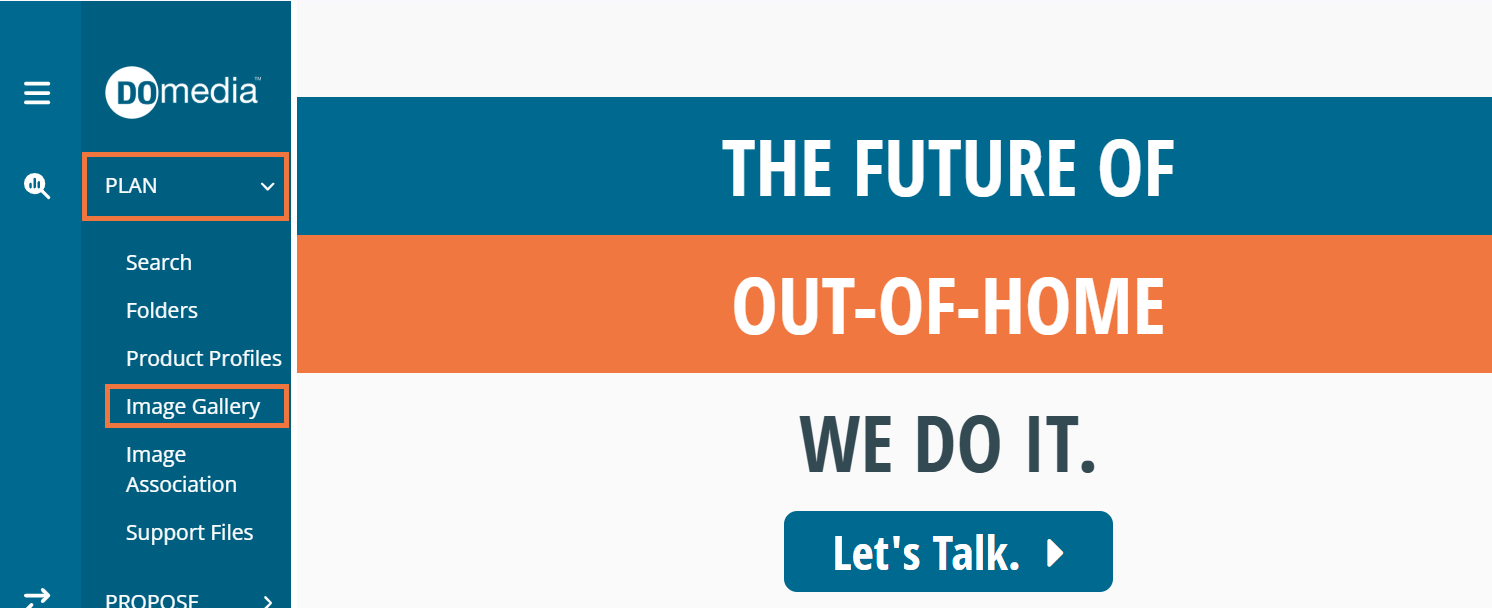
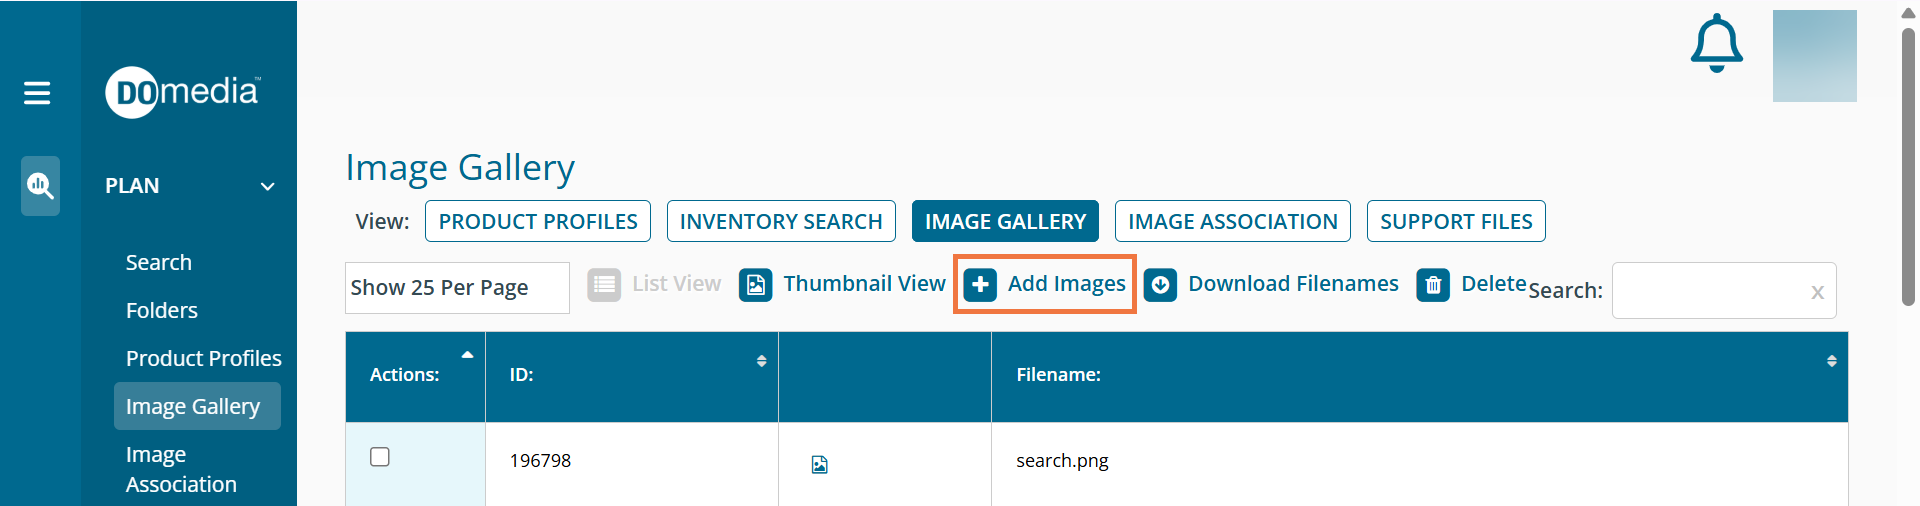
You can easily upload images into DOmedia that can later be associated with your inventory. To do so, navigate to the Image Gallery, accessed under the Plan in the menu tab on the left.
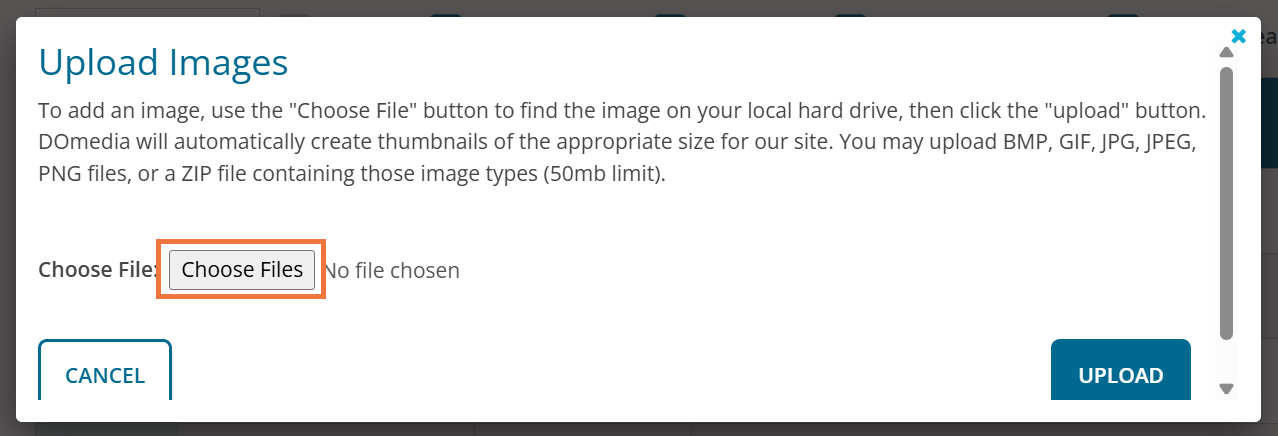
To add an image, use the 'Choose File' button to find the image on your local hard drive, then click 'Upload'. DOmedia will automatically create thumbnails of the appropriate size for our site. You may upload BMP, GIF, JPG, JPEG, PNG files, or a ZIP file containing those image types (50mb limit).
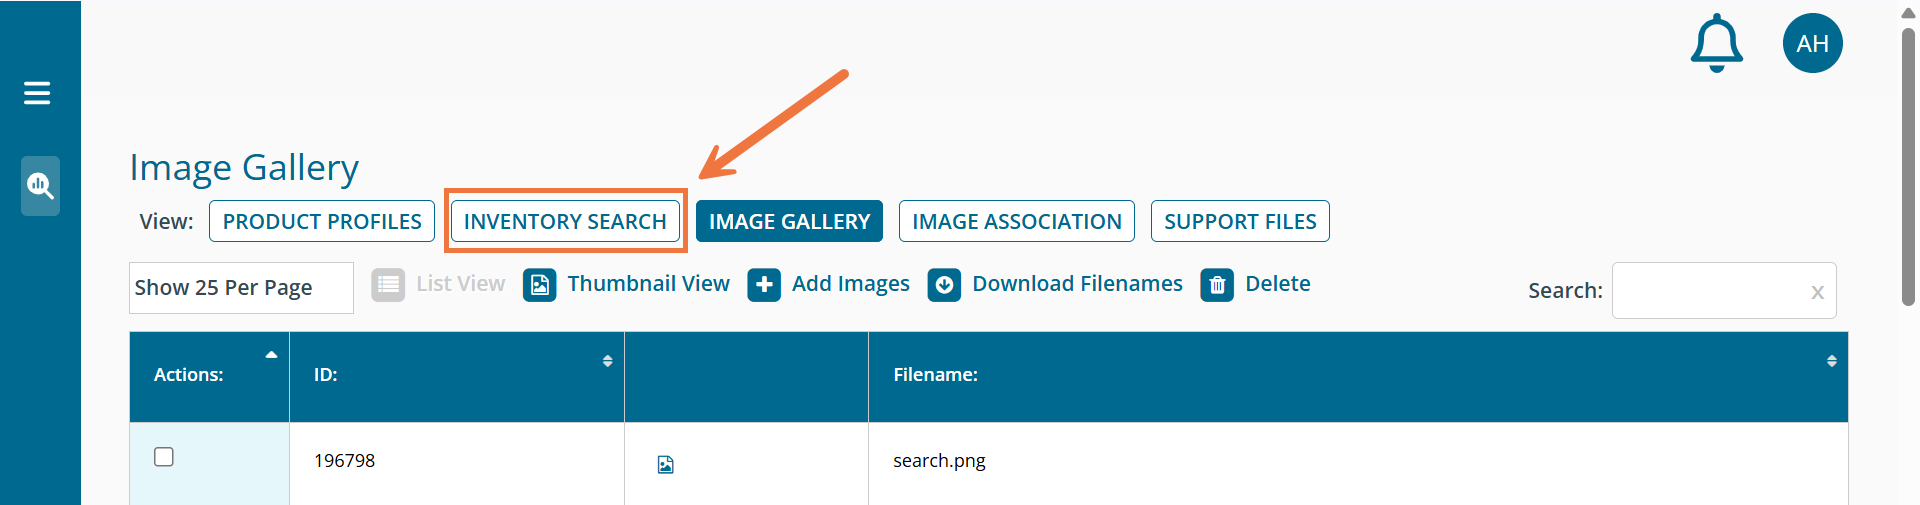
Now that your images are in the Image Gallery, you can associate them to the related assets one by one using this method. To do so, navigate back to your inventory by clicking 'Inventory Search'.
Find your asset that you intend to update, and then click 'Edit' next to the desired asset.

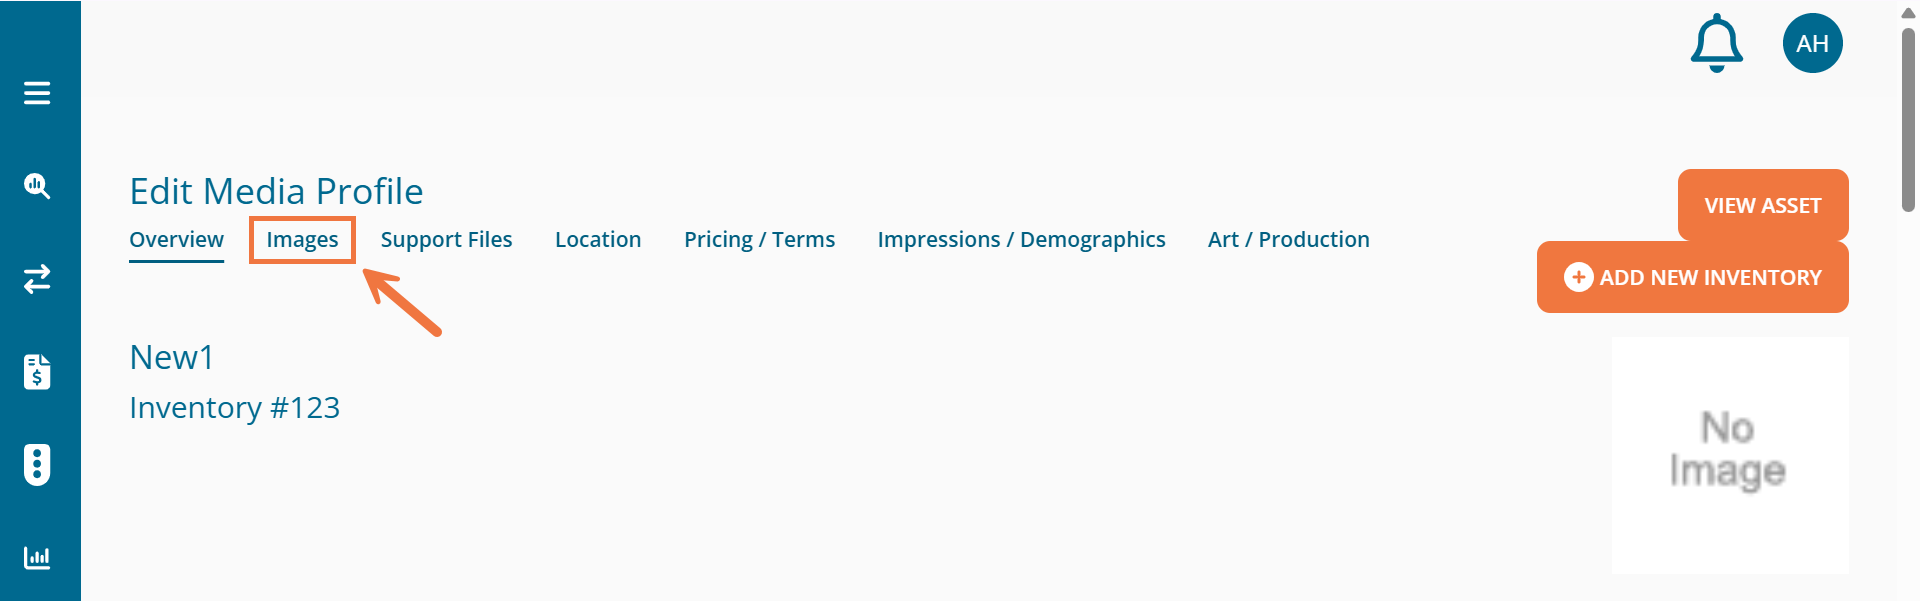
Click on the 'Images' tab at the top.
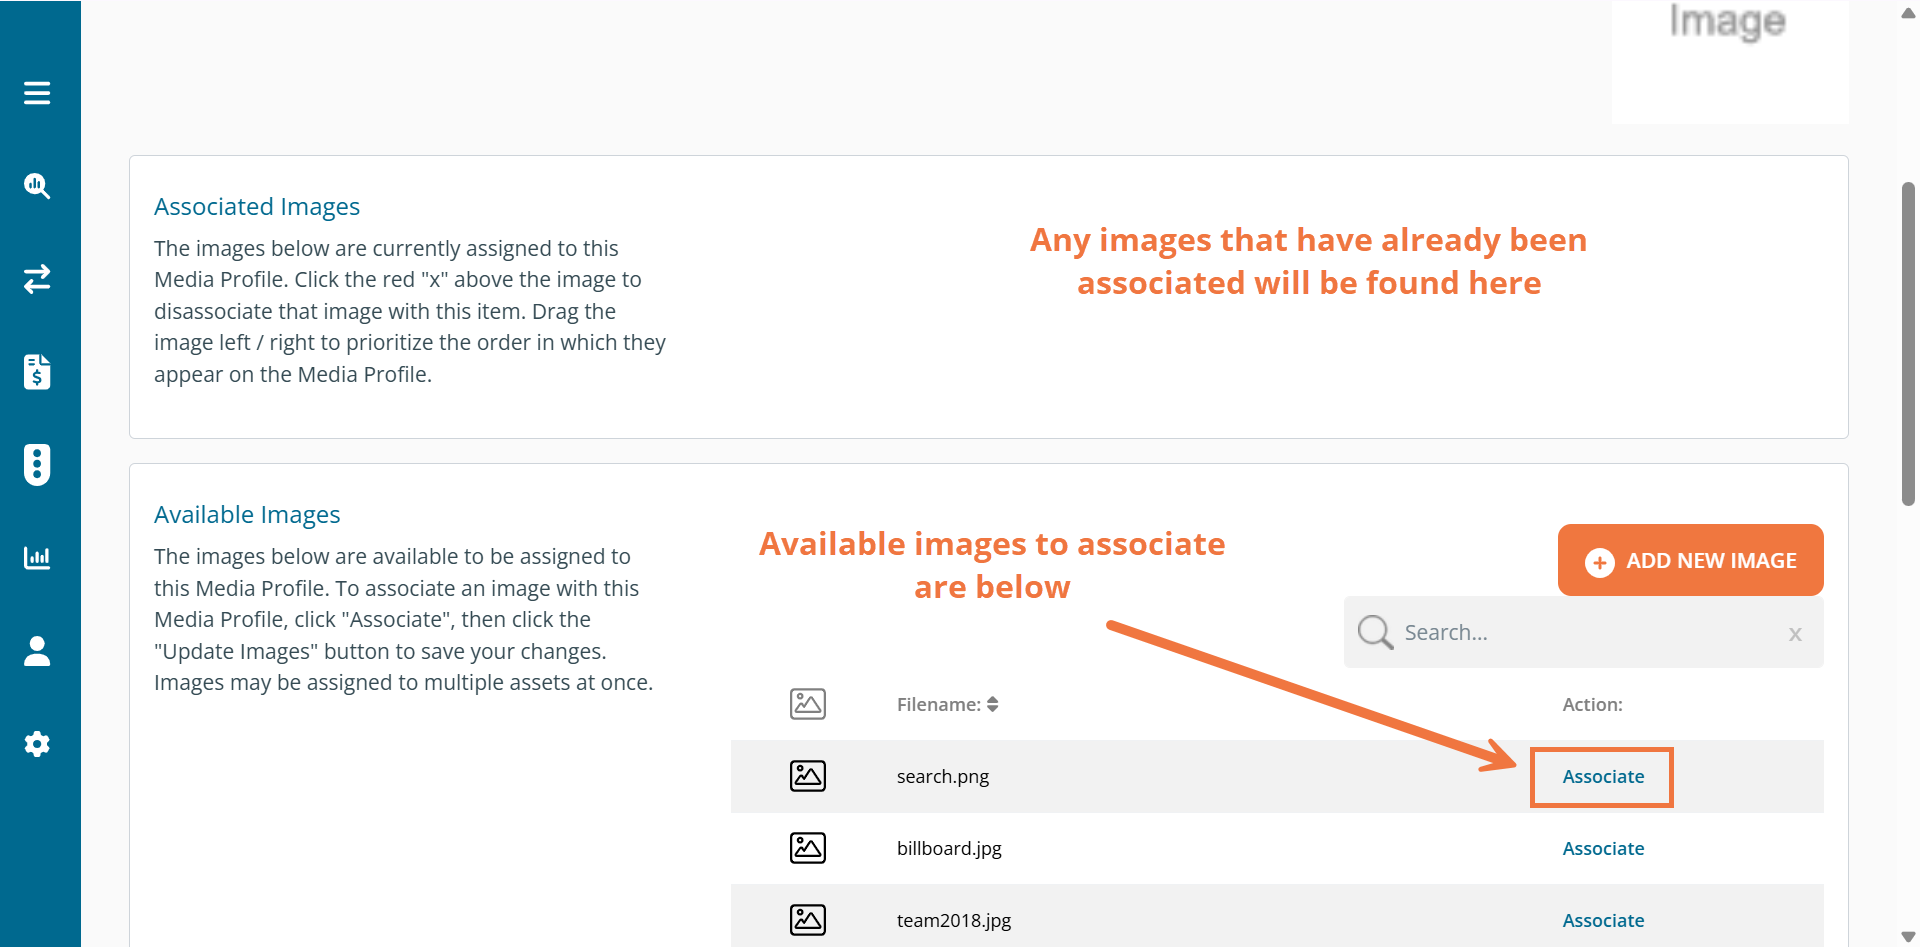
Scroll down to see the available images and select the one(s) that you want to associate to this inventory and click the 'Associate' button.
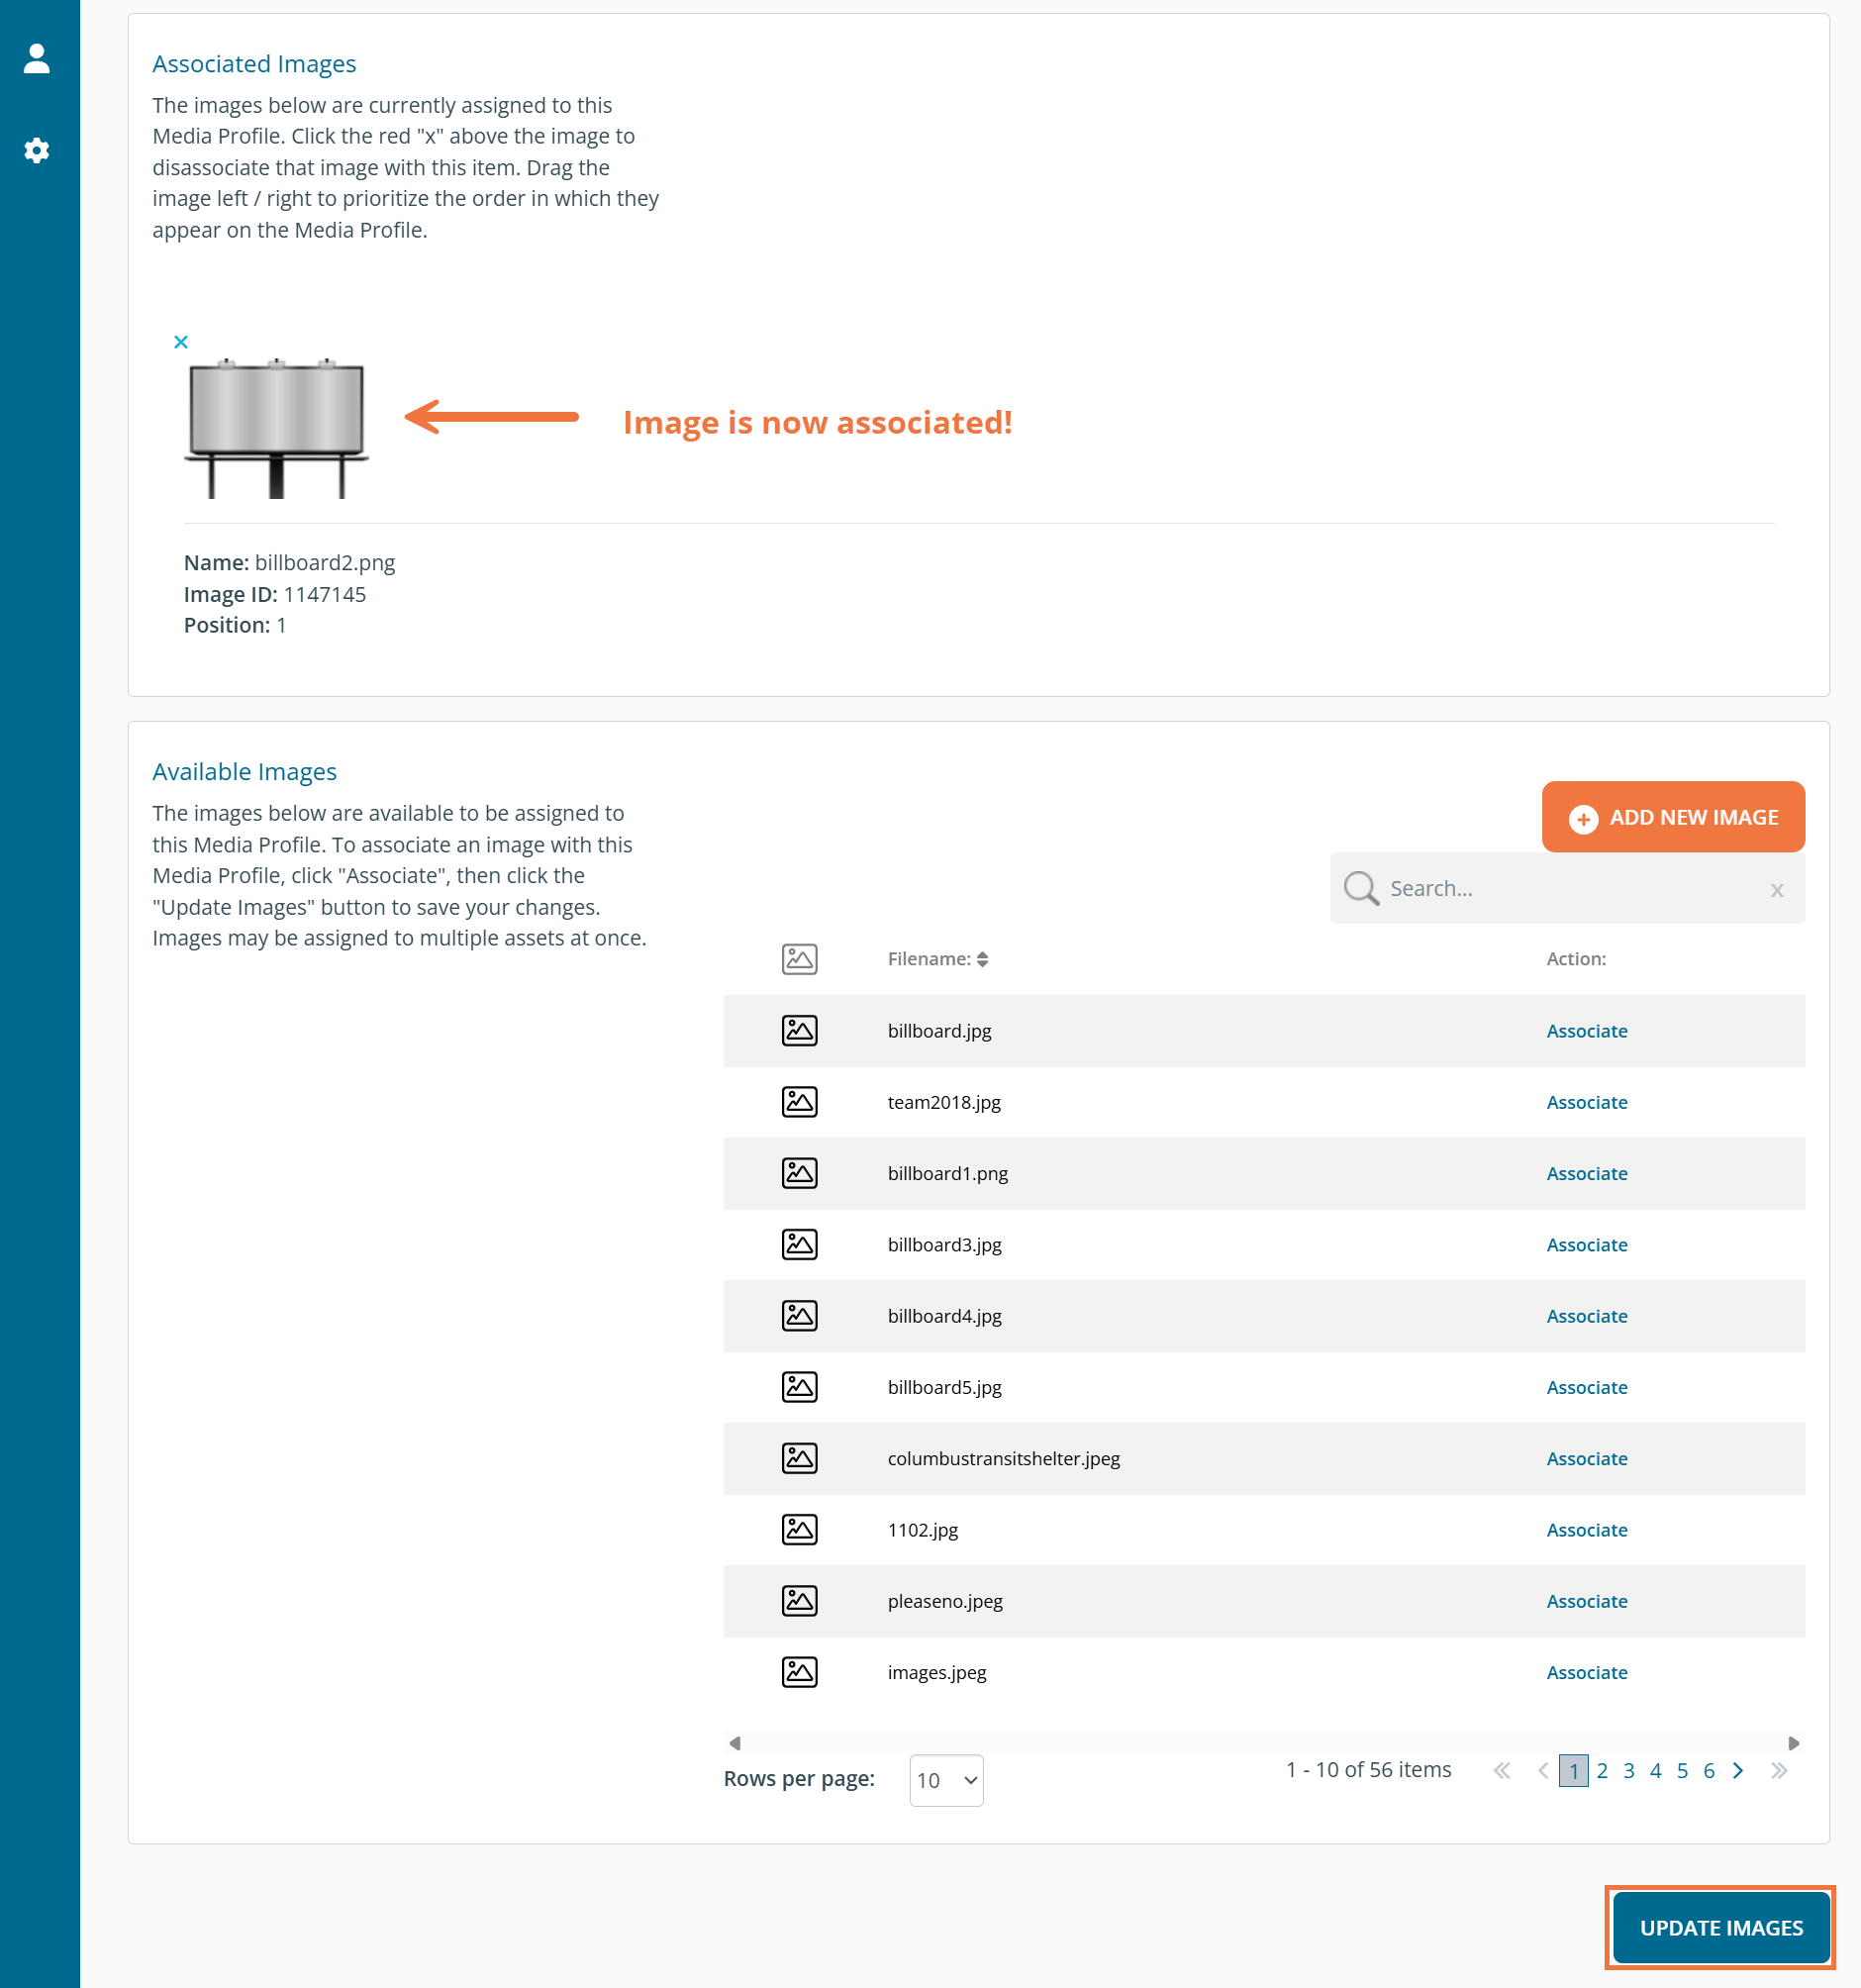
The selected image will appear in the Associated Images section. Scroll down to the bottom of the page, and then click 'Update Images' to associate that picture with the asset.
Support Files
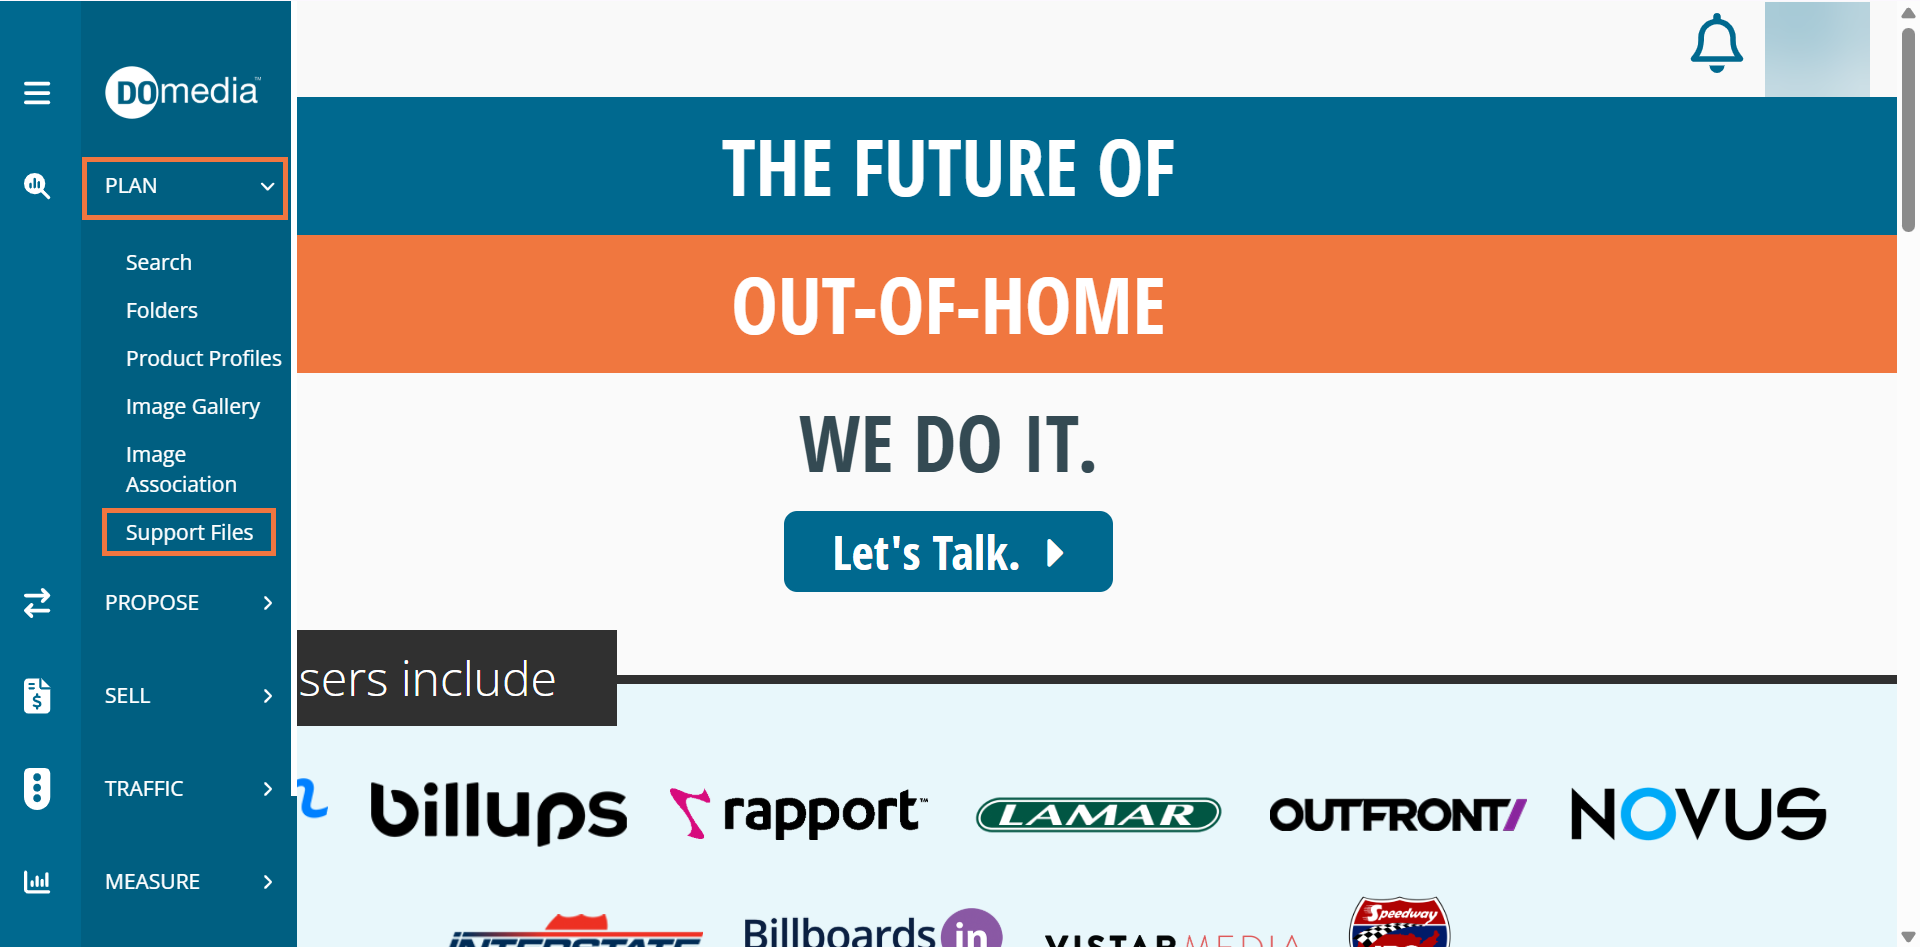
From the Support Files tab, you can associate support files, such as videos, media kits, creative guidelines, etc., with the newly created asset. To do so, first, you will need to upload the support files by clicking Plan and then clicking 'Support Files'.
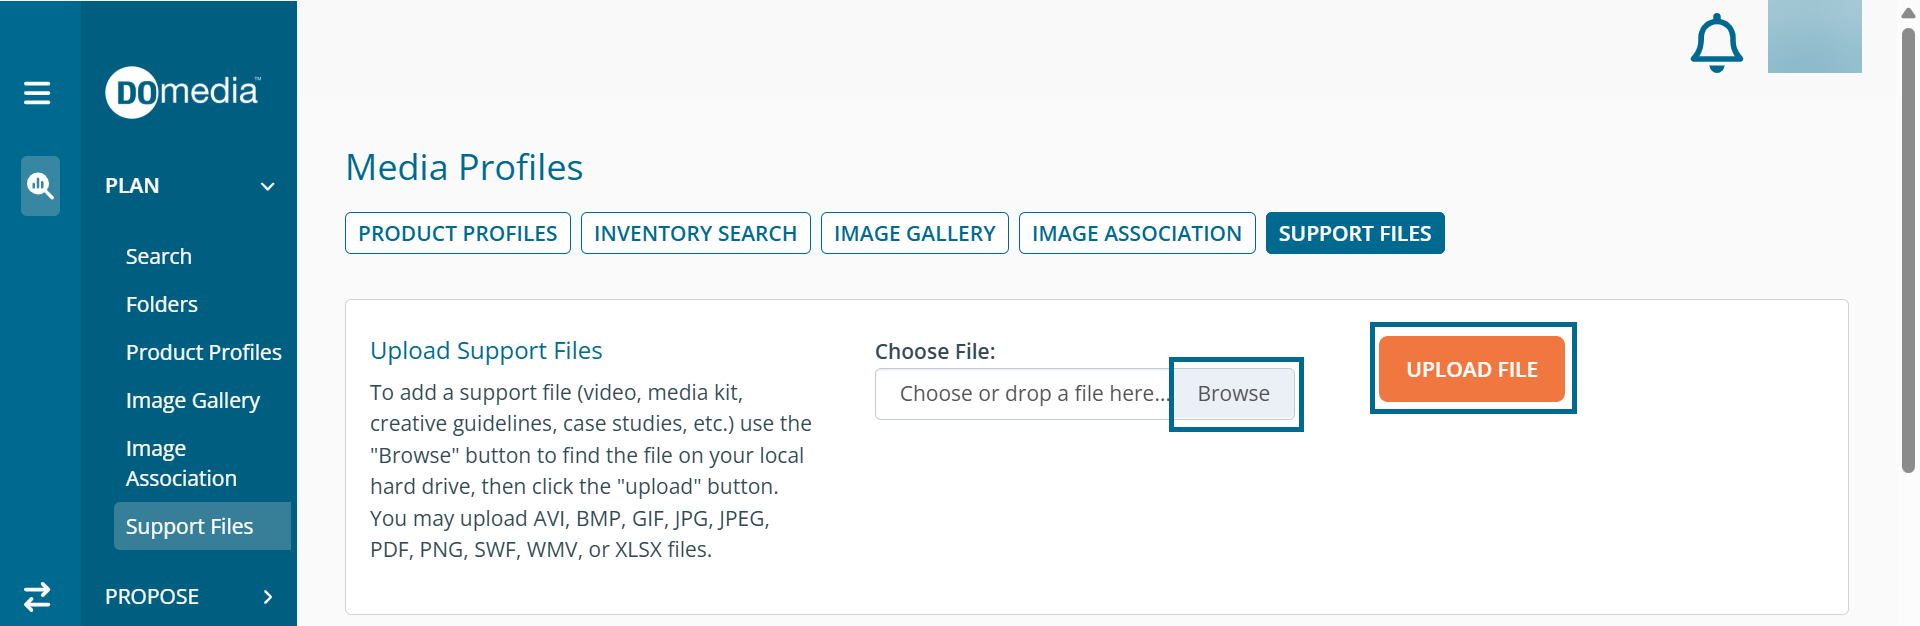
From the resulting page, click 'Browse' to choose a file and select the support file from your computer, and then click 'Upload File'.
Now that your support files are in the system, you can associate them to the related assets. To do so, navigate back to your inventory by clicking 'Inventory Search'. Find your inventory again that you want to update and click 'Edit'.

Click on the Support Files tab at the top.
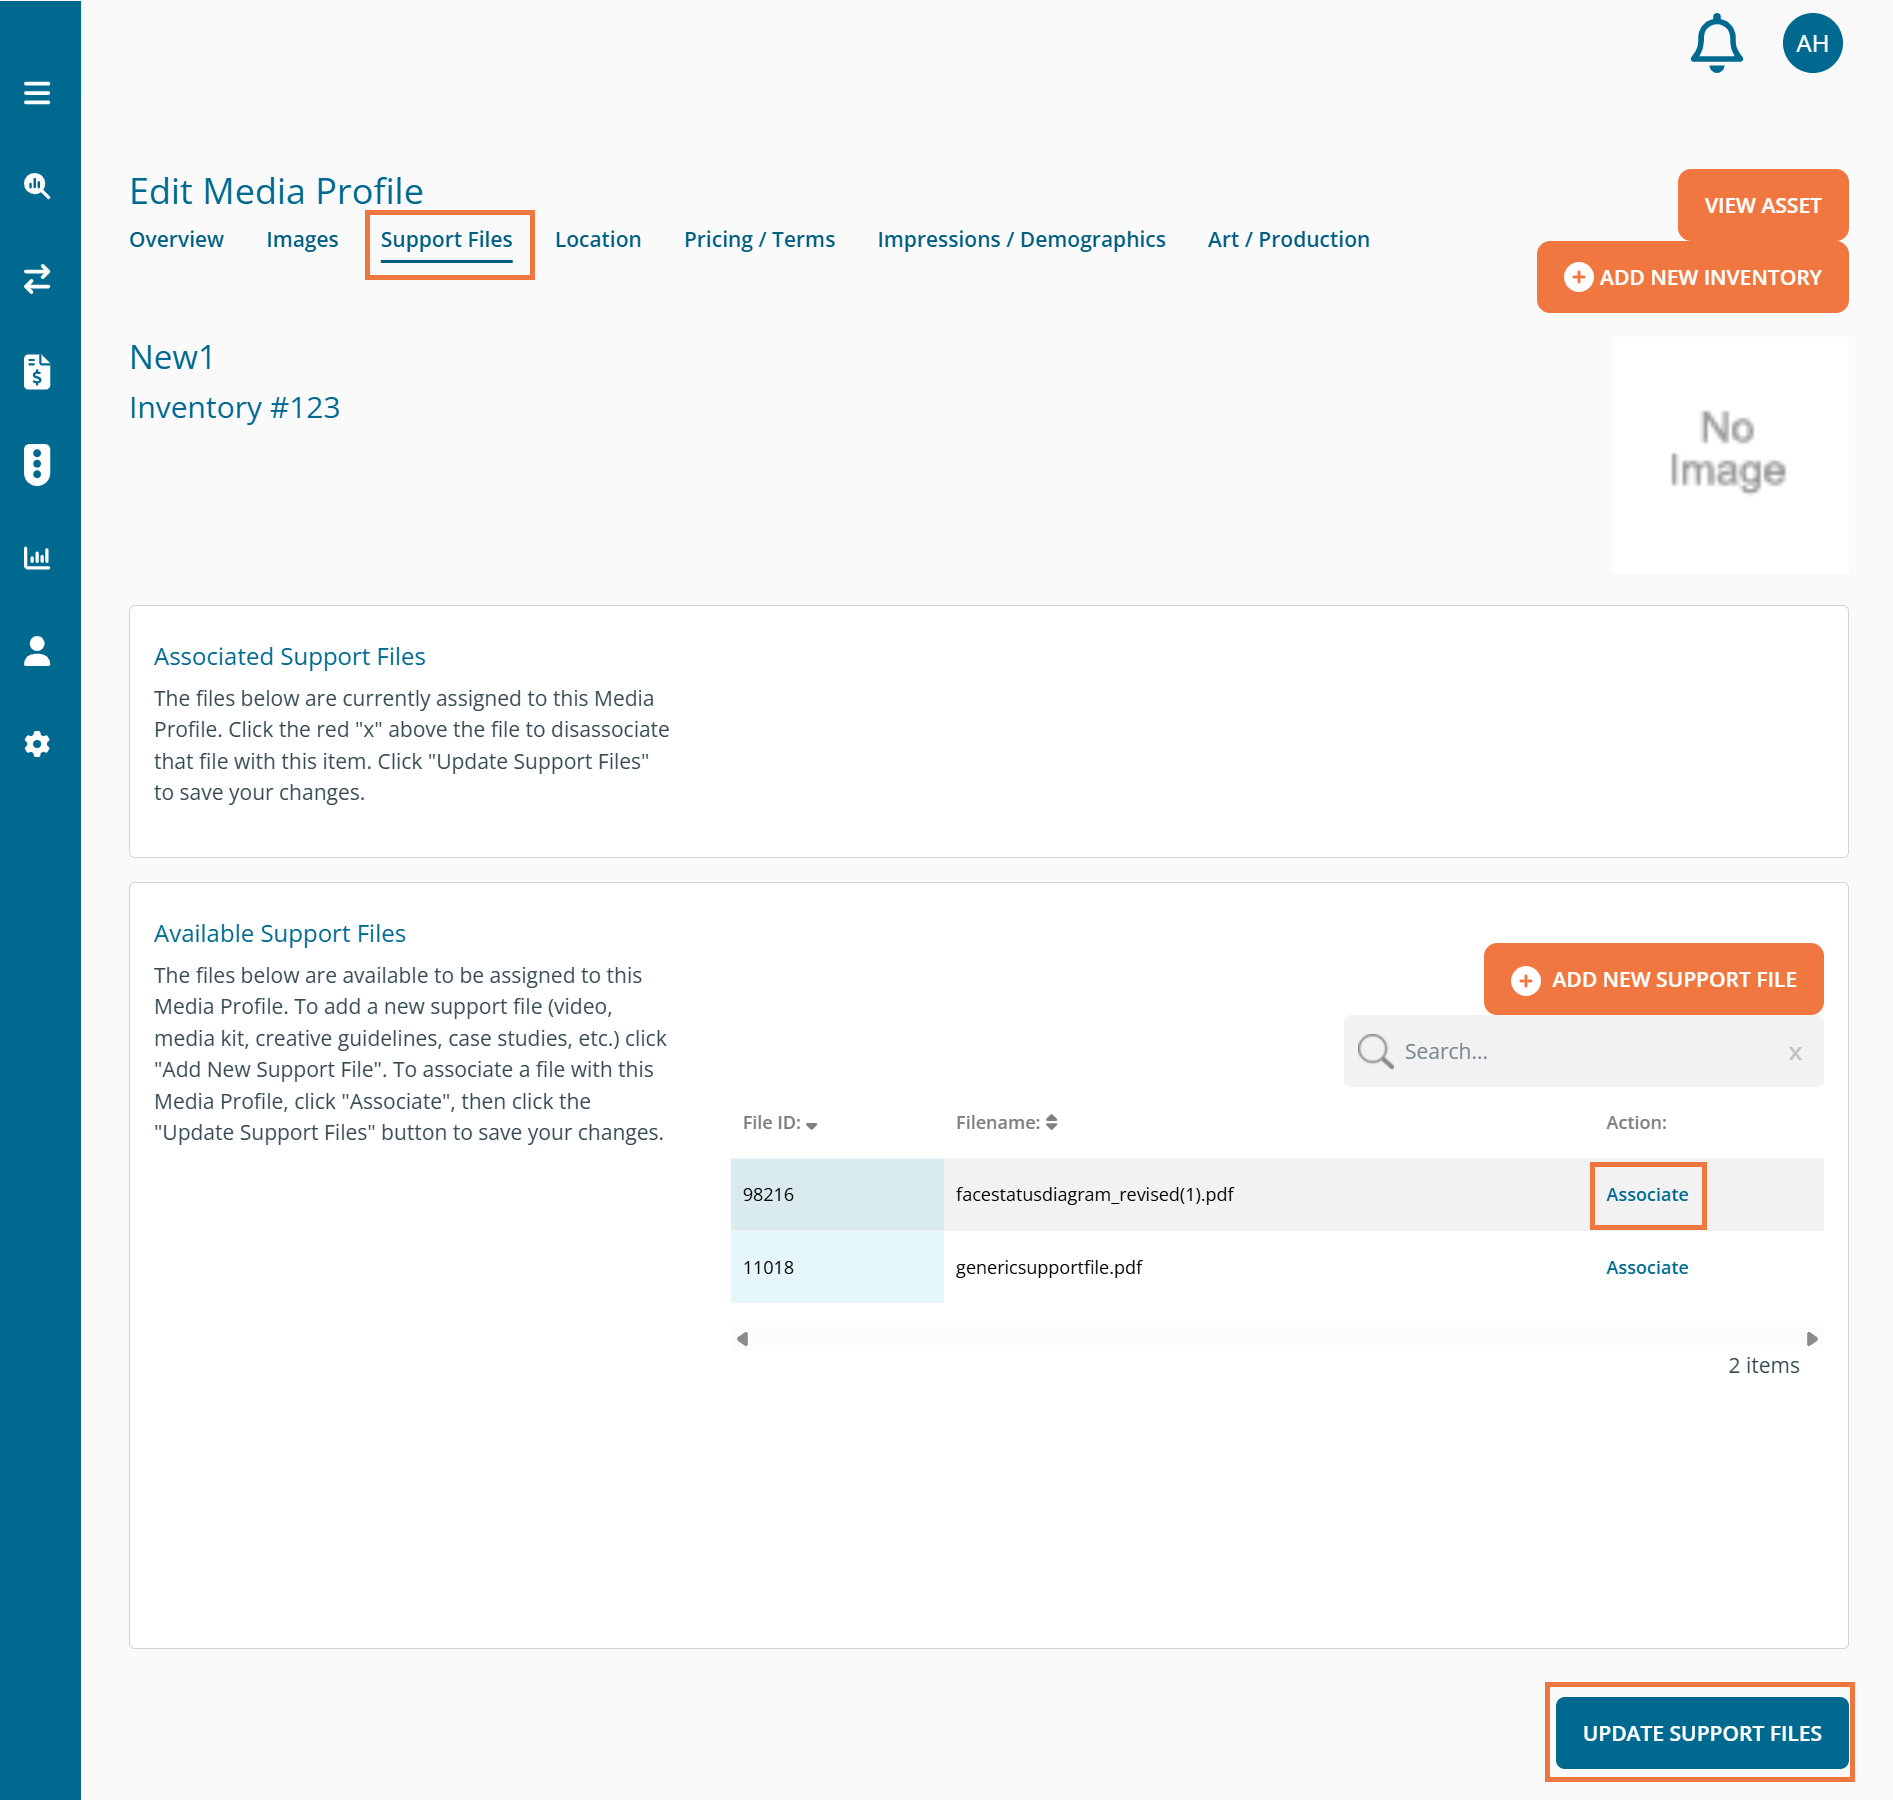
Scroll down until you see the support file that is related to that piece of inventory, click the 'Associate' button. The associated file will move to the Associated Support Files section. Scroll to the bottom and click 'Update Support Files' to associate that file with the asset.
Location
Next, the Location tab.
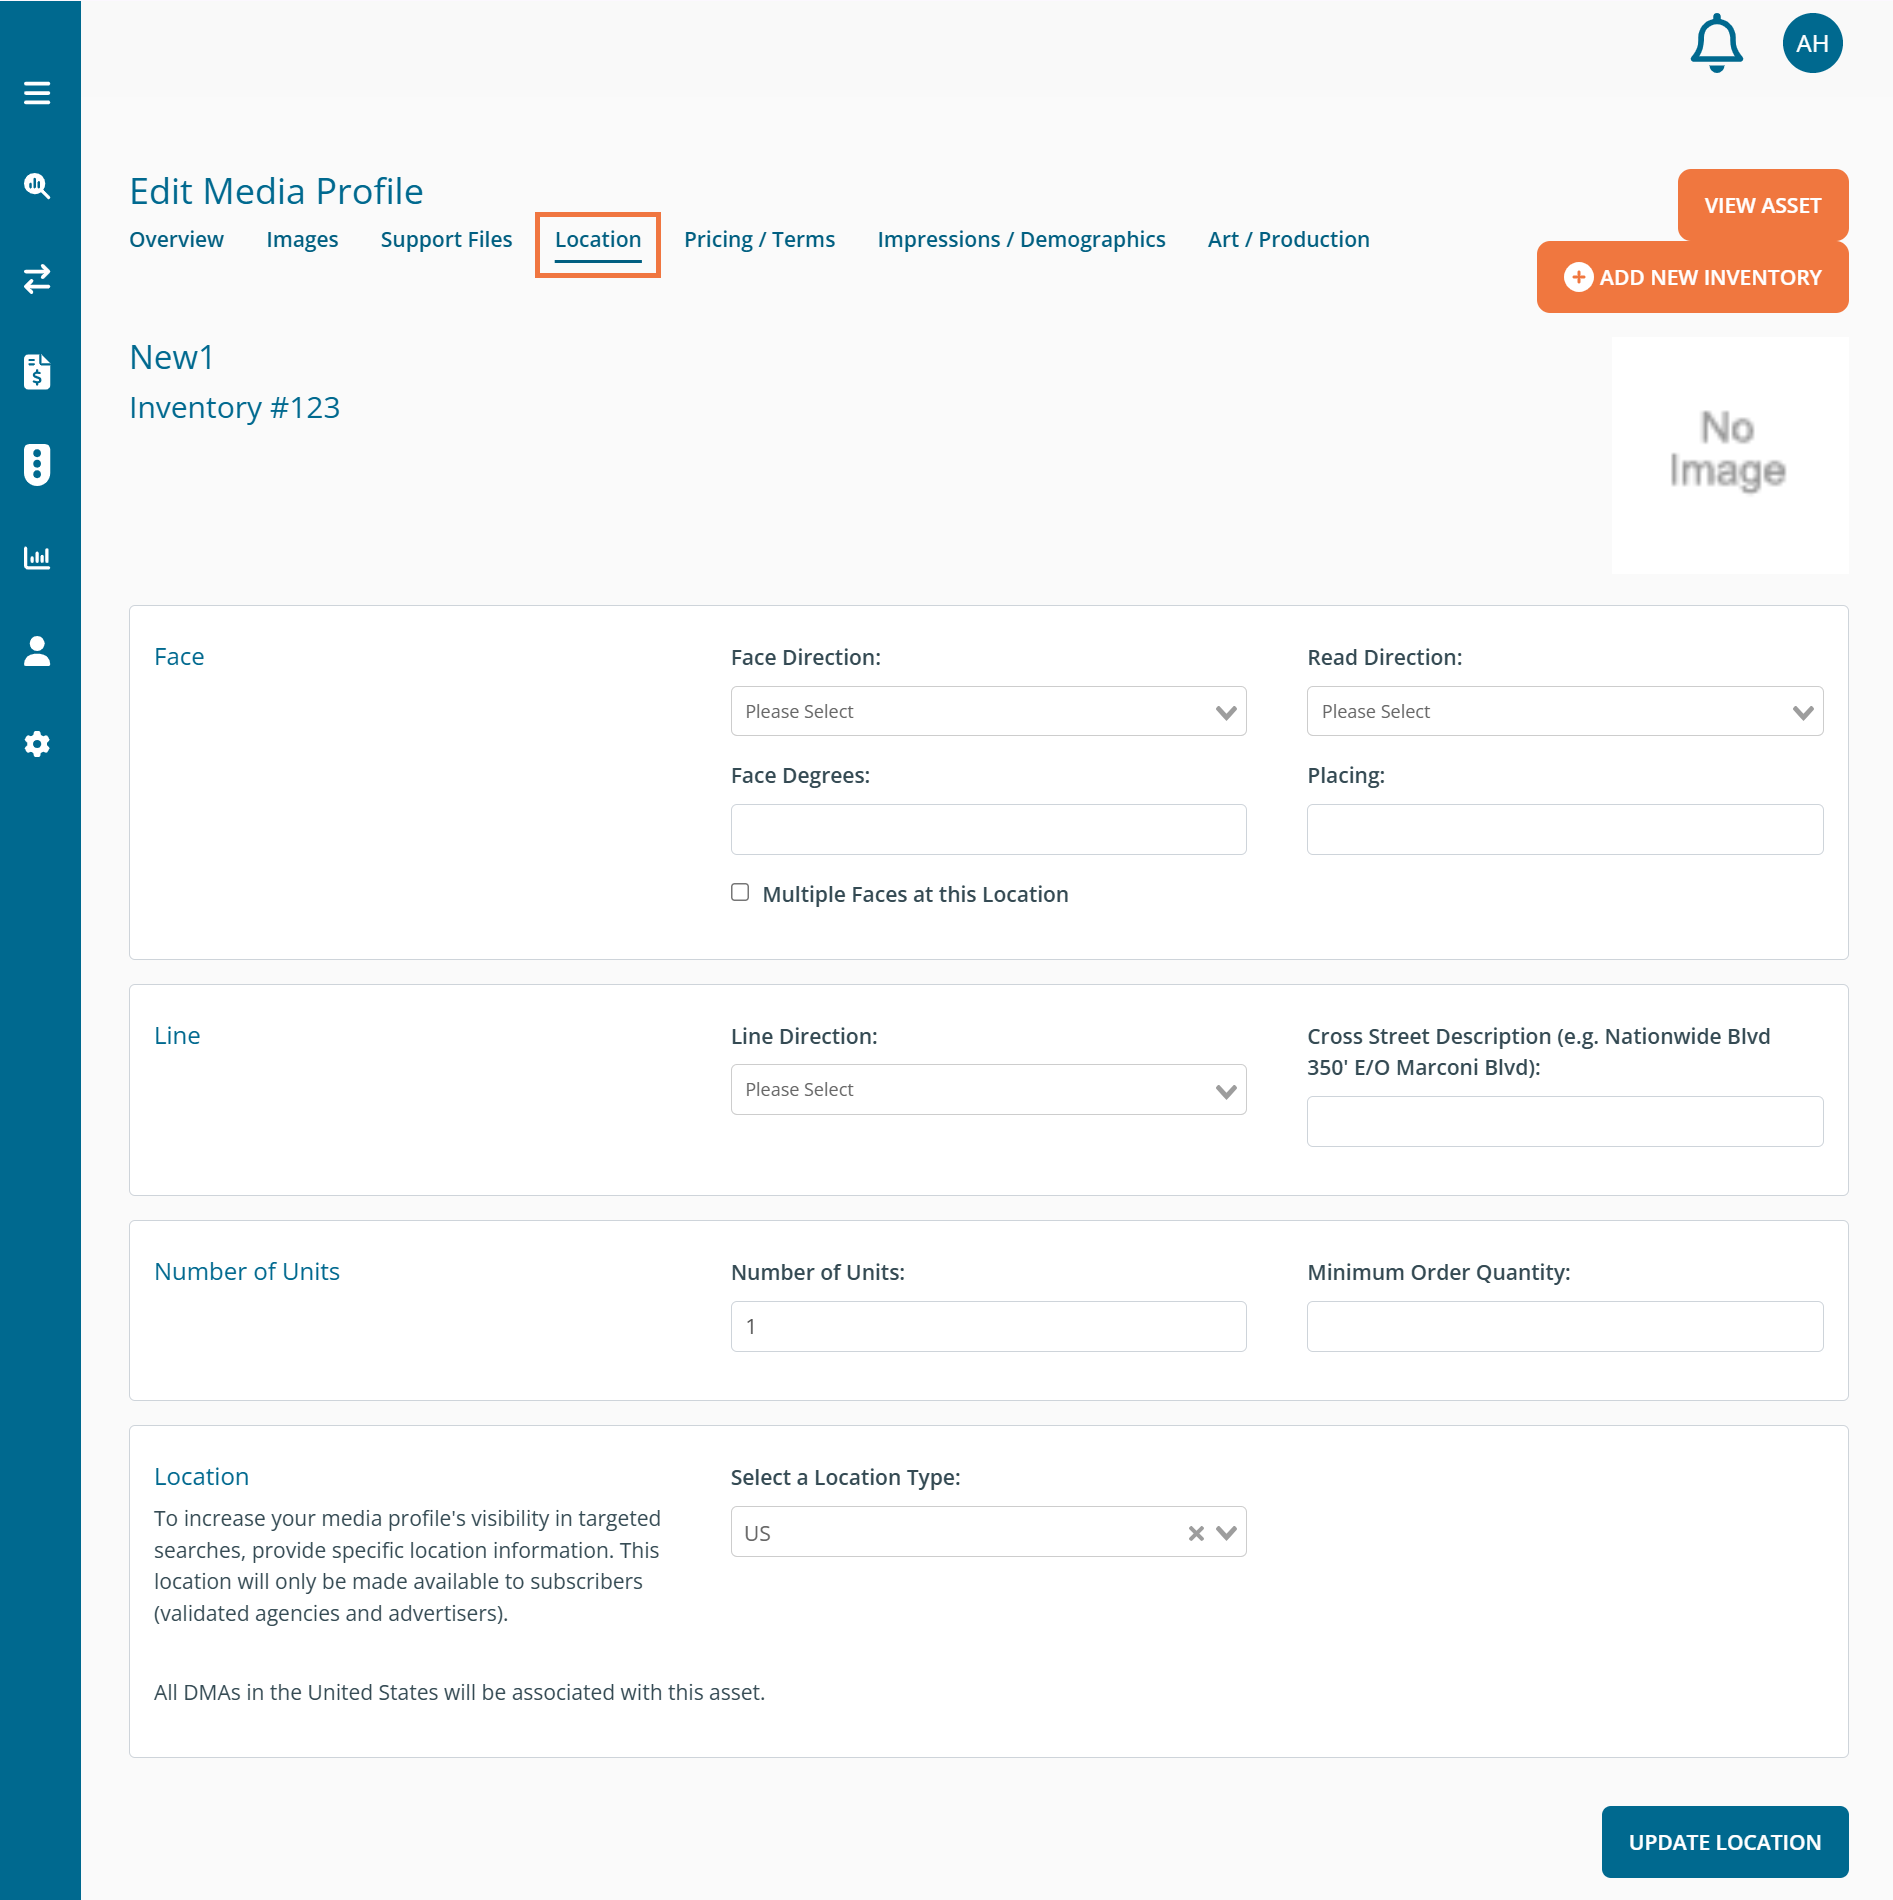
You can enter additional information related to the location of the asset, such as:
-Face Direction indicates the direction that the creative will face. Ex. A billboard could have two faces of North and South.
-Therefore, for the above example, the seller may want to select the box for Multiple Faces at This Location depending on how they structure their assets.
-Read Direction indicates the line of sight or the direction that the viewer would need to be facing in order to see the creative.
-Line Direction indicates the direction in which travelers would see the asset.
-Total Units Available
-Minimum Order Quantity
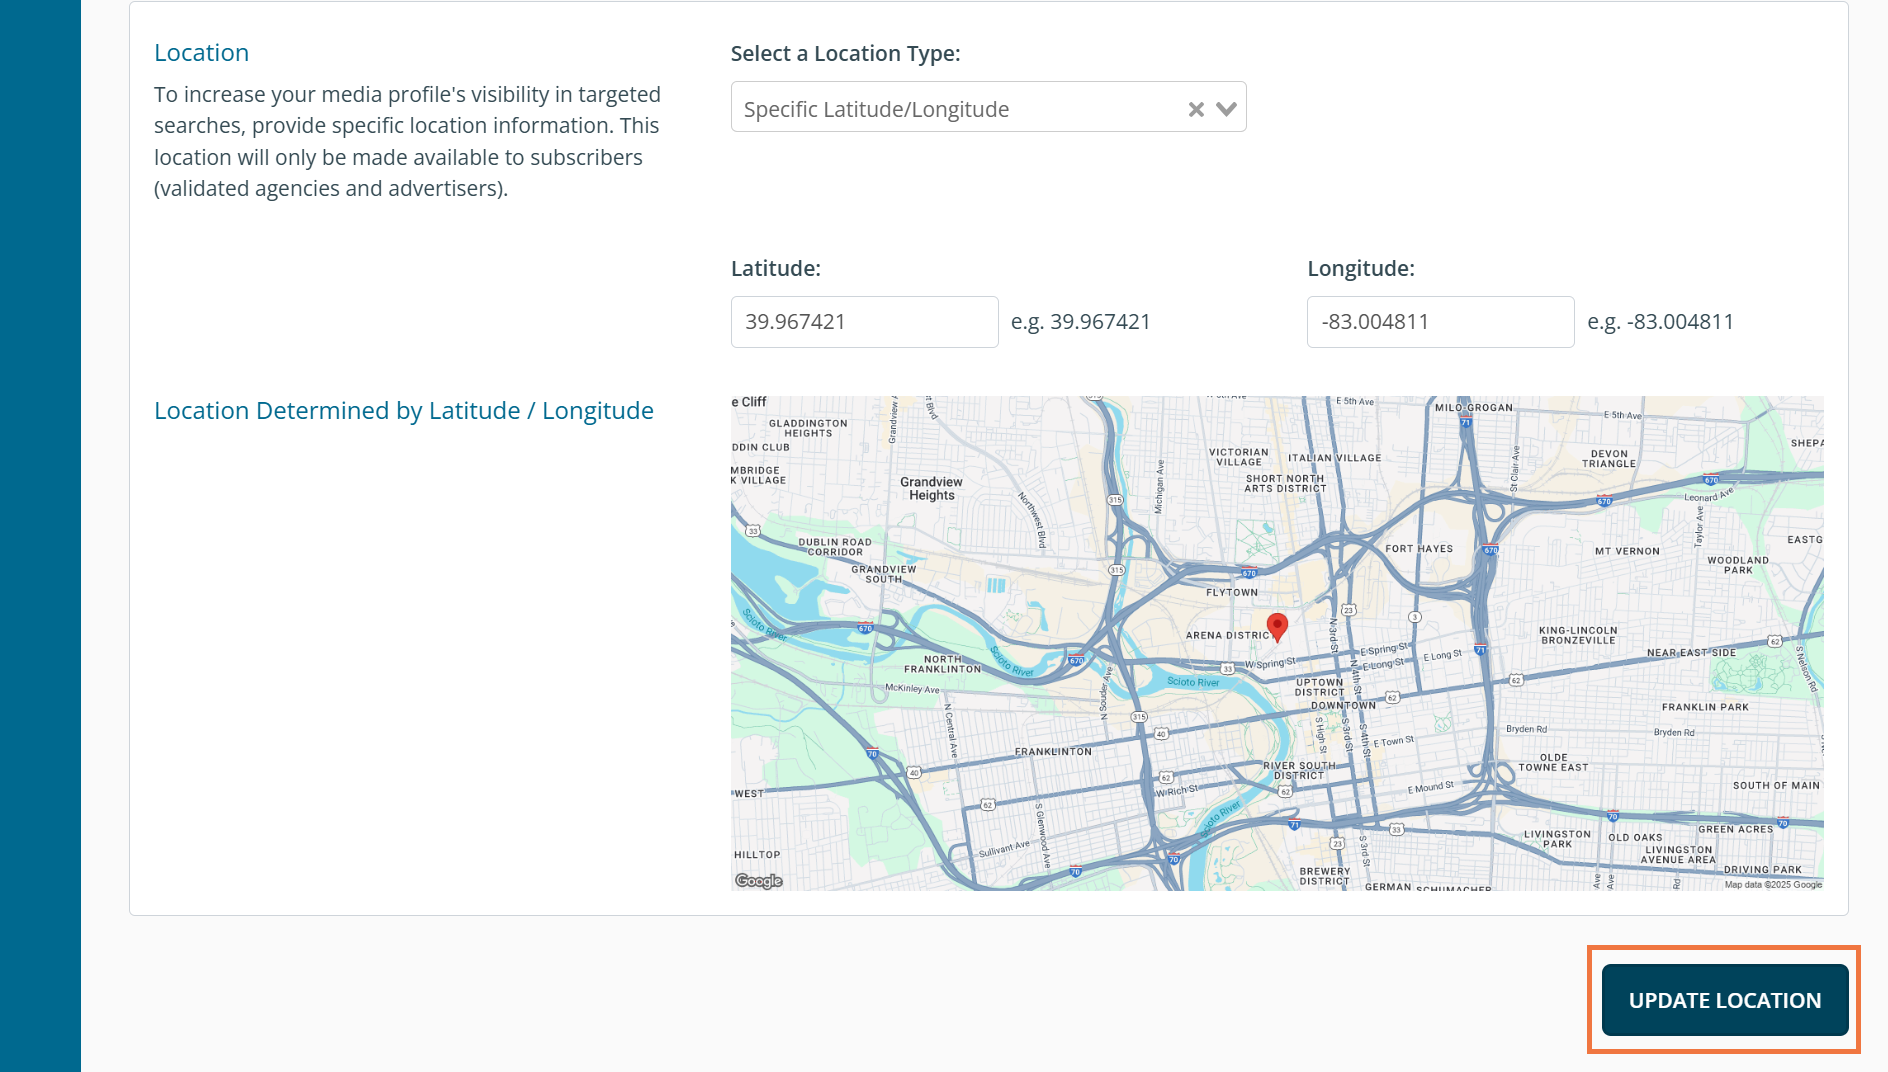
-Location Type: Enter a Specific Latitude/Longitude, Specific Street Address, Set of Zip Codes, Set of Metropolitan Statistical Areas (MSA), Set of Market Areas, Set of U.S. States, The Entire United States, Country other than USA, or The Whole World.
Be sure to click the 'Update Location' button at the bottom of the page to save your changes.
Pricing / Terms
From the Pricing / Terms tab, you have the ability to add information regarding rate card data. Ex. Unit Quantity: 4 (minimum), Frequency: 1 - 12, Cost per Unit per Month: $1,000, Production Costs: $6,000.

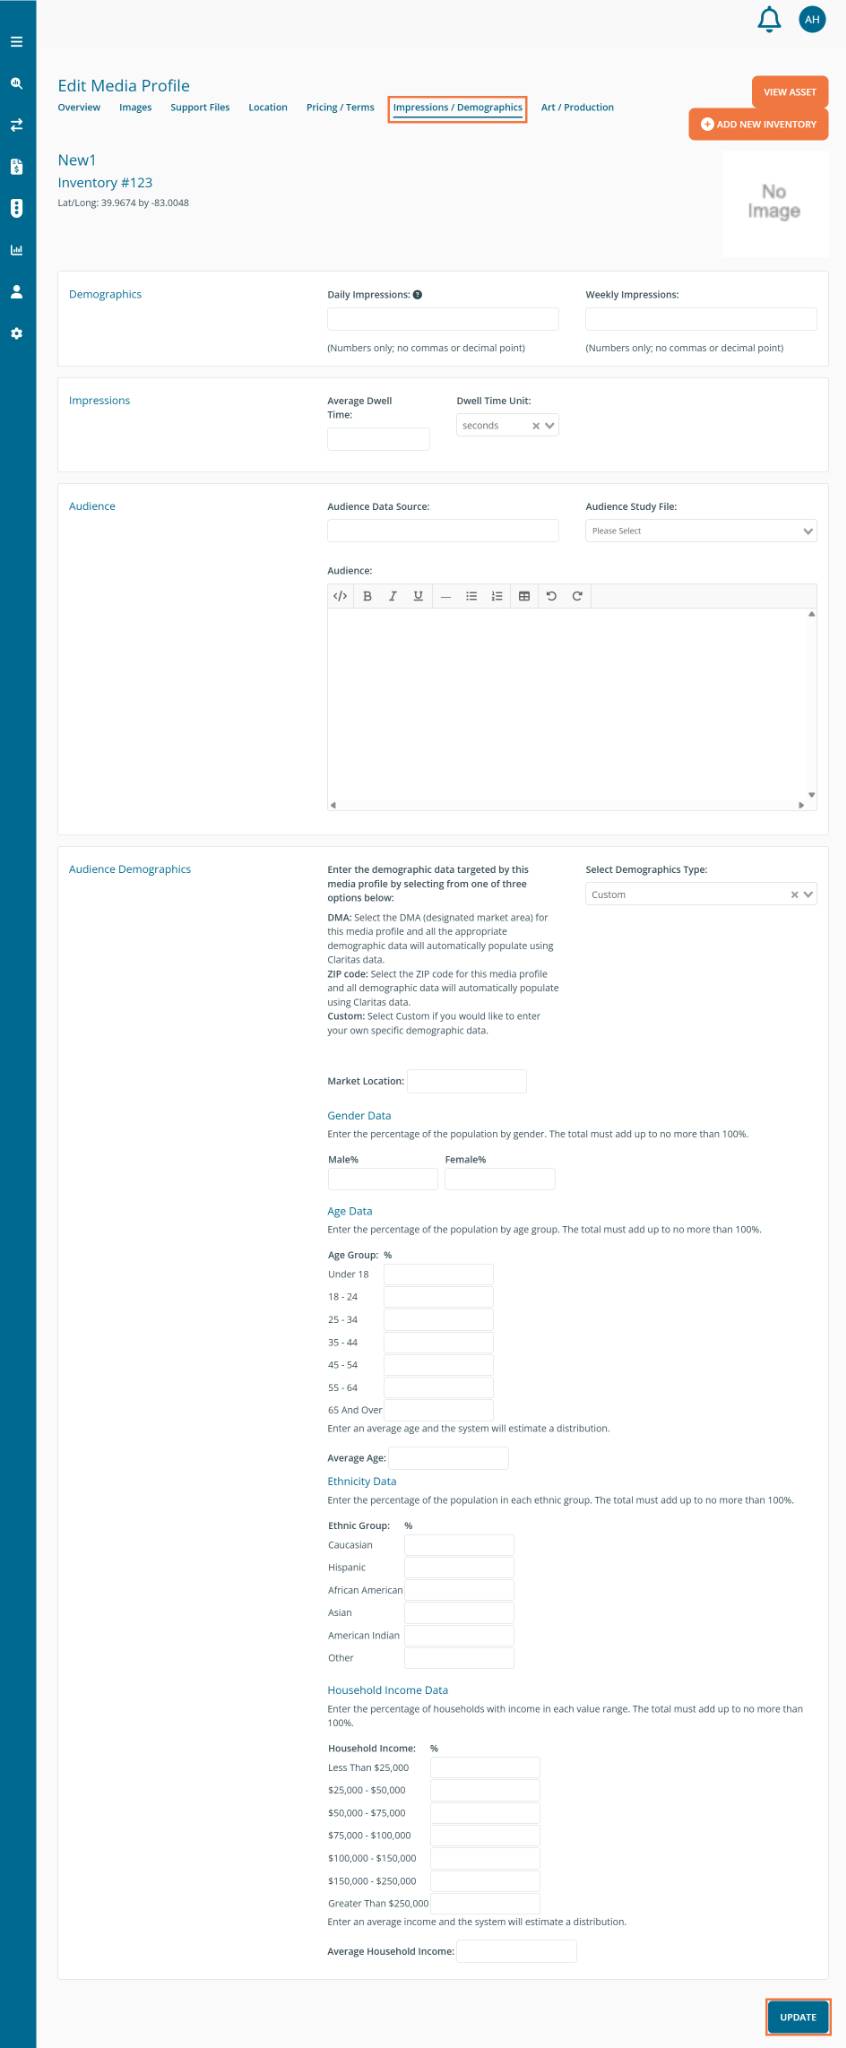
Impressions / Demographics
The Impressions / Demographics tab allows you to enter the number of impressions for that specific asset. You can also select demographics data on this page by selecting one of four options: National Average, Market Area, Zip Code, or Custom.
Art / Production
The Art / Production tab allows users to enter information regarding Width / Height, Approval Lead Process, Media Type, etc.
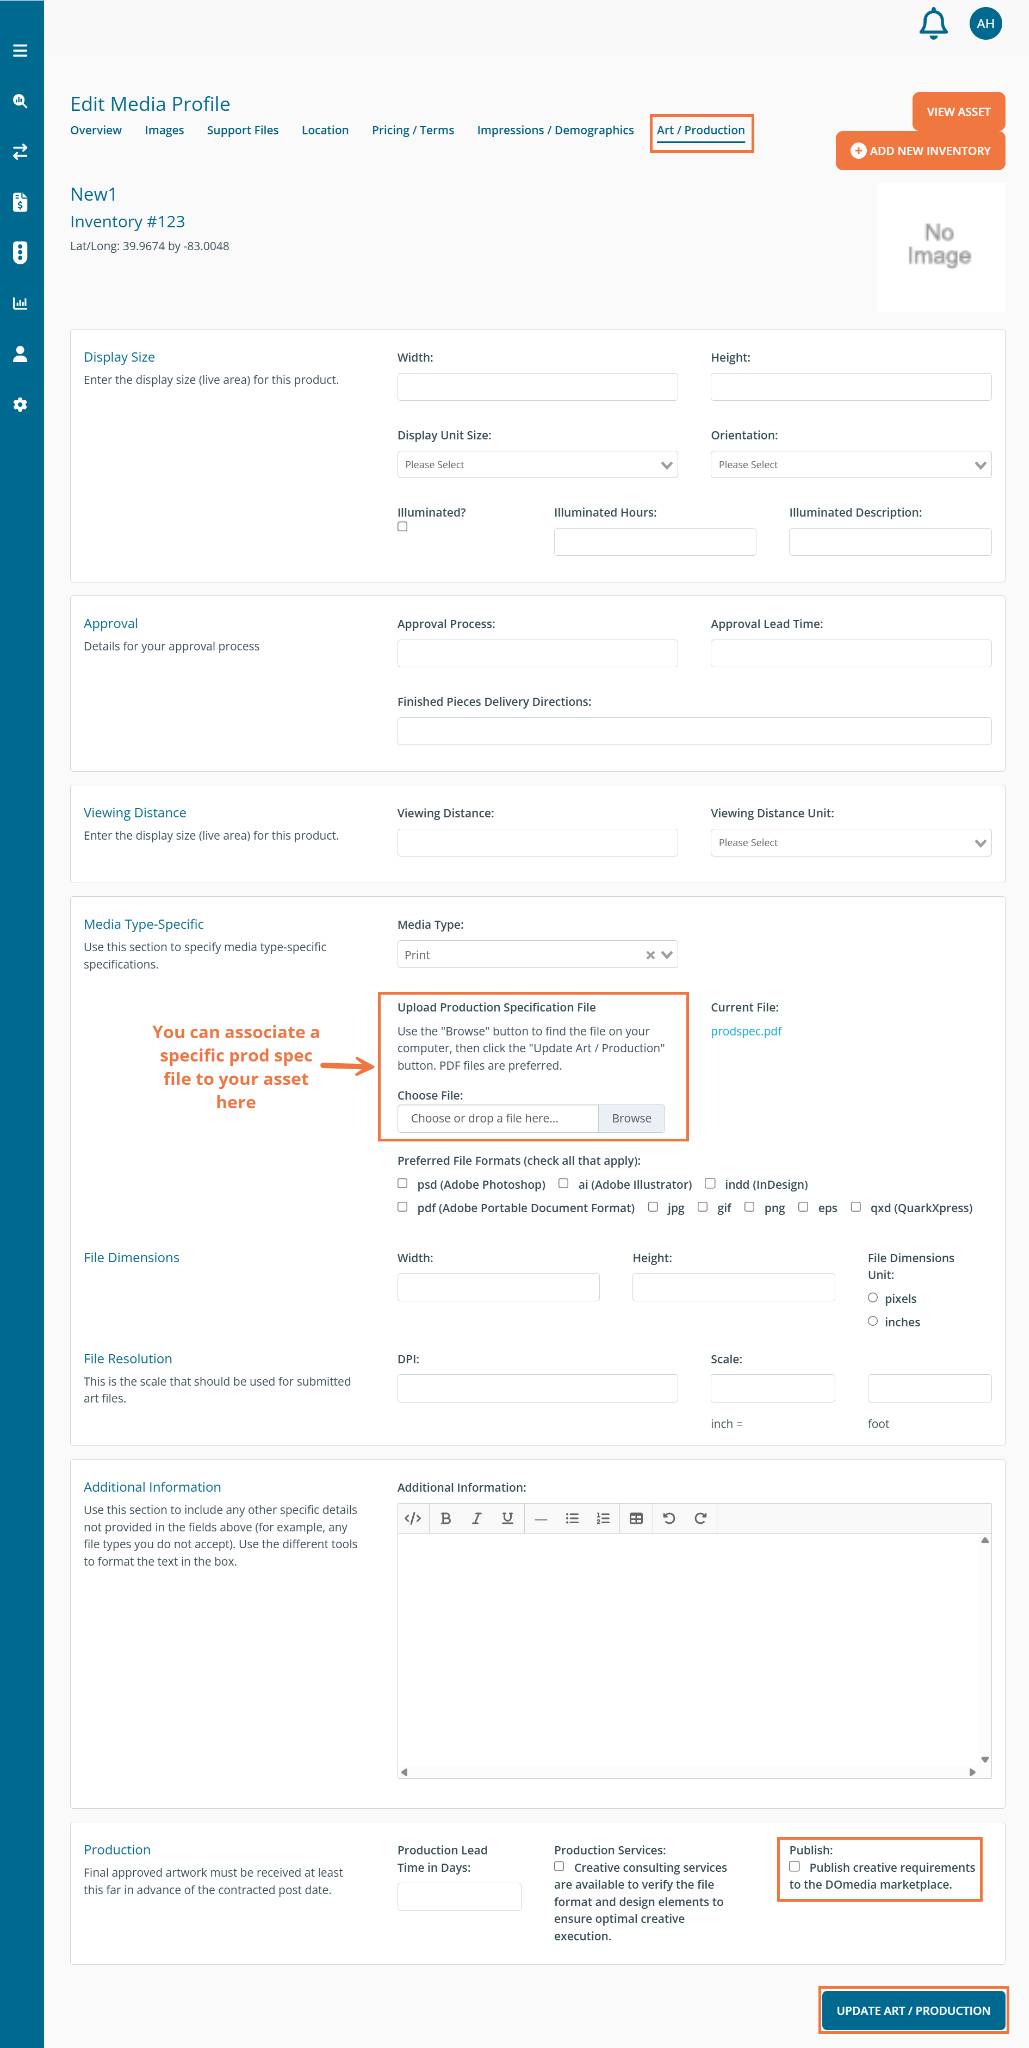
At the top of the page you can specify a height, width, size units (feet, inches, etc). You can also provide information about illumination, the approval process, and viewing distance if available.
Next you can provide Material-Type specific details such as recommended/approved material and upload Production Specifications file. Click the Browse button to find your file.
Please remember to click the checkbox for 'Publish creative requirements to the DOmedia marketplace' in order to show the display size details. Note: If you don't check this box, your asset's display size will not be shown.