Seller: How do I create a proposal from Proposal Management?
Page Contents:
To create a proposal from Proposal Management, hover over ‘Proposal’ in the white navigation bar at the top of the screen and click ‘Create Proposal’ in the drop-down menu.
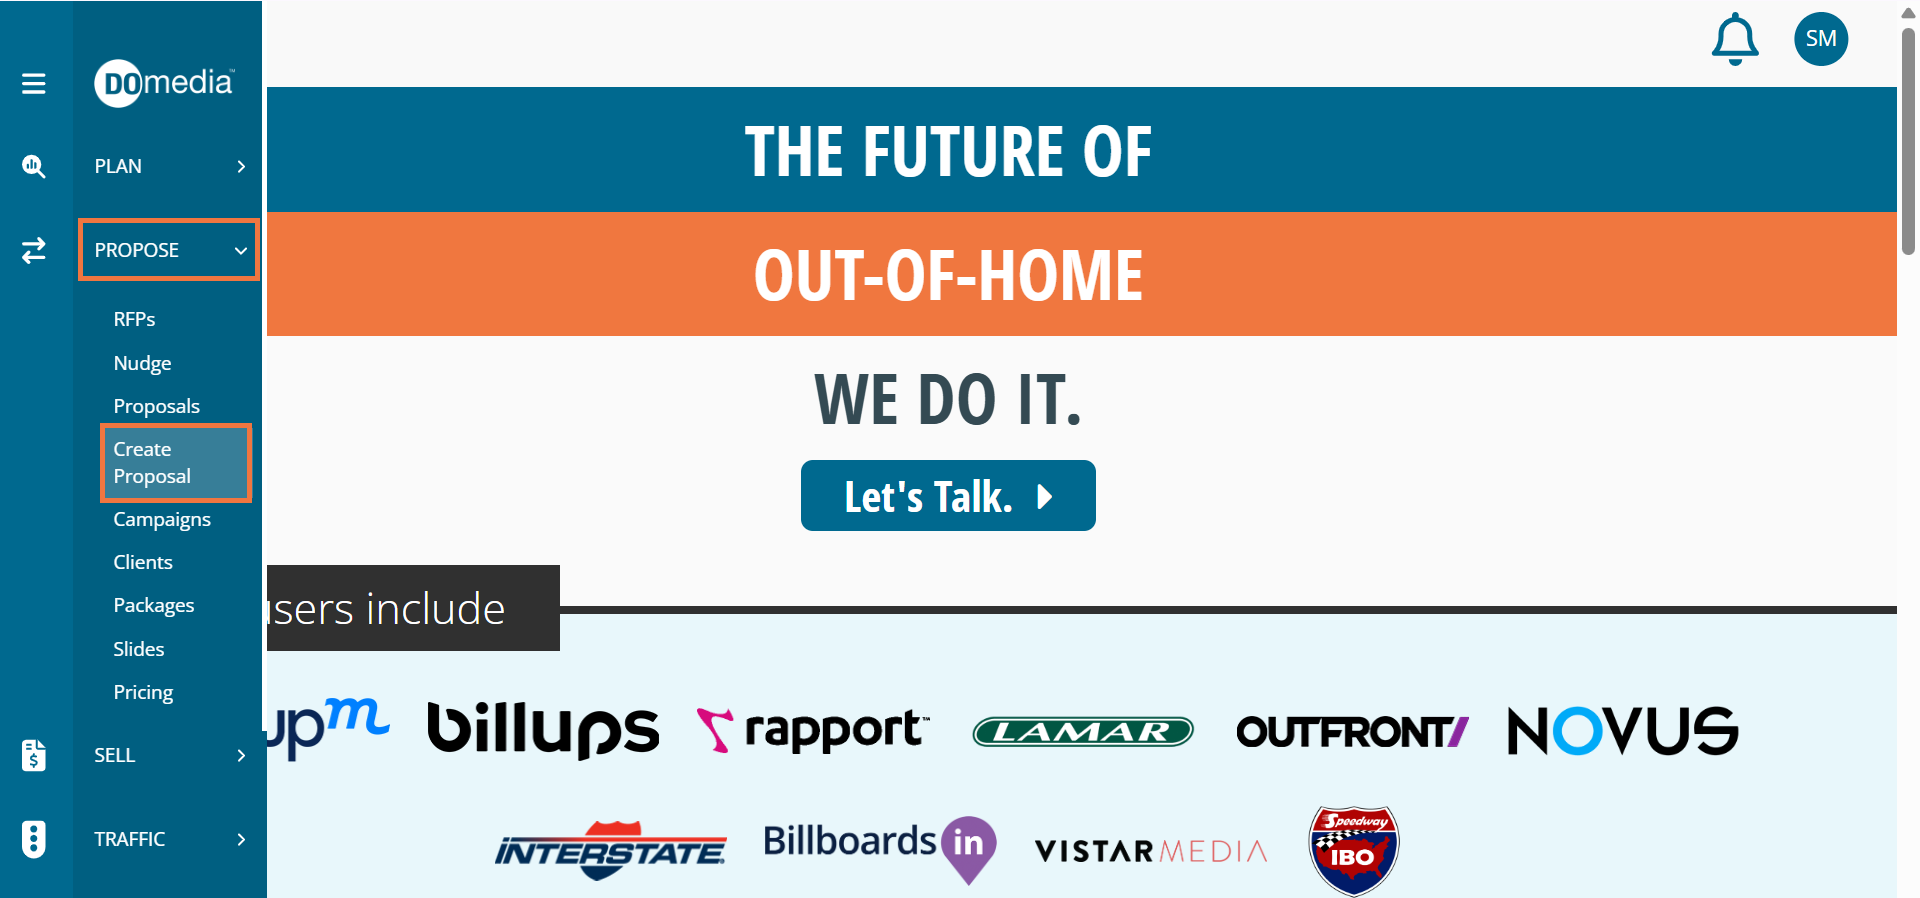
By clicking 'Create Proposal’, you should arrive at the form shown below.
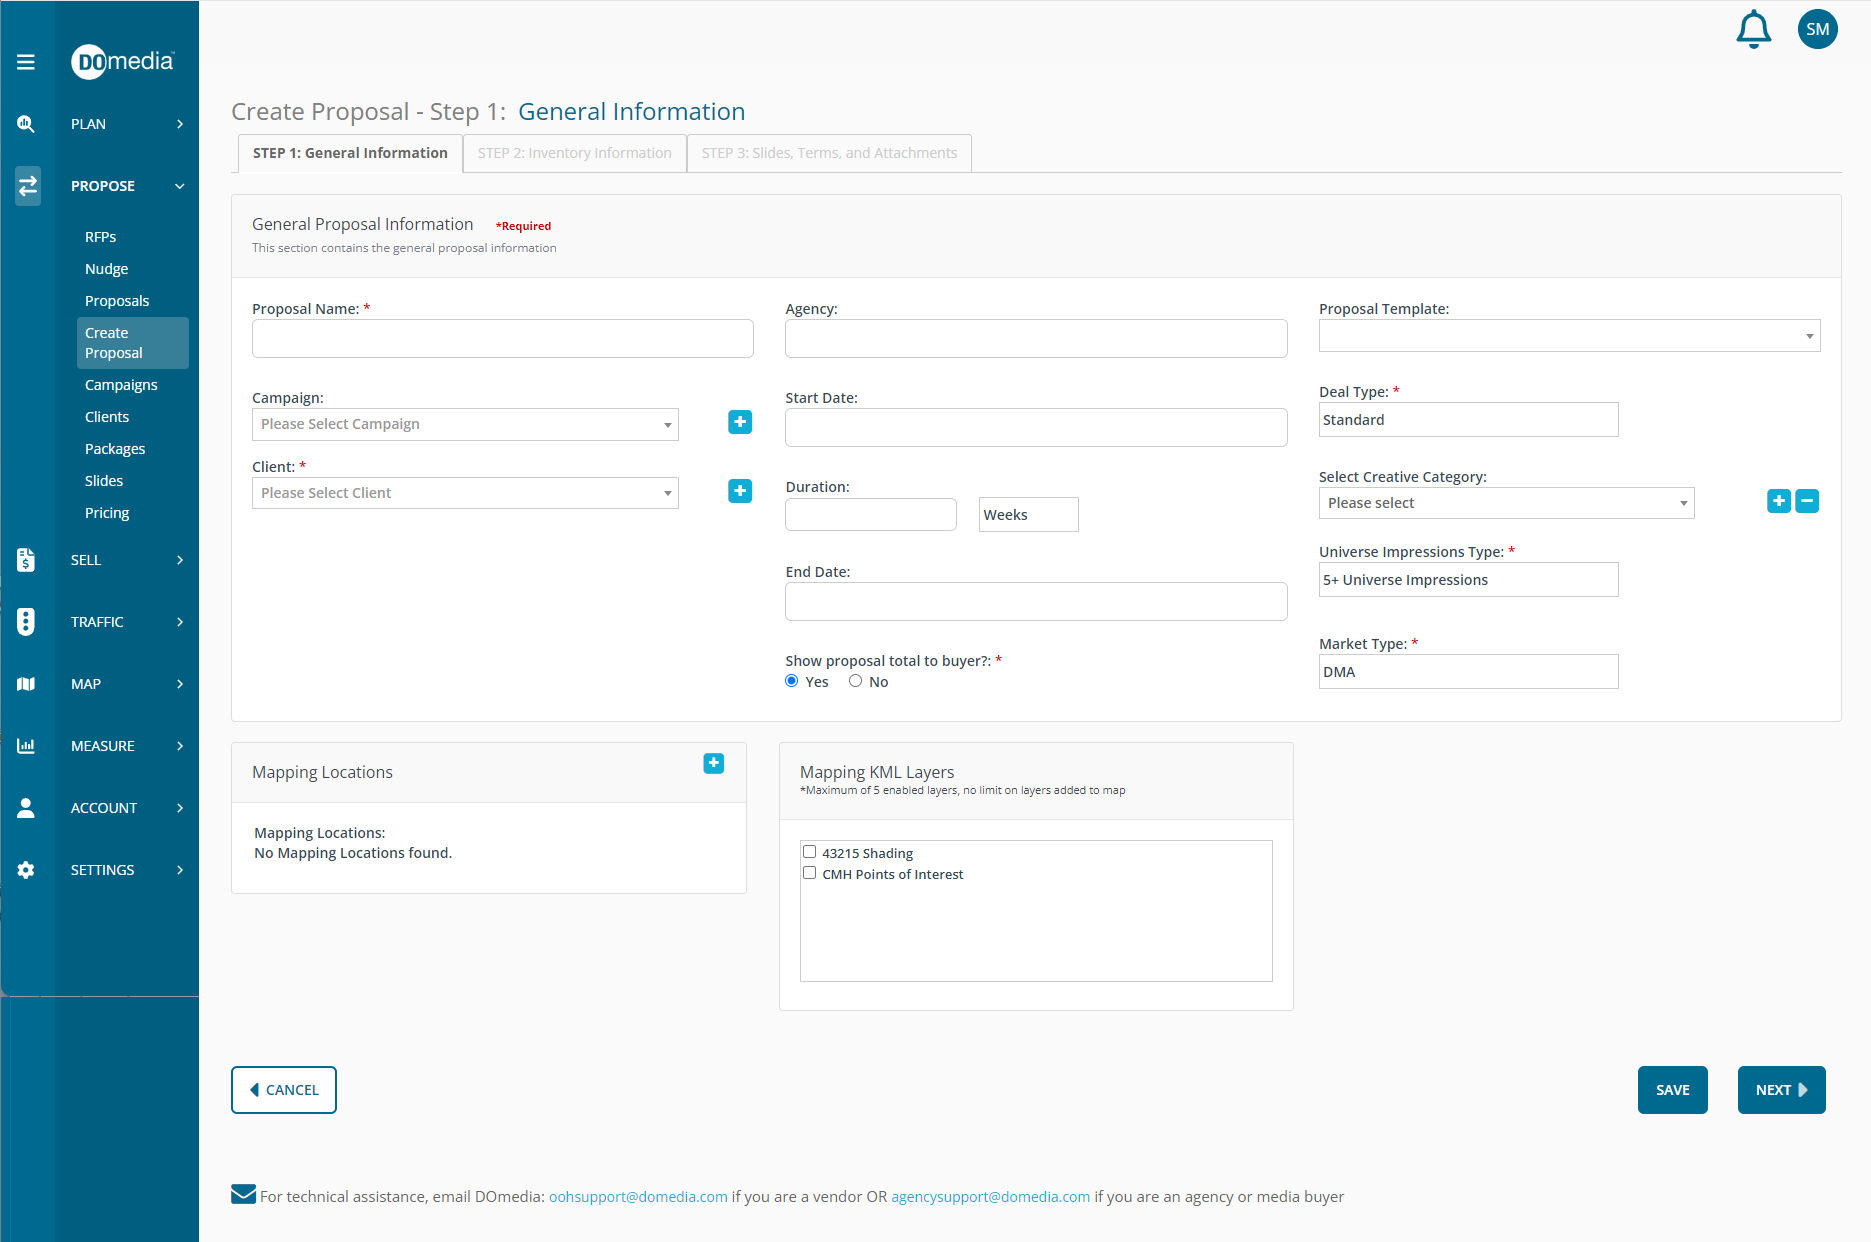
Create Proposal – Step 1: General information
This section contains the general proposal information. Note: required fields are marked by red asterisks (*)
Name: Give your proposal a unique name
Agency: Enter the agency name
Proposal Template: Select a template (click here to learn how to create a proposal template)
Note: A template must be created to be available for use in a proposal. If no template is selected, the DOmedia default template will be used.
Campaign: Select the campaign you wish to associate with this proposal.
Client: Select the client you would like to associate with this proposal. (click here to learn how to create a client)
Start Date & End Date: Designate the dates the media will be available
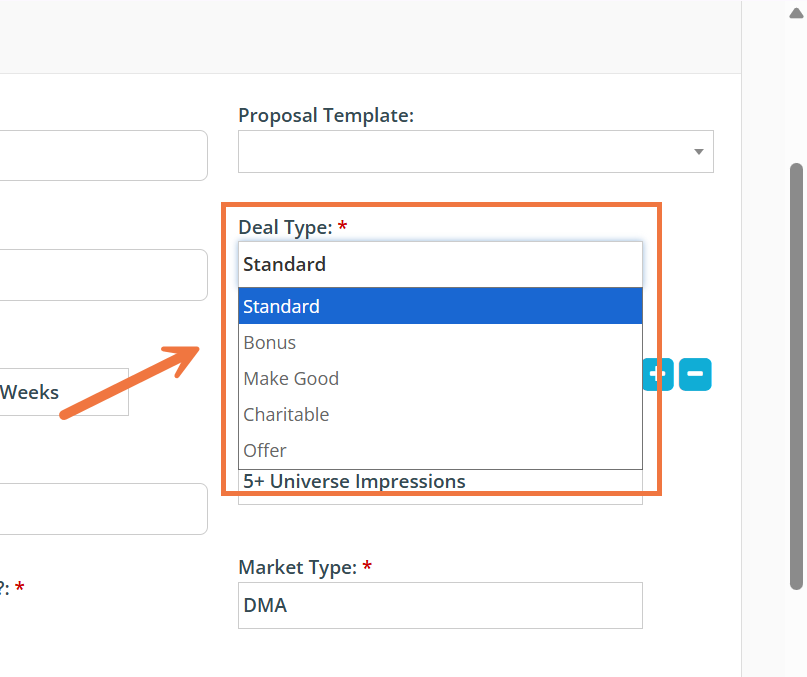
Deal Type: Select the type of deal
Note: The Standard deal type is the most commonly proposed
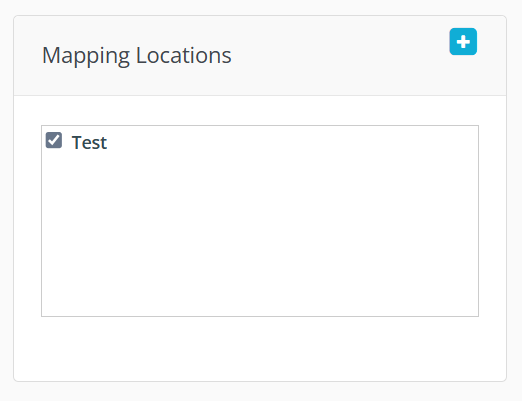
Mapping Locations: If you would like to include a Client Location List in your proposal, select one or more of your Client Location Lists.
Note: A Client Location List must already exist to be available.
Mapping KML Layers: If you would like to include a KML Layer in your proposal, select one or more of your KML Layers. Note: A KML Layer must already exist to be available.

Click 'Next'.
Create Proposal - Step 2: Inventory Information
Step 2 displays the grid that can be filled with the inventory you want to be included in the proposal. Also, you can create your proposal by typing directly or copying and pasting into the grid, using either
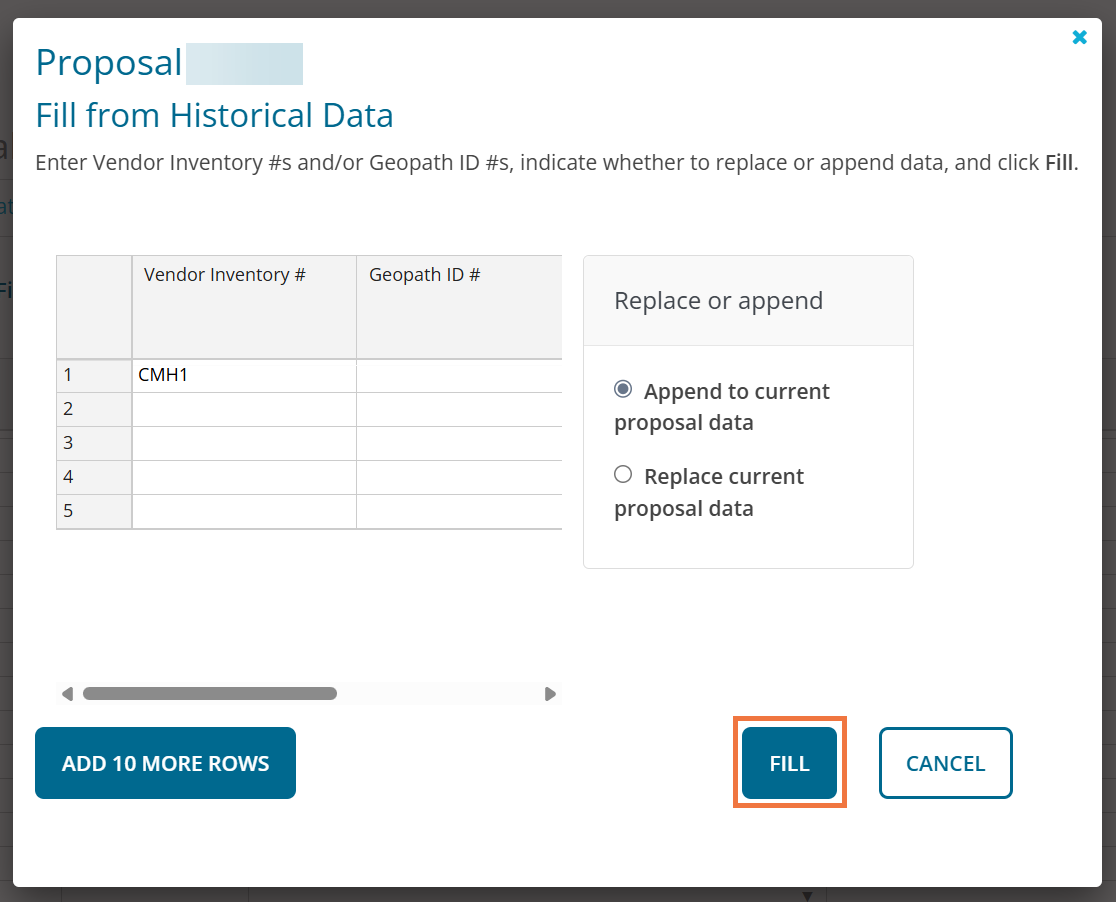
- the Fill From Historical Data tool,
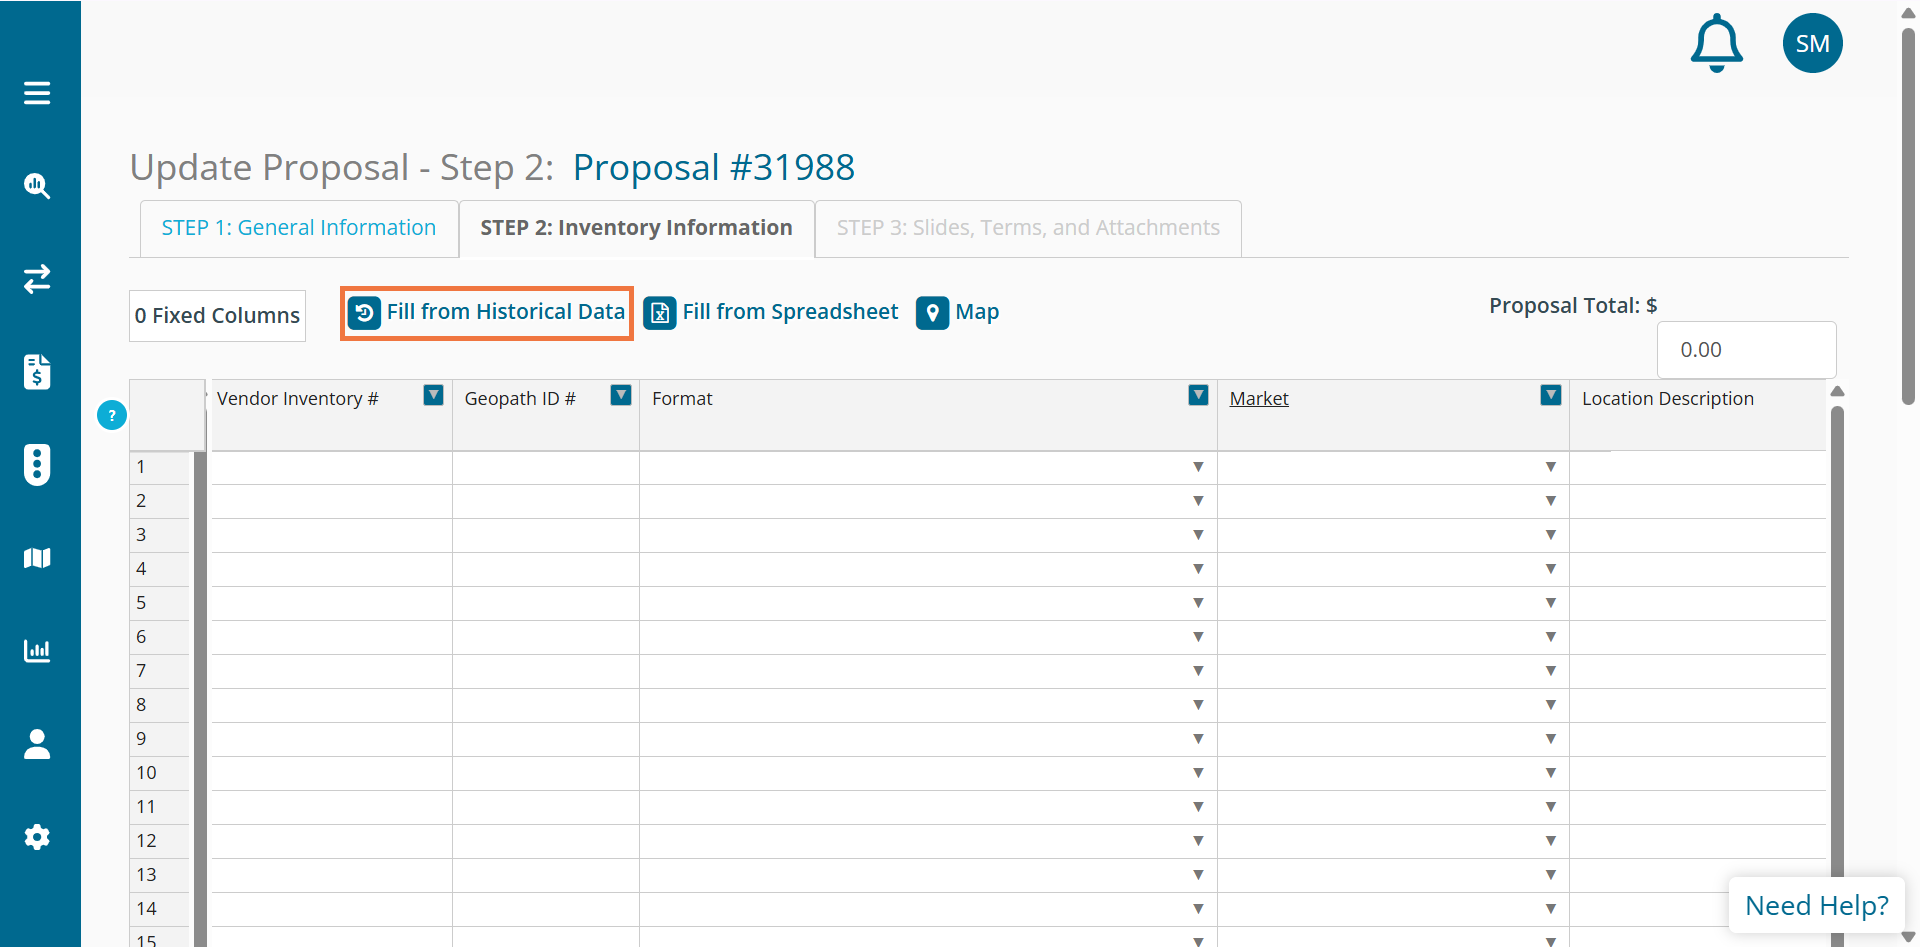
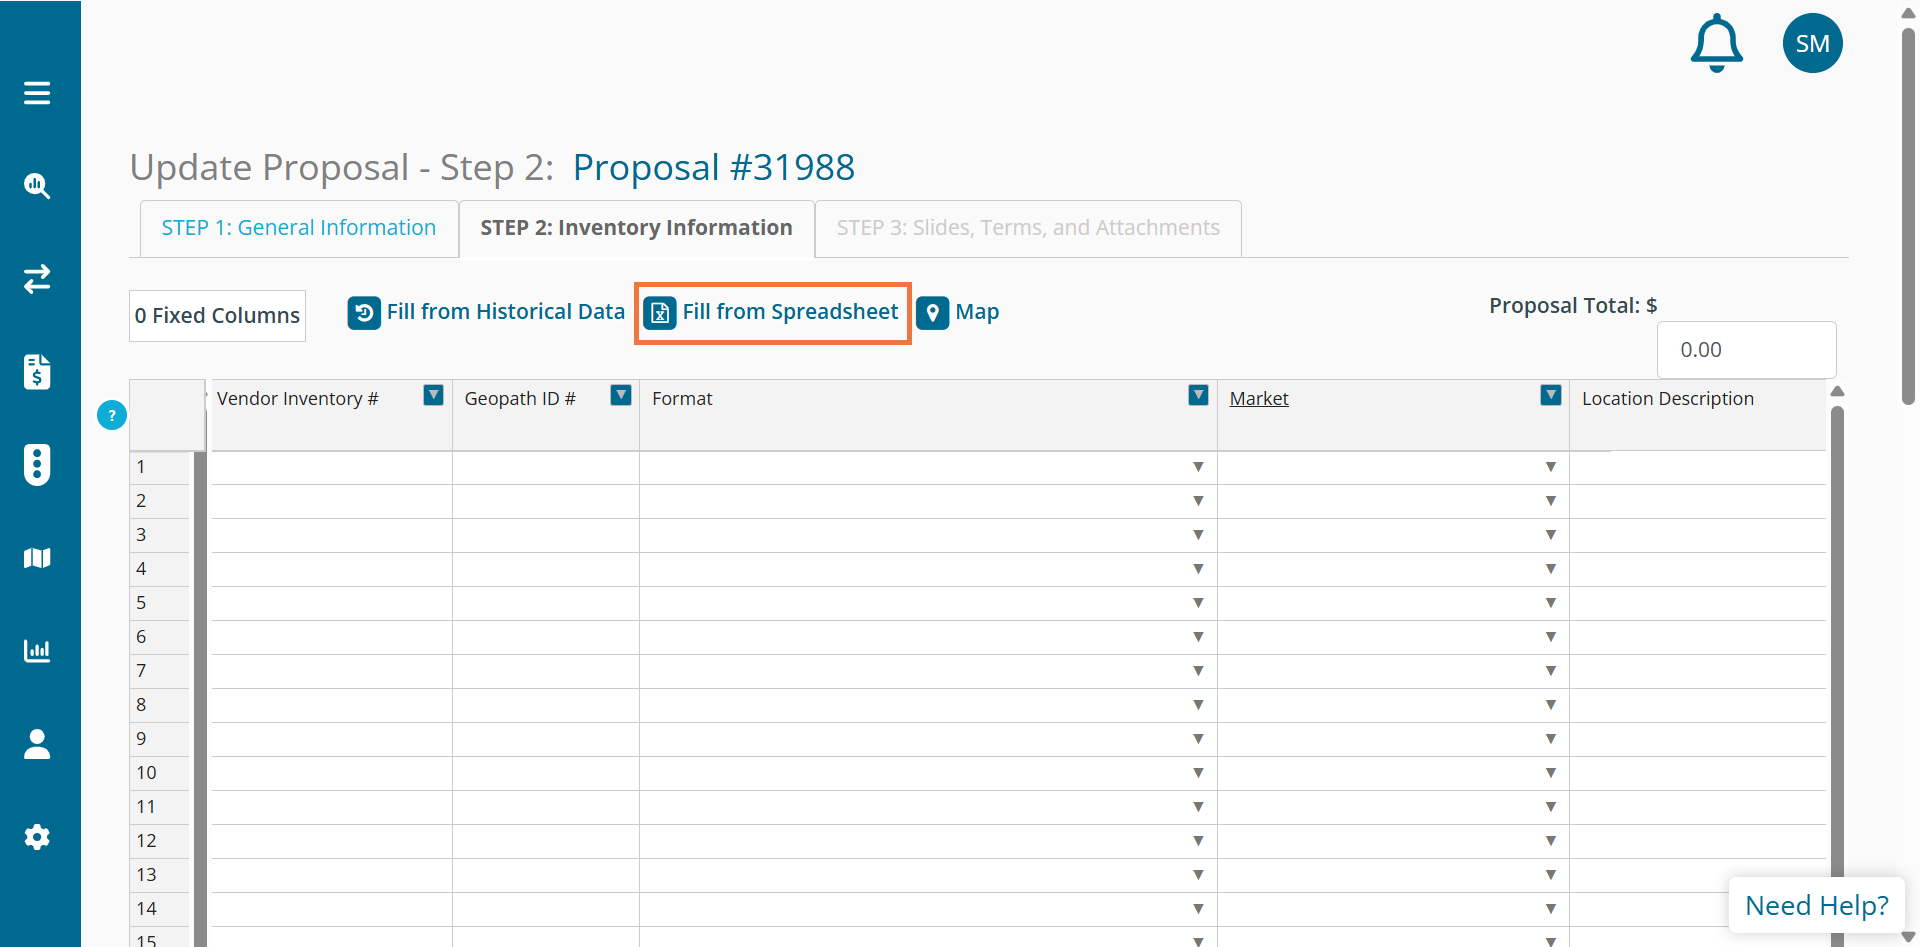
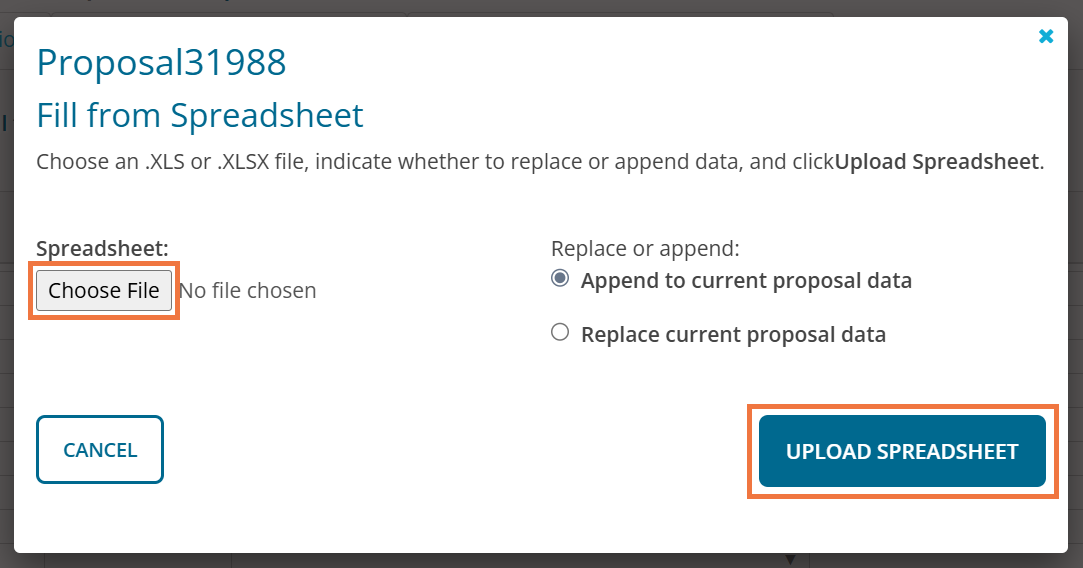
- or, the Fill From Spreadsheet tool.
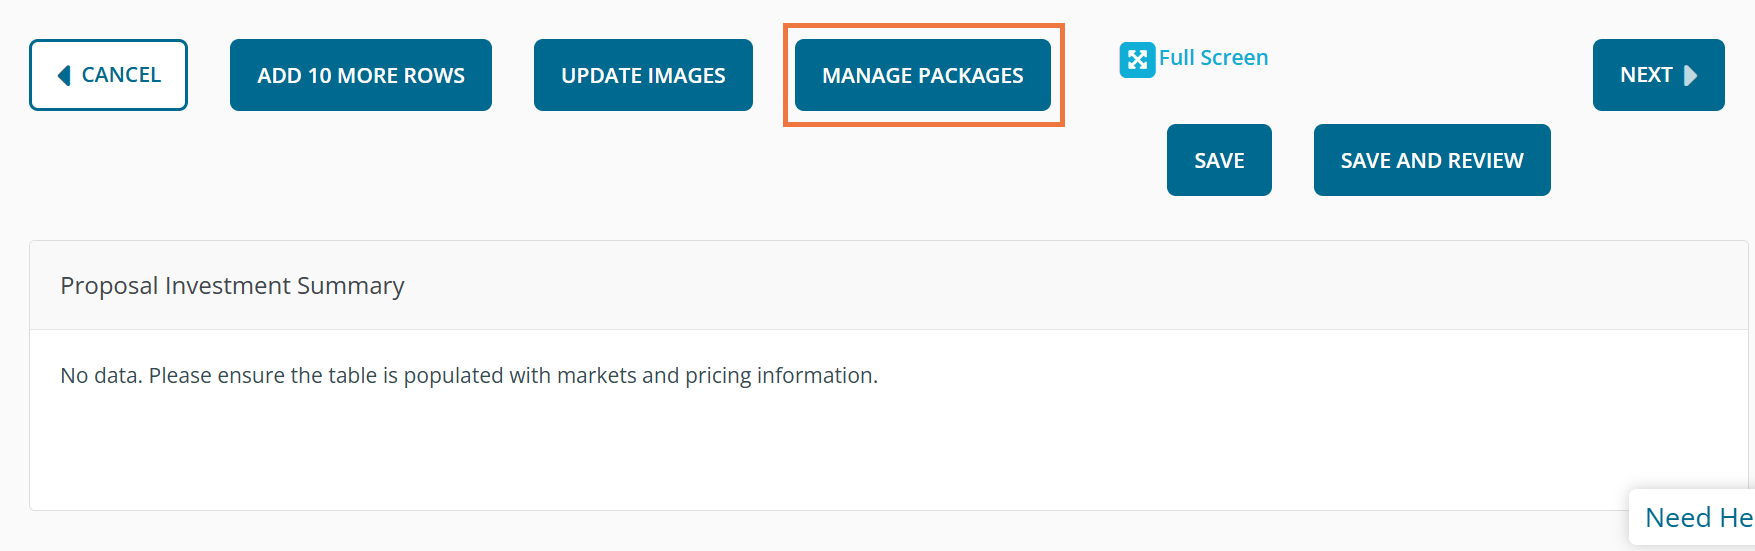
Proposal Package: A proposal package is two or more pieces of saved inventory and can be added to proposals by selecting the specific package located in the menu below. A proposal package must be created ahead of time to be added to a proposal. (Click here to learn how to to create a proposal package.) Note: The Package management button will not appear below the GRP Grid.
If you create a package from the link above, the next screen will show you a button for "Manage Package"
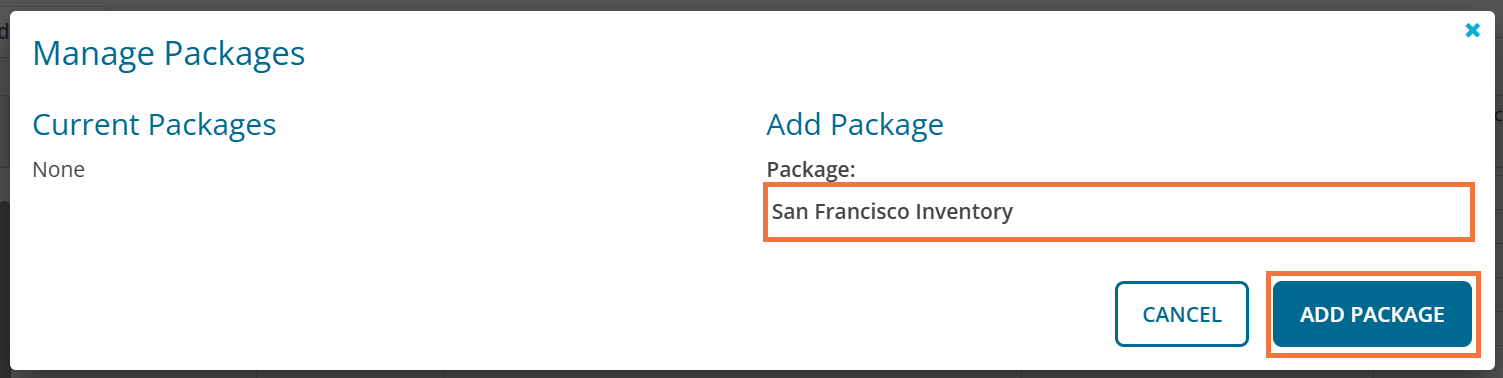
Once you add the package they'll show up on your grid in blue. Select 'Next' to move forward to Step 3.
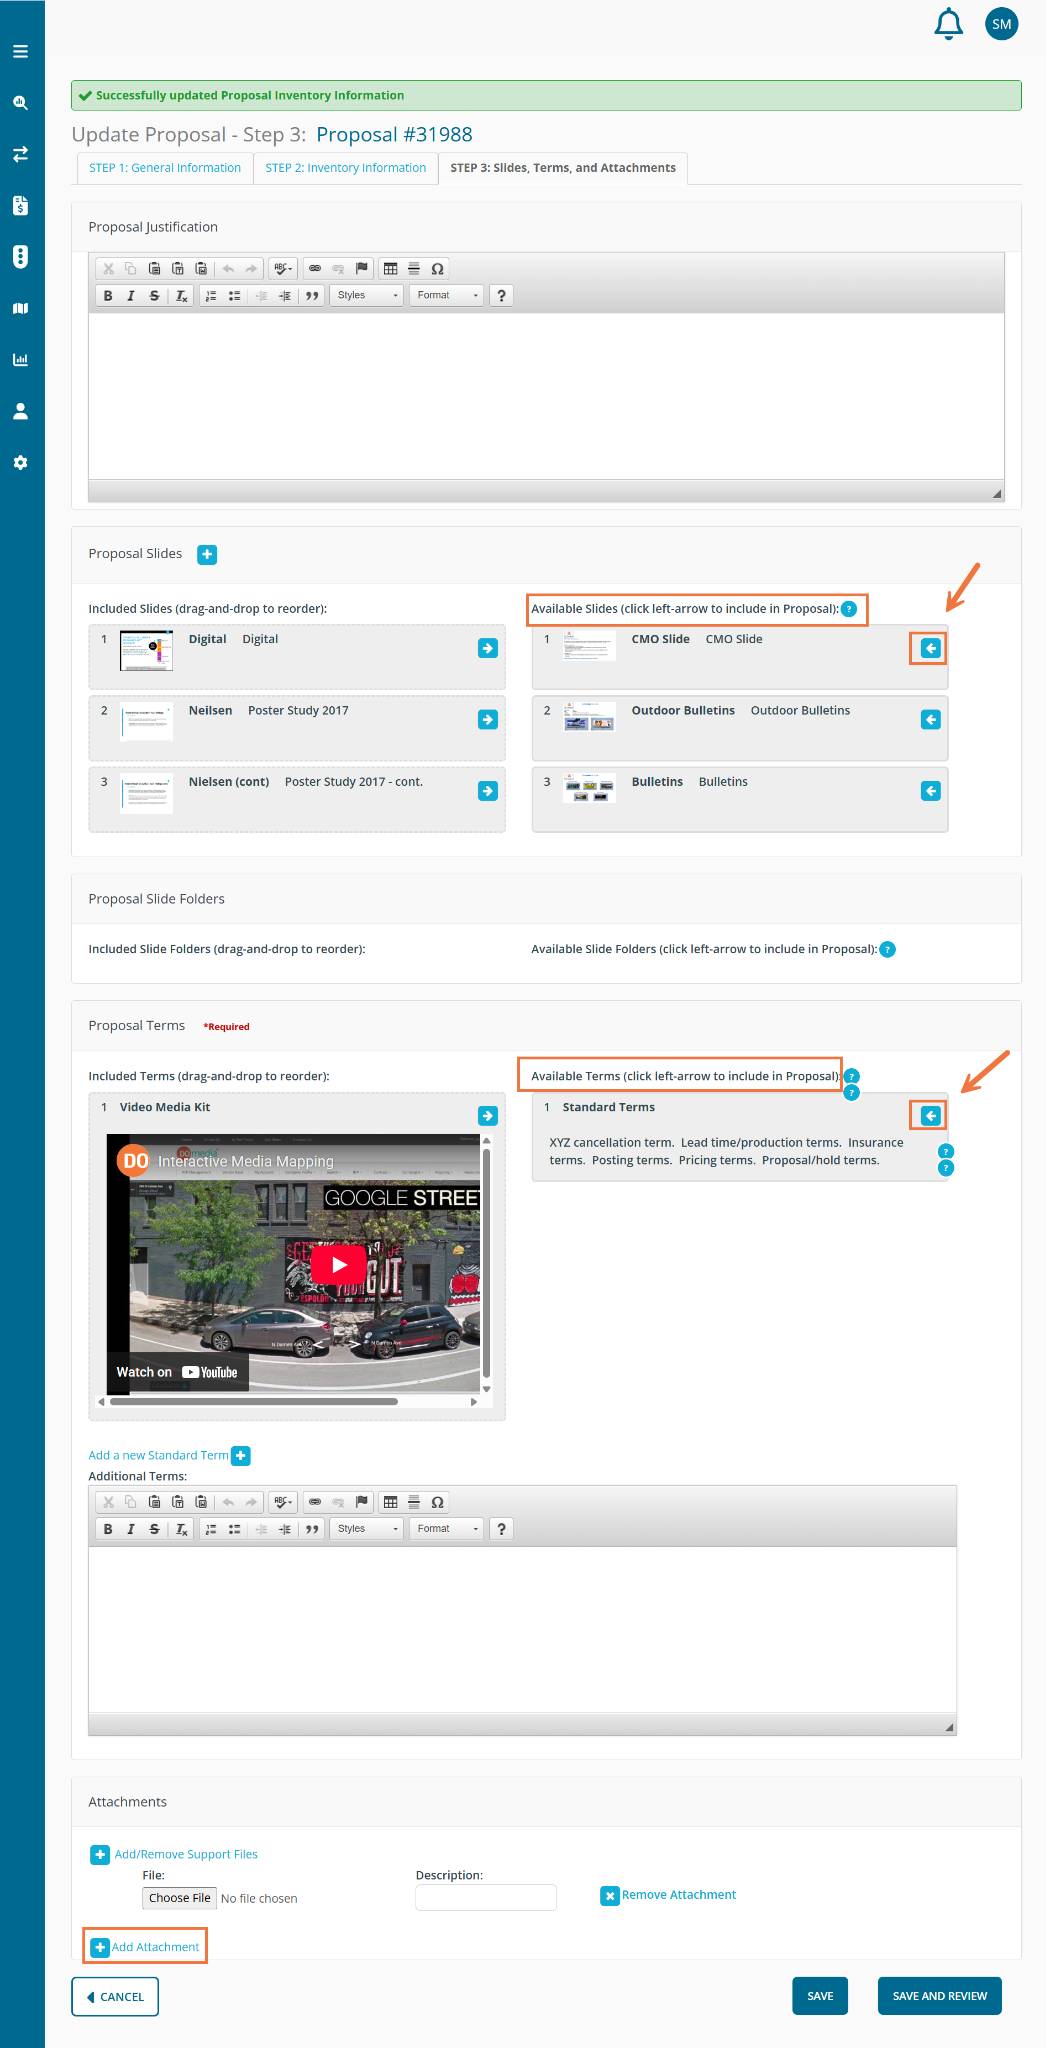
Create Proposal - Step 3: Slides, Terms, and Attachments
On Step 3, you have the ability to add slides, terms, and attachments to the proposal. For slides and terms, you can choose from the list of Available Slides and Available Terms. In addition, you can always click on the blue plus sign to add a new proposal slide, new terms, and new attachments. If you have terms that you won't be using again but need to be included with this proposal, feel free to enter those into the Additional Terms box. Then, chose any attachments that you wish to include with your proposal.
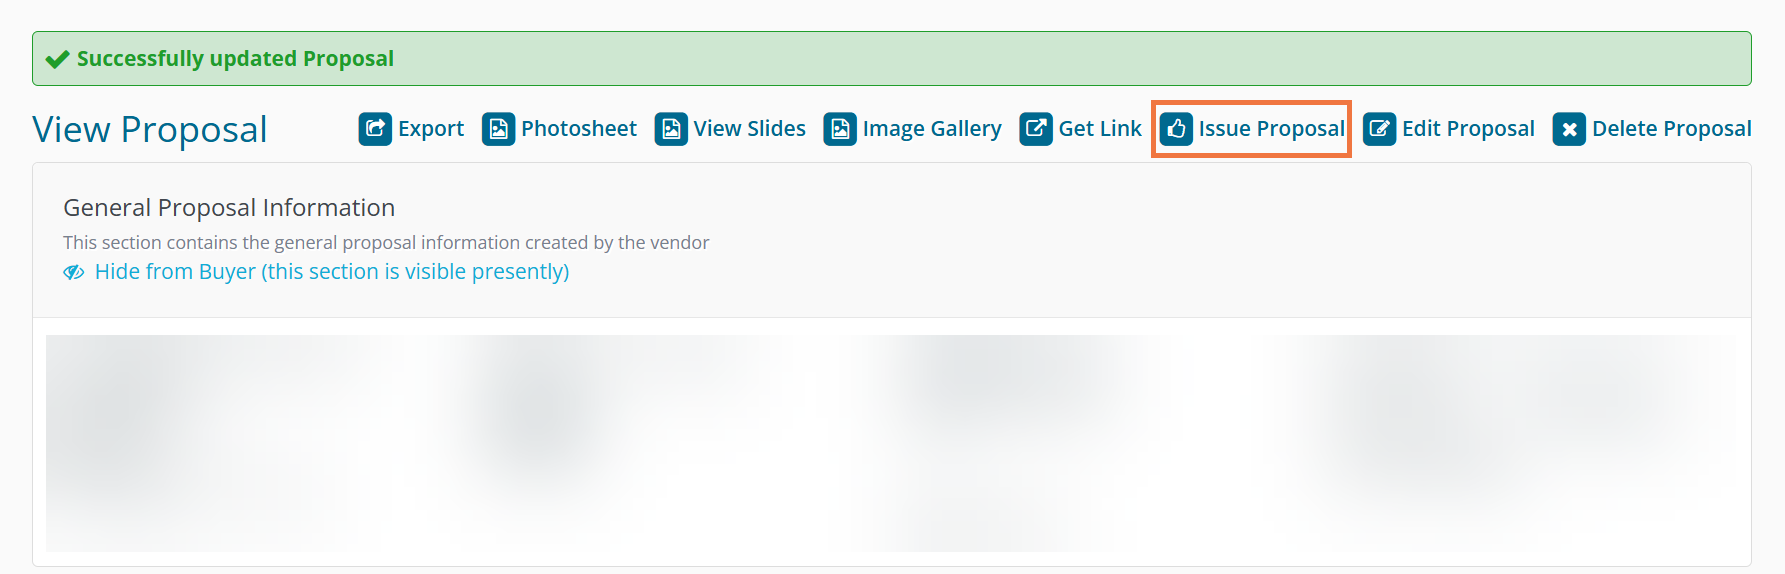
Click 'Save' to continue. Once you have finished adding slides, terms, and attachments to the proposal, click Save and Review to confirm your proposal information. If everything is correct, click 'Issue Proposal' to send the proposal to your client.
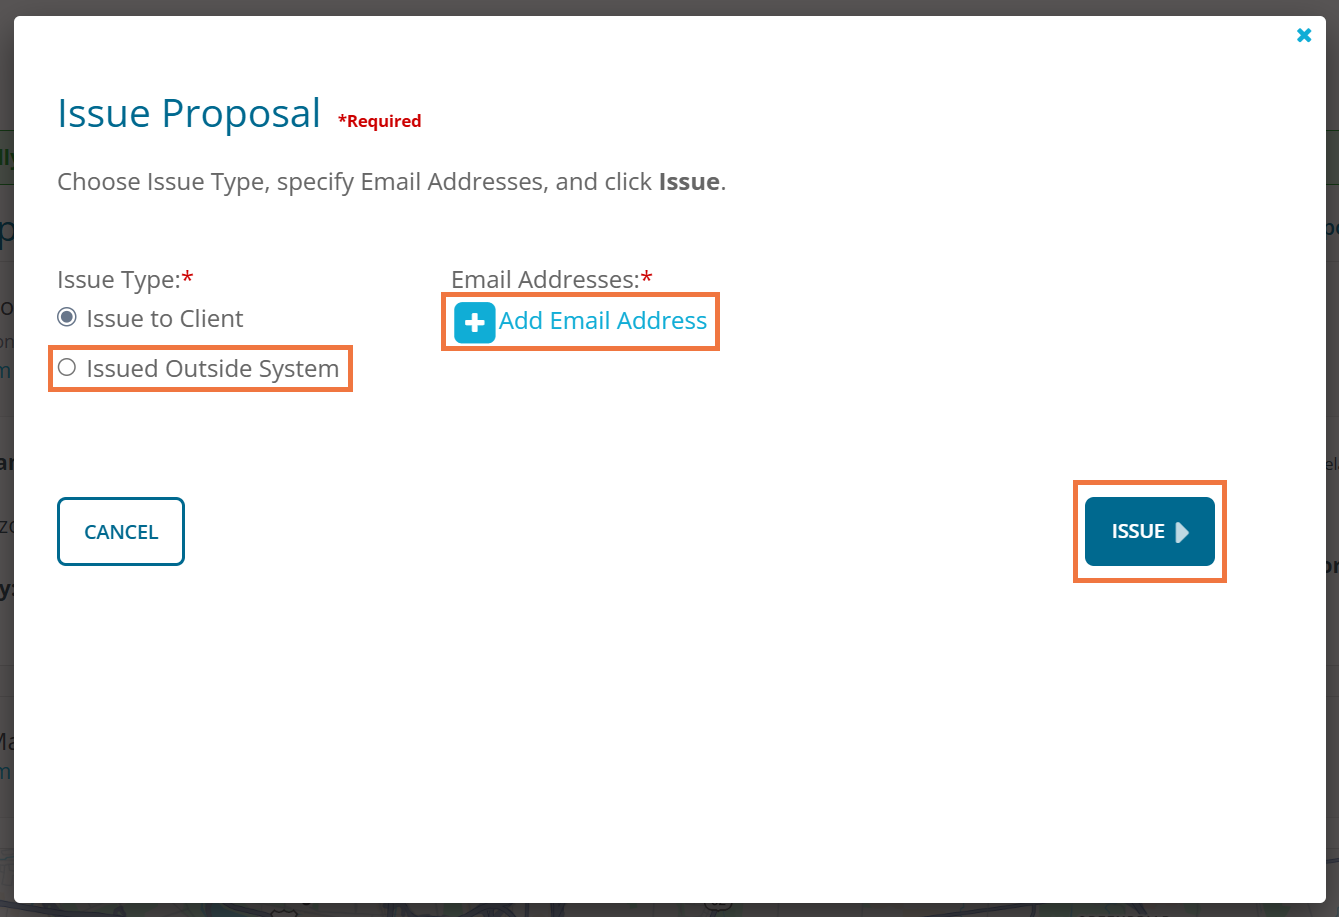
Enter your client's email and click 'Issue' to issue your proposal. (Multiple emails can be added by clicking the blue plus icon under the 'Email Addresses' field)
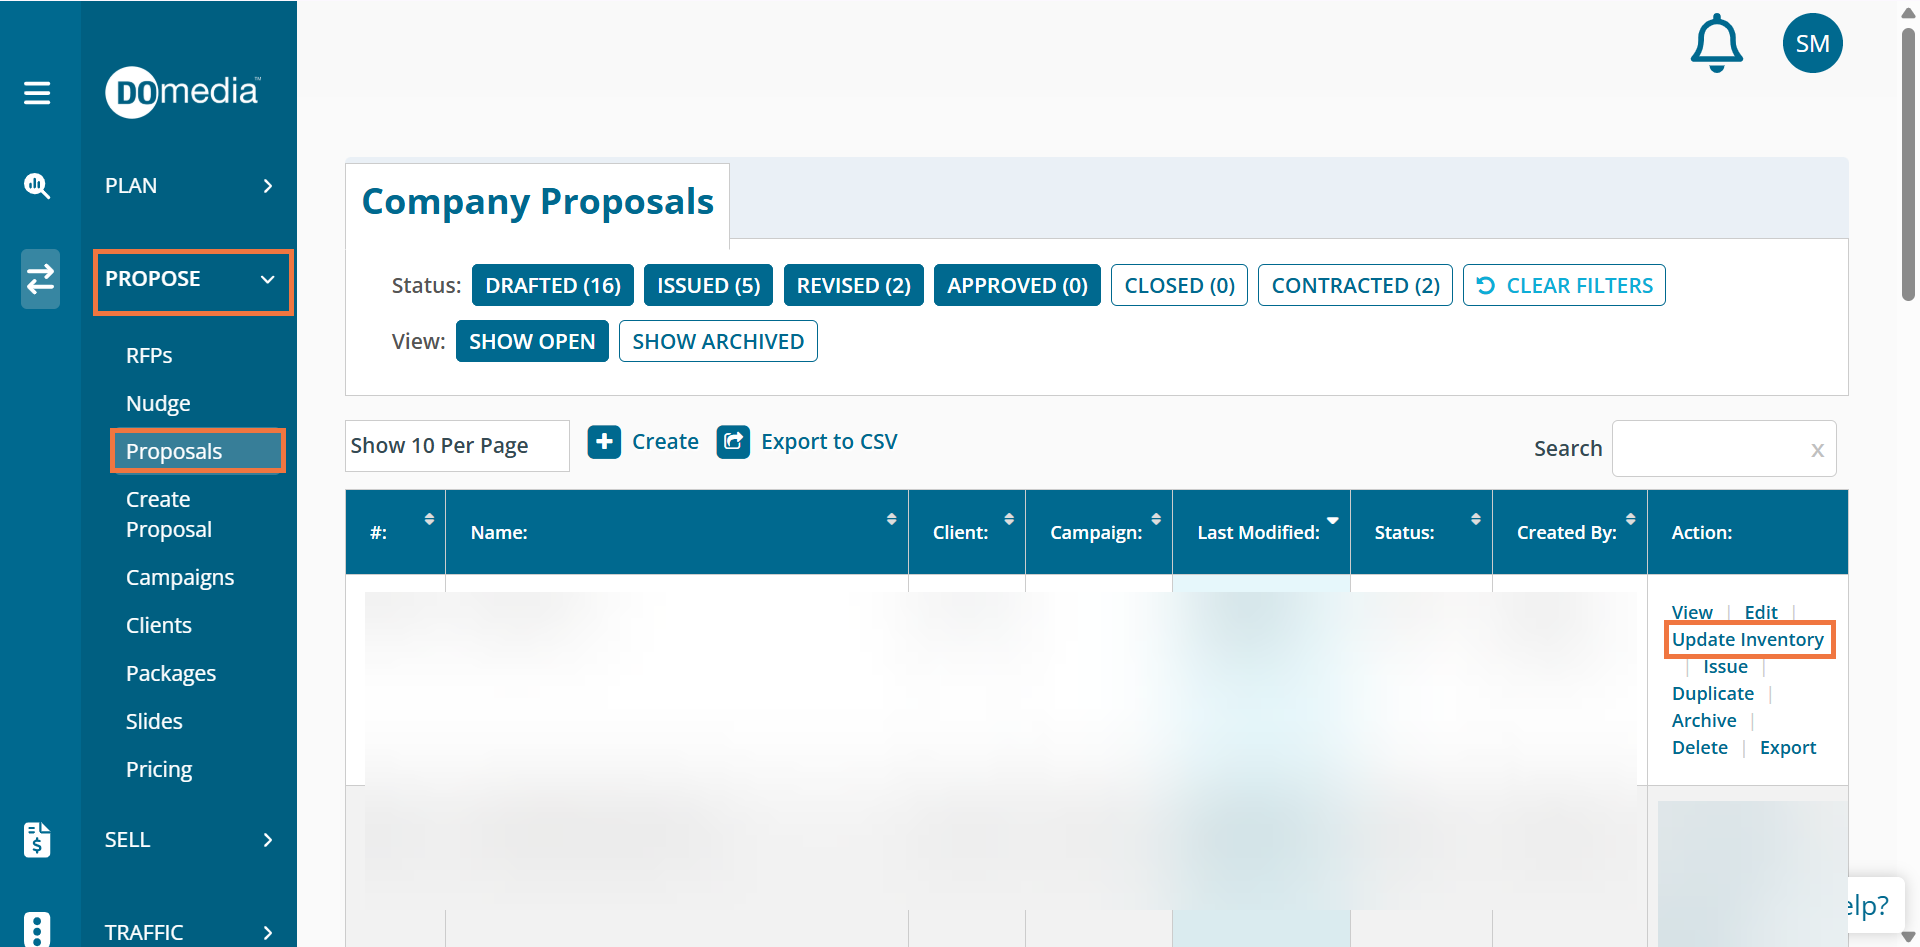
If at any point you find that you need to update the inventory that is being proposed, you can click "Update Inventory" in the action column, from the Proposal Dashboard which will take you directly to the proposal grid.