
How do I create and map a vendor location list?
Buyers now have the ability to create vendor location lists and map them from Map Management. This allows buyers to plan using DOmedia's mapping without having sent an RFP, or contract, or created an idea folder containing the vendor inventory. This process is explained in more detail below.
How do I create a vendor location list?
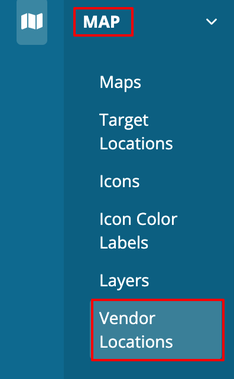
To create a vendor location list, hover over 'Map' in the navigation bar at the top of the screen and click 'Vendor Locations'.
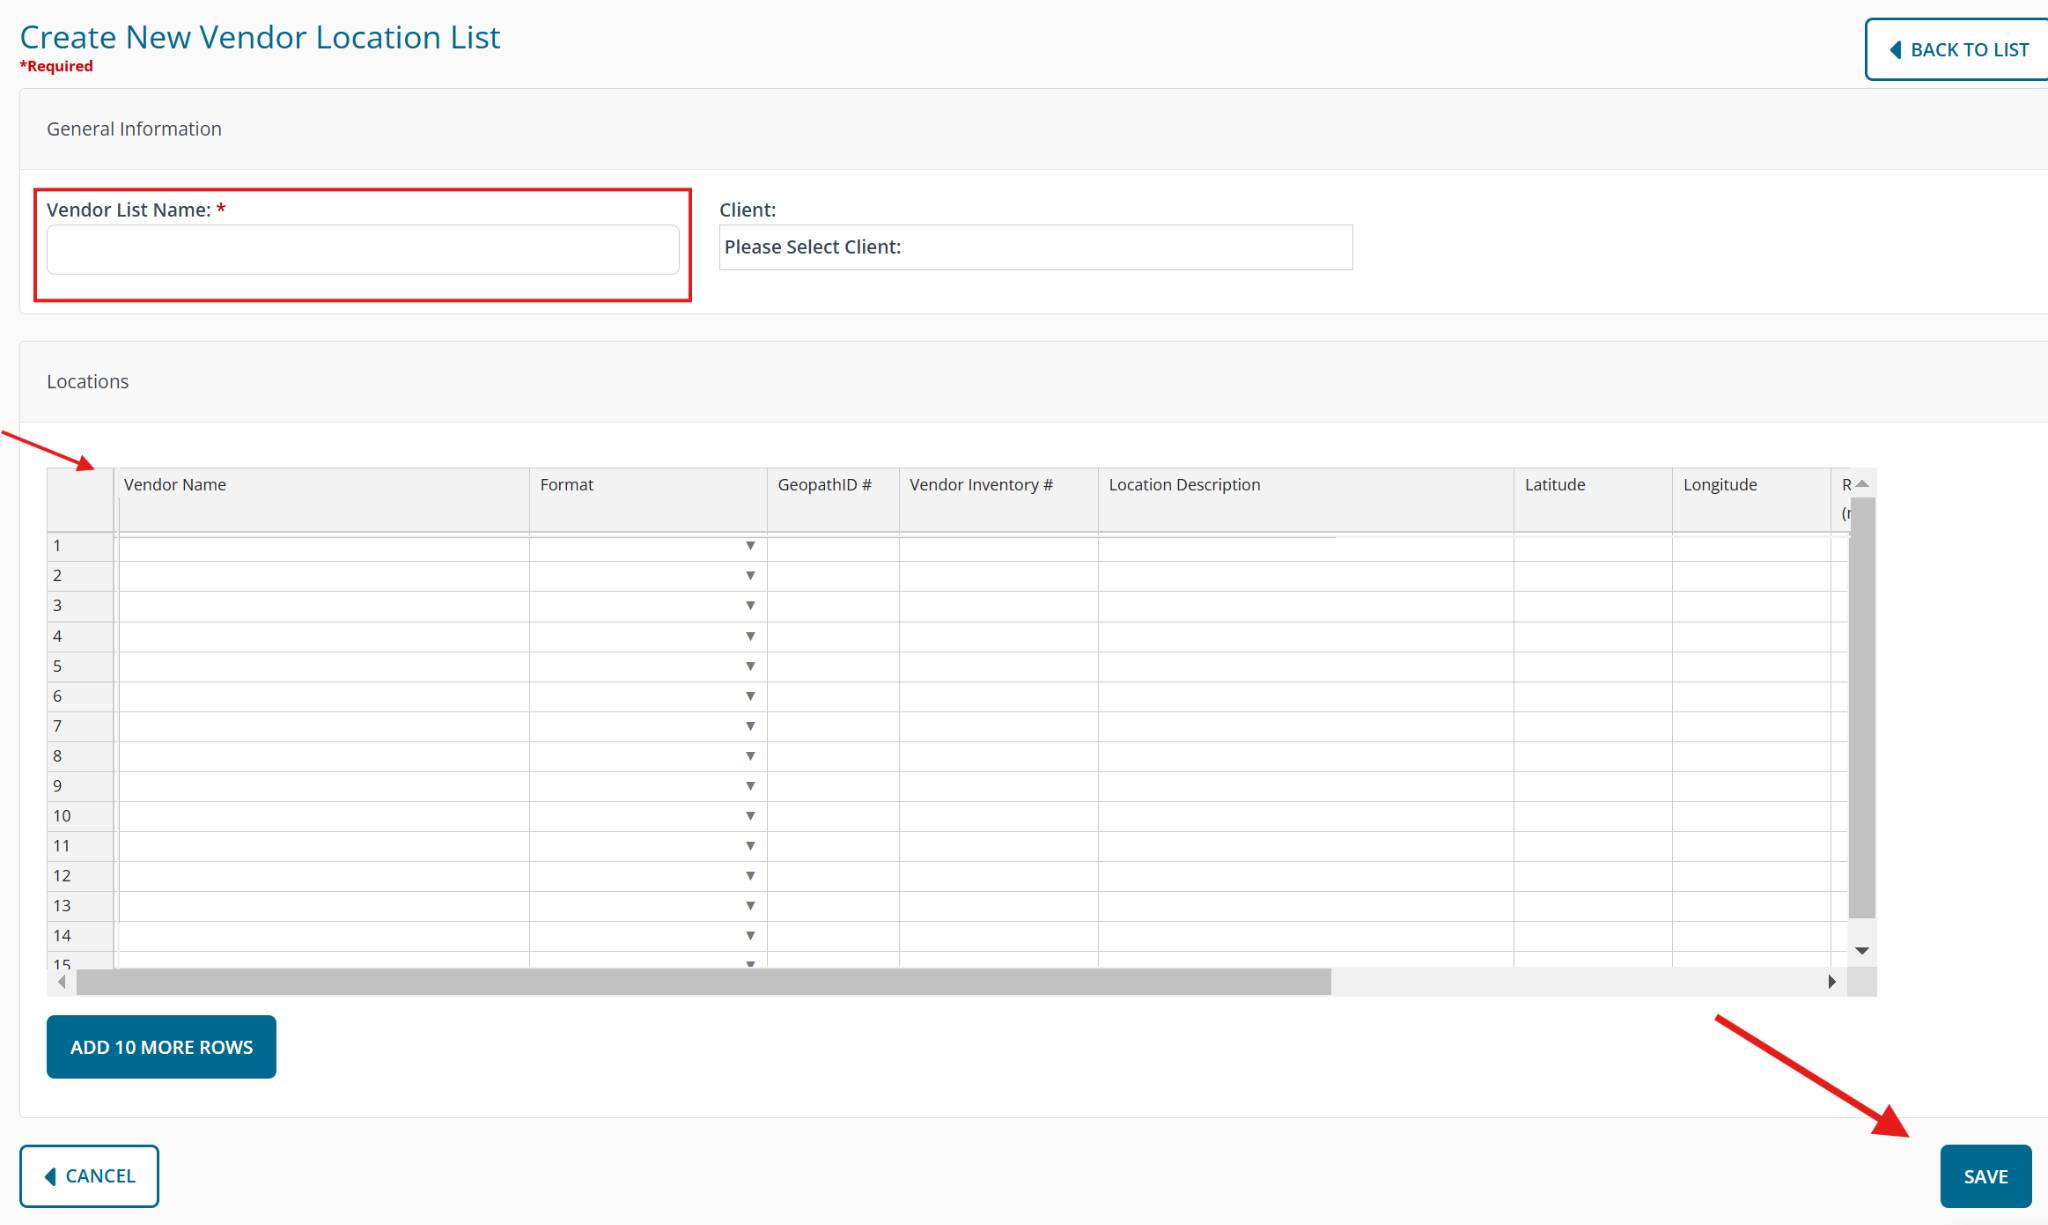
Create a New List Manually
There are two ways to create a new vendor location list. The first option is to 'Create New List Manually' by clicking the button located above the right side of the grid.

1) First, name your vendor list.
2) In the grid, you can manually enter the locations along with their related details such as Vendor Name, Format, Location Description, Latitude, Longitude, and Radius (miles). However, if you have the locations already listed in an Excel or CSV file, you can always copy and paste all of the details from those programs into the grid. Note: You must enter a valid latitude and longitude in order to map the inventory location.
3) When you are finished entering information into the grid, you can click 'Save' to create a new Vendor Location List.
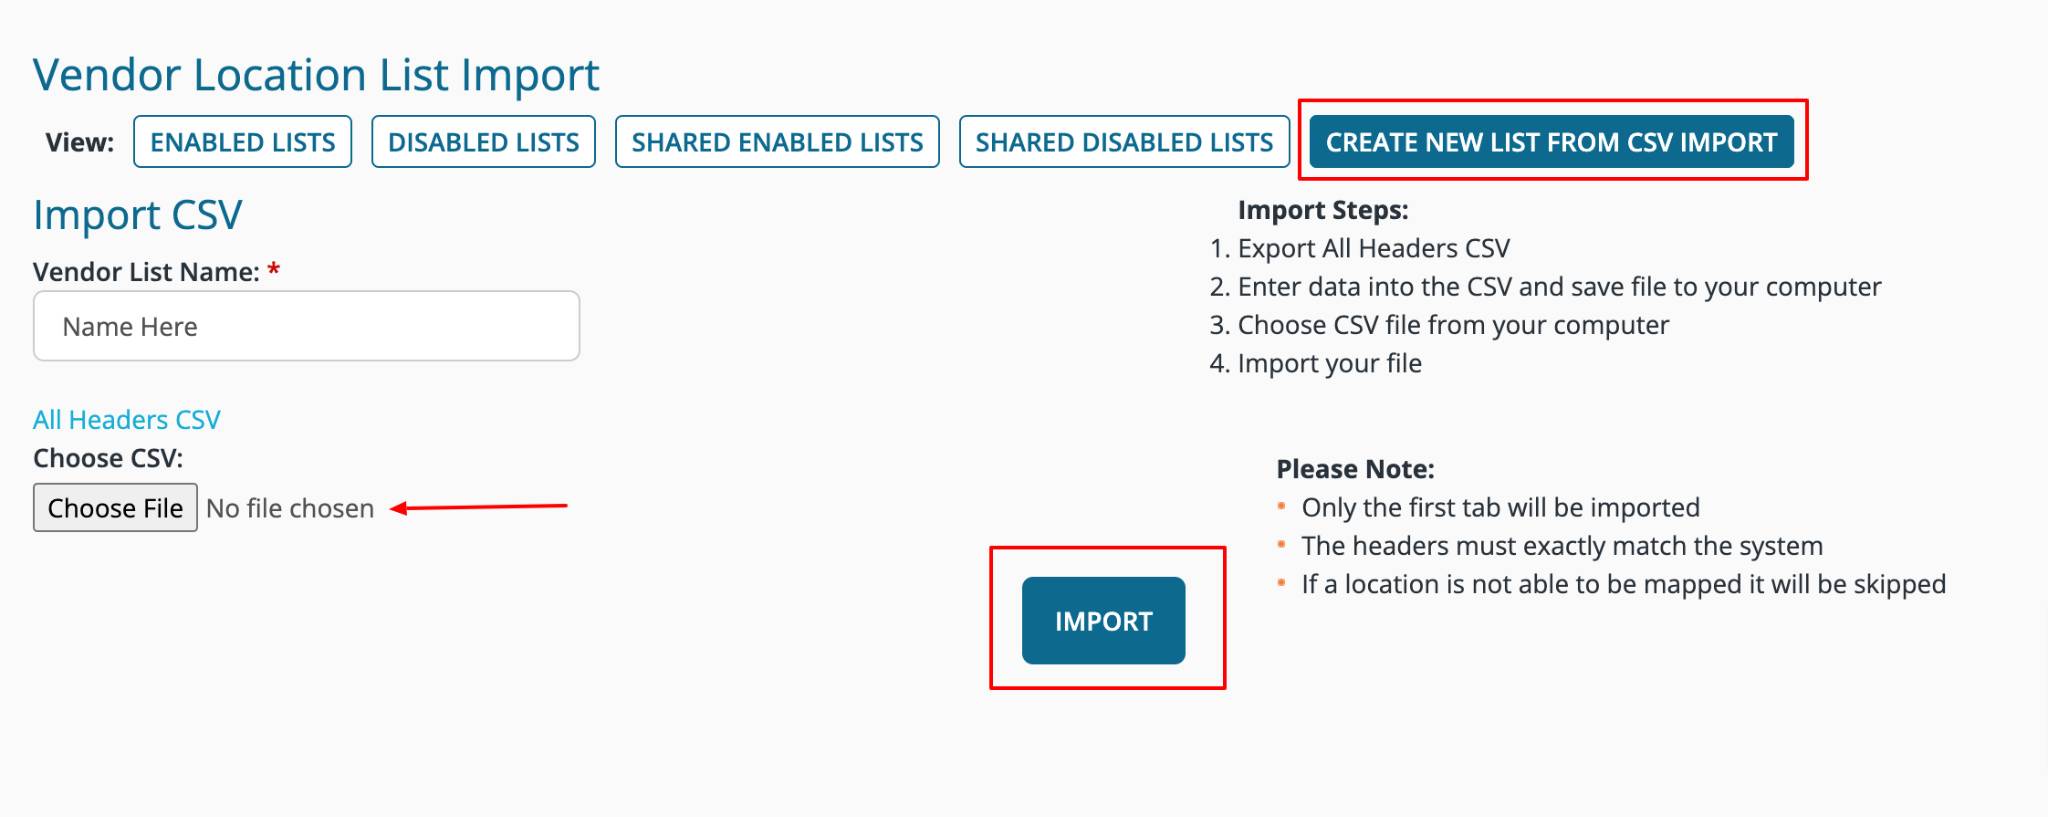
Create New List from CSV Import
The second option is to 'Create New List from CSV Import' by clicking that button above the right side of the grid. This will upload the vendor locations and related details from a CSV file.

1) First, name your vendor list.
2) Now you can choose a CSV file from your computer to import. Note: The headers in your file must match what is shown in the 'All Headers CSV' file. Please see the additional instructions ('Import Steps') shown on the right side of the page.
3) Once you have chosen your file after verifying it is formatted correctly, click 'Import'.
4) After your data is successfully imported, you will be able to edit it from the vendor location grid.
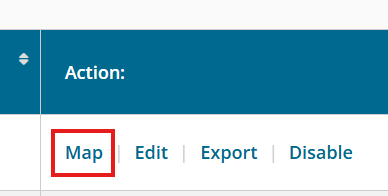
How do I map, edit, export, and disable a vendor location list?
To access these actions, navigate to the Vendor Location Management page, find the vendor list that you would like to take action on, and then click on the desired action. Note: If you click the 'Map' option from the Vendor Location List Management page, the created map's functionality will be limited compared to mapping the vendor location list from Map Management.

From Map Management, click 'Create New Map' to reach the form where you can select your newly created vendor location list, along with selecting any other options you would also like to be included in the map. Some options include mapping multiple vendor location lists, a vendor location list and inventory in a contract, etc. Once you have created your new vendor location map, click 'Map' under the Action column next to your map.
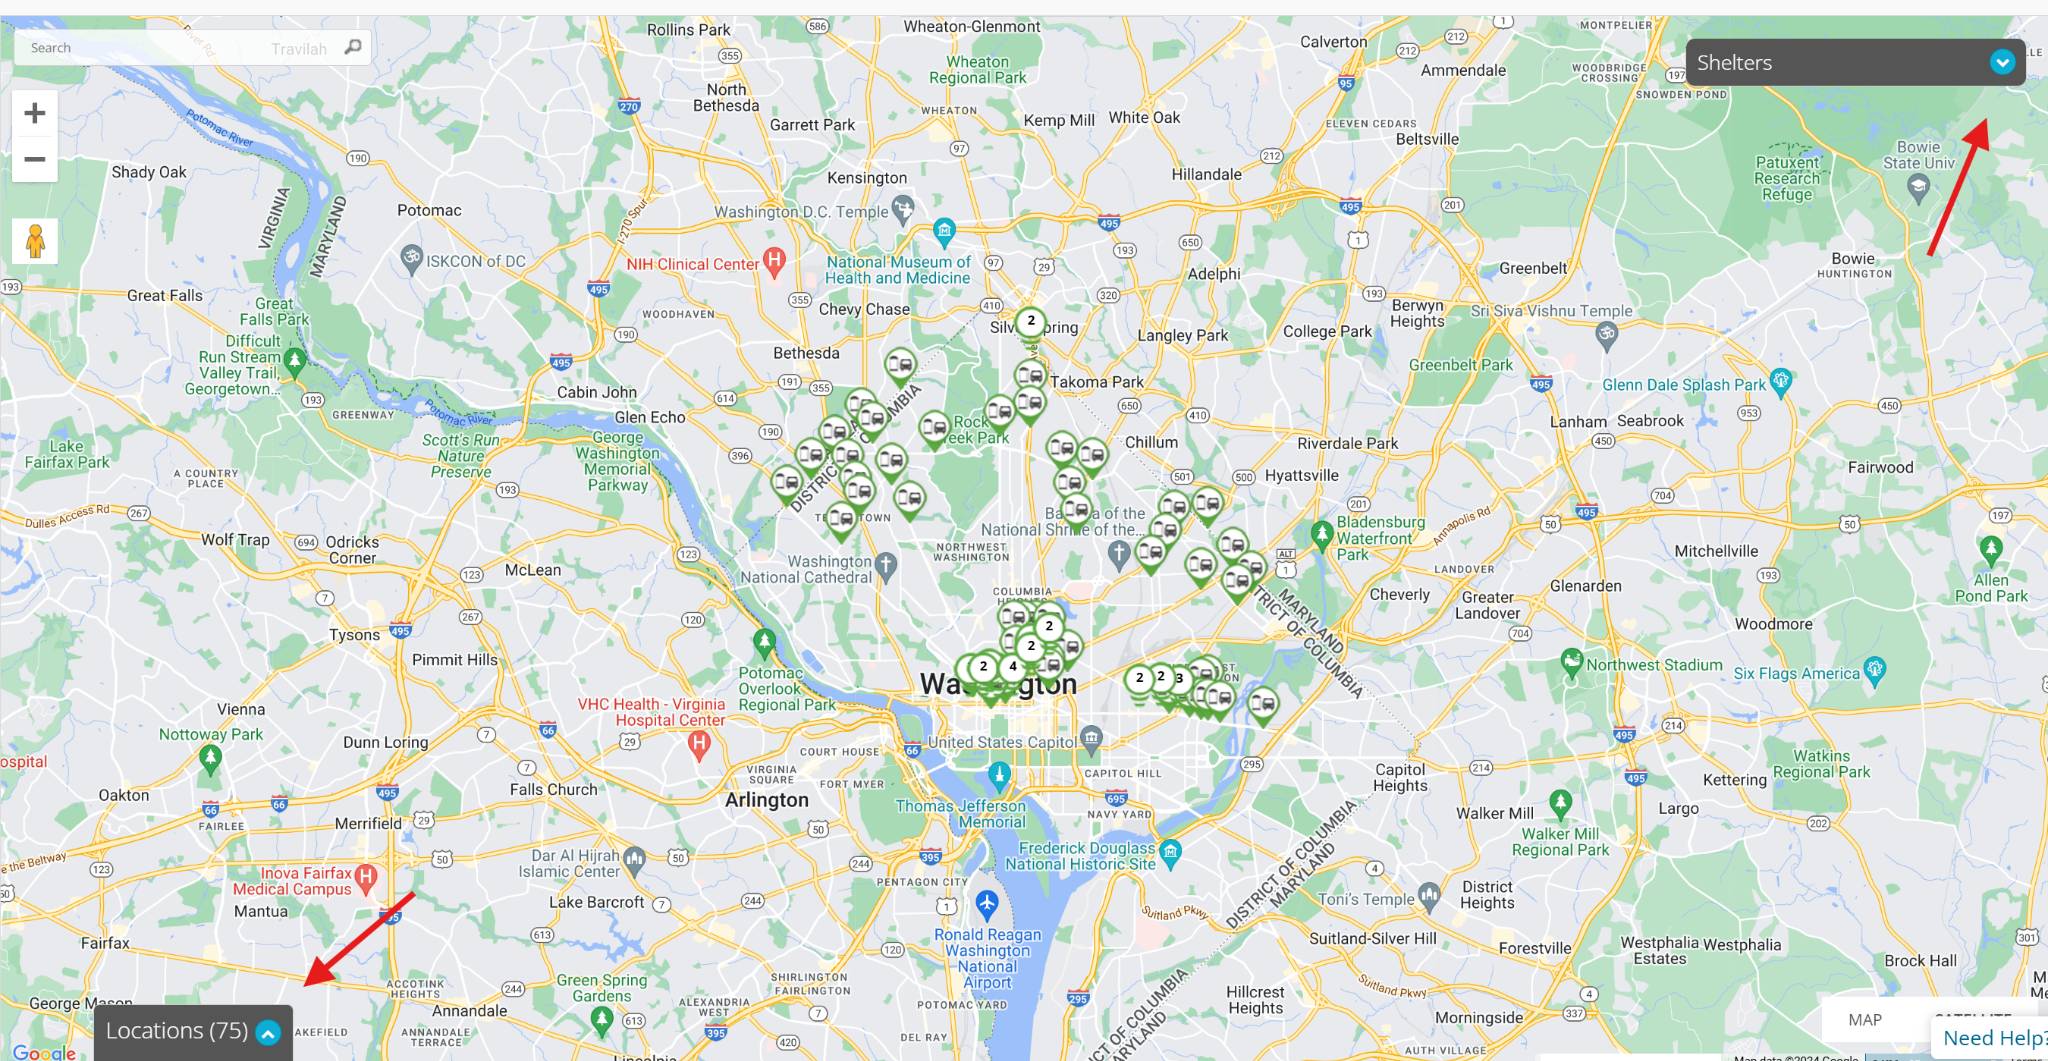
This will open a new window displaying your map containing the vendor locations and anything else you chose to include. You can see all of the vendor locations included in your current view of the map by expanding the Locations panel at the bottom and clicking on the Vendor Location Lists tab.
As mentioned earlier, you now have all of the functionality of a map built through Map Management, like sharing the map with colleagues or others who do not have a DOmedia account.
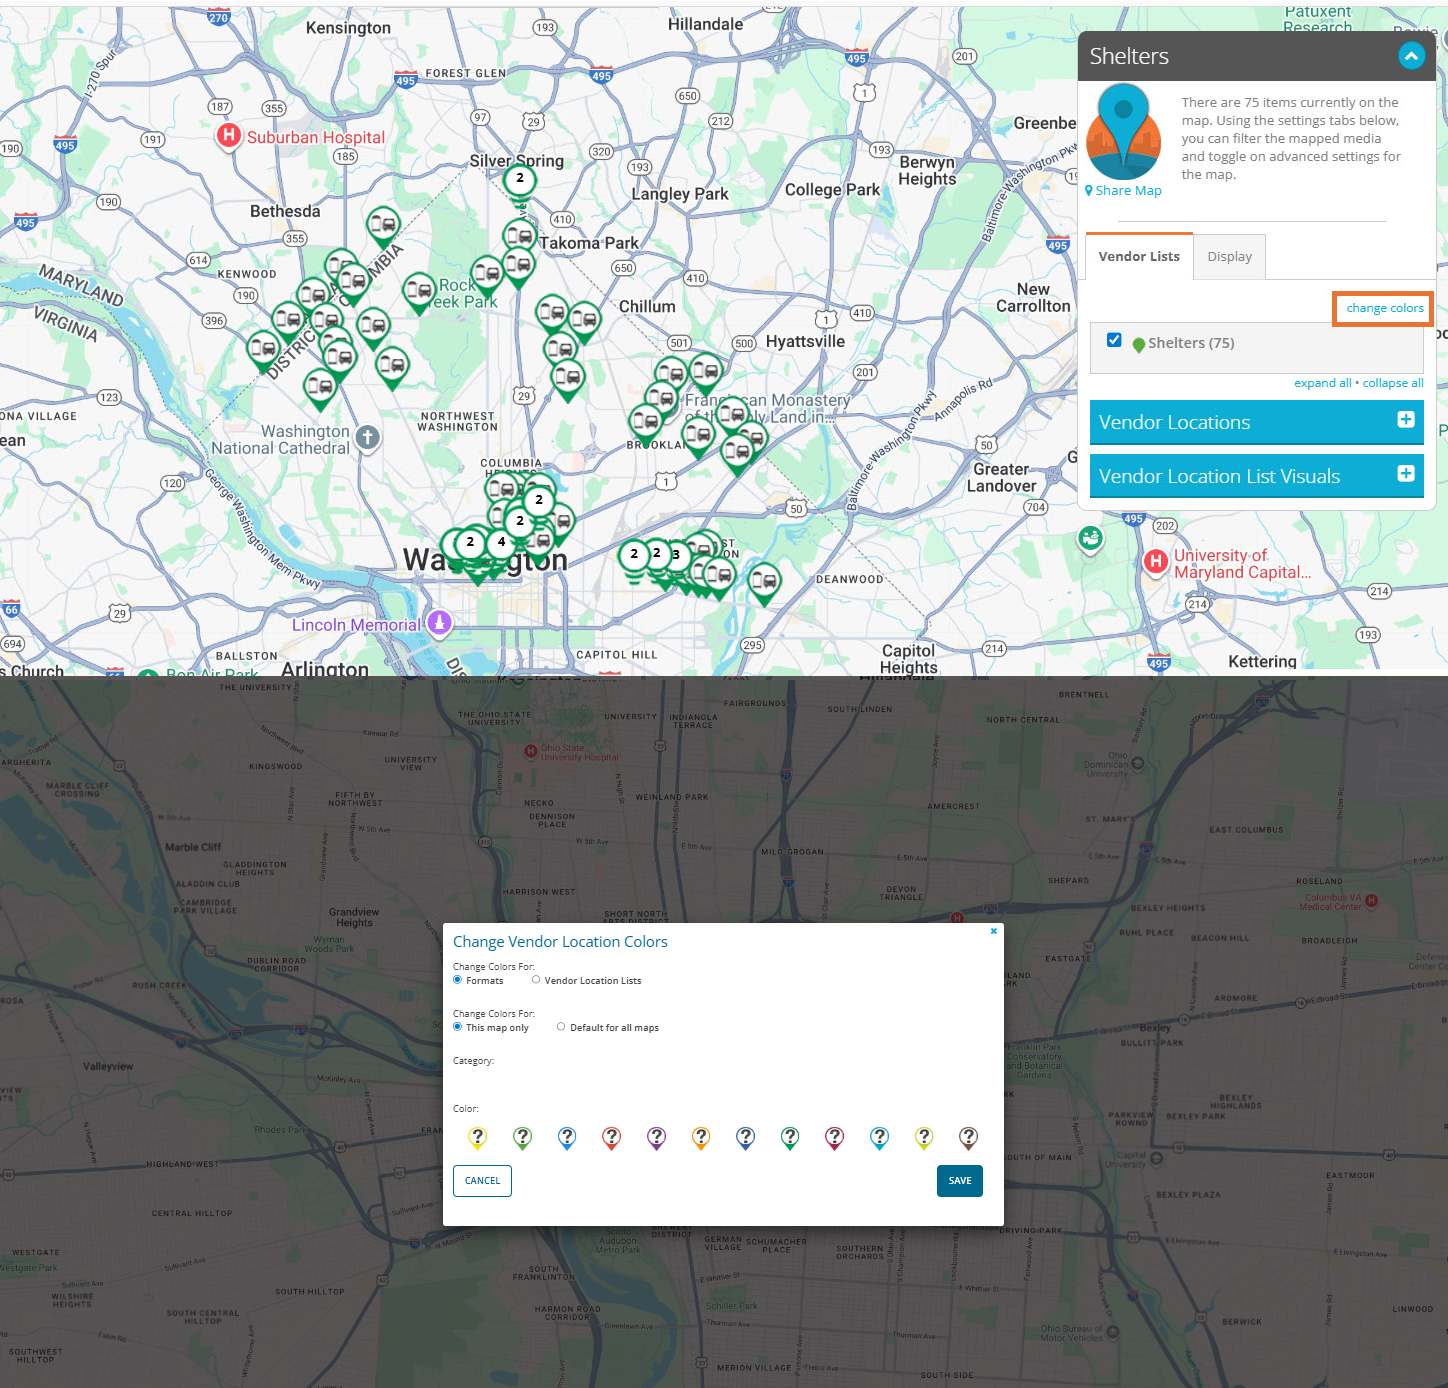
The available functionality also includes choosing which fields to include in the information pop-up box, as well as the information included in the Vendor Location Lists tab in the Locations panel. You can do this by expanding the panel on the right named Mapping Vendor Location in this example. From there, you can expand Vendor Location Lists to select or deselect fields to be displayed. In addition, you can set the Vendor Location List Radius to show on the map under that related section.
From the Information pop-up box, you can also change the colors of the markets visible on your map! You can select colors based on the media category of the assets listed on the Vendor Location List or change the color of the entire Vendor Location List
For information on navigating within a map, click here!
For information on sharing a map, click here!