
Step-by-step: Using the 'Fill from Historical Data' Button
For an in-depth article on the Fill from Historical Data button check out Seller: How do I use the Fill from Historical Data Button? To utilize the Fill from Historical Data button, Begin by selecting Propose then RFPs on the left-hand side menu.

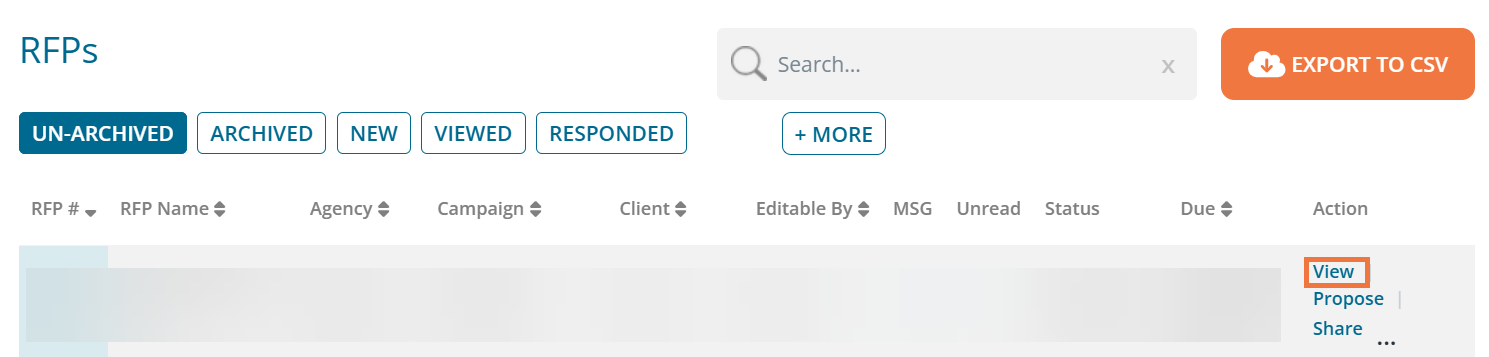
From there, locate the RFP you wish to work with. Click View, located in the right-hand Action column.
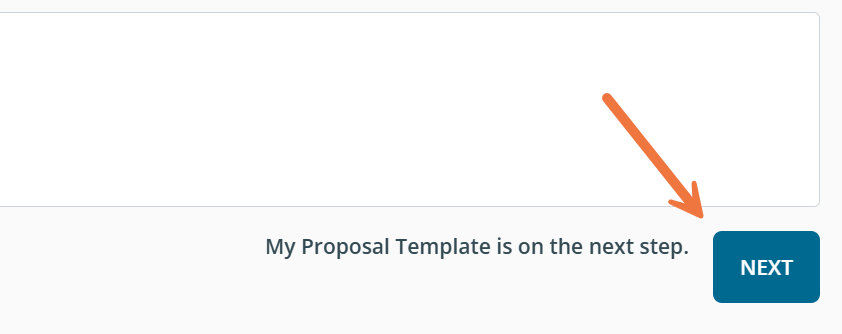
Scroll to the bottom of Step 1 and click Next.
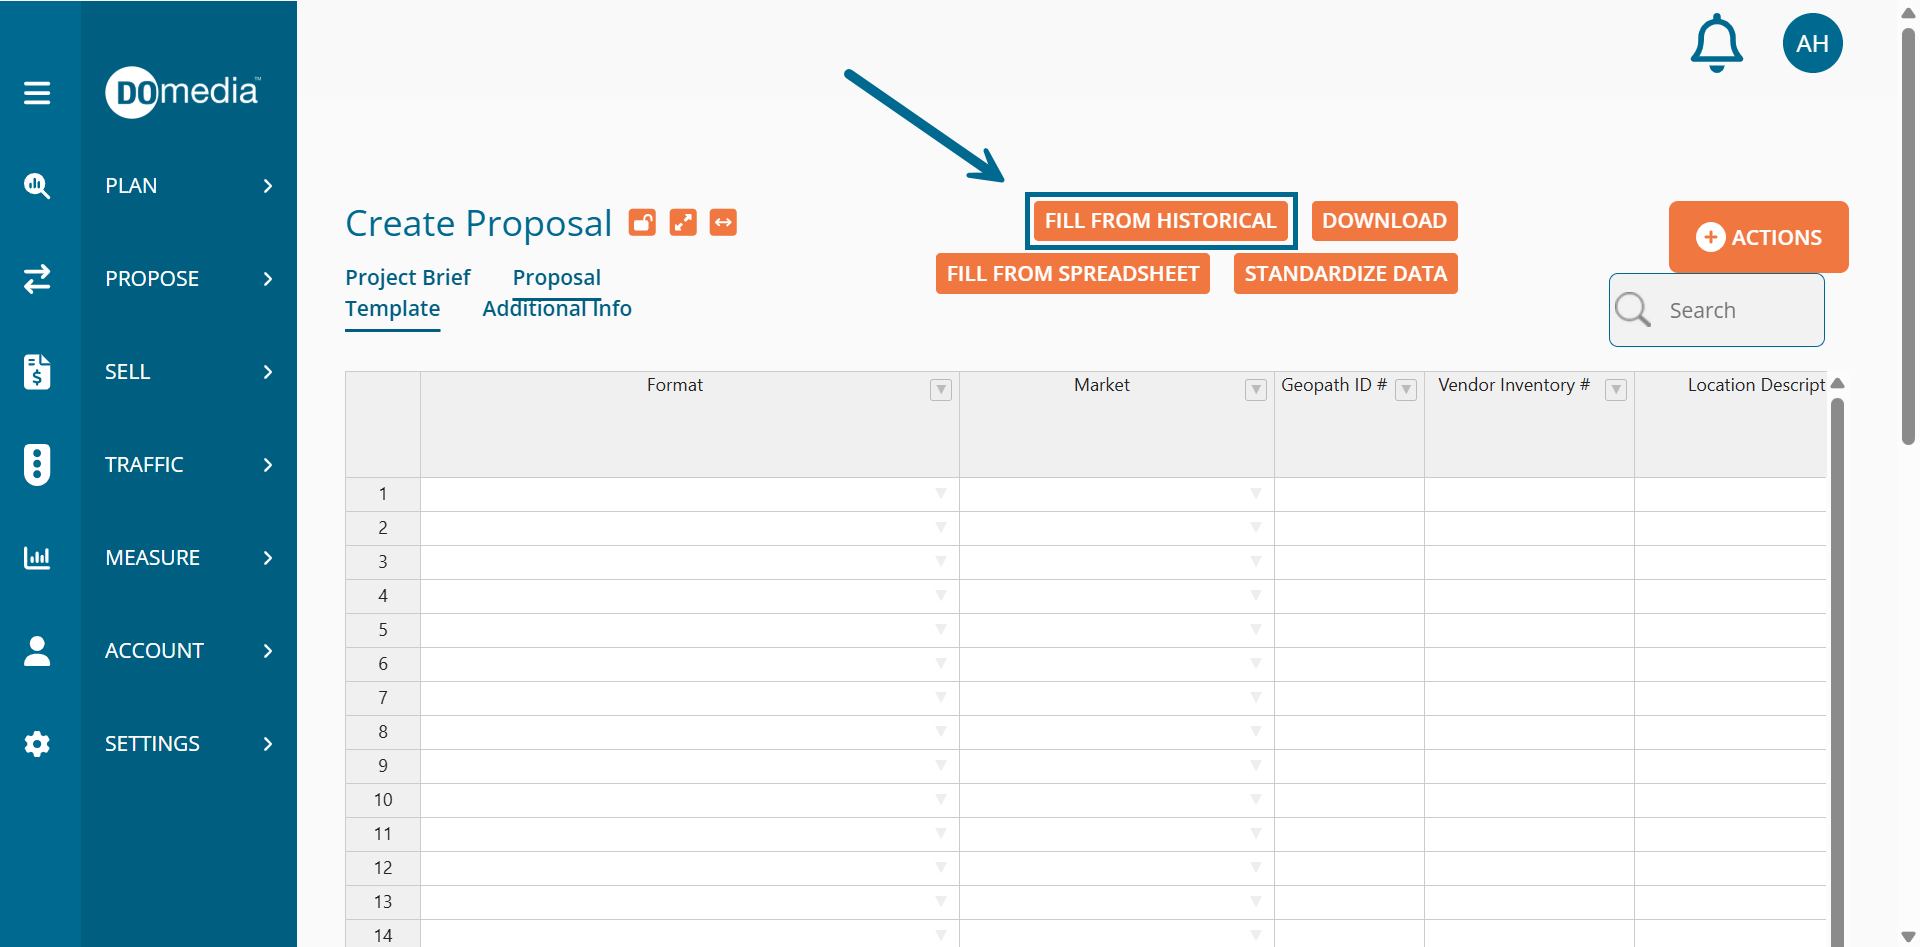
The next page will be step two. Click the Fill from Historical Data button at the top of the Proposal Grid.
Once you click this button, a window will pop up. Within the window, enter the Vendor Inventory # and/or Geopath ID #. Once you have filled the grid to your satisfaction, click the AutoFill button at the bottom right-hand corner of the window.
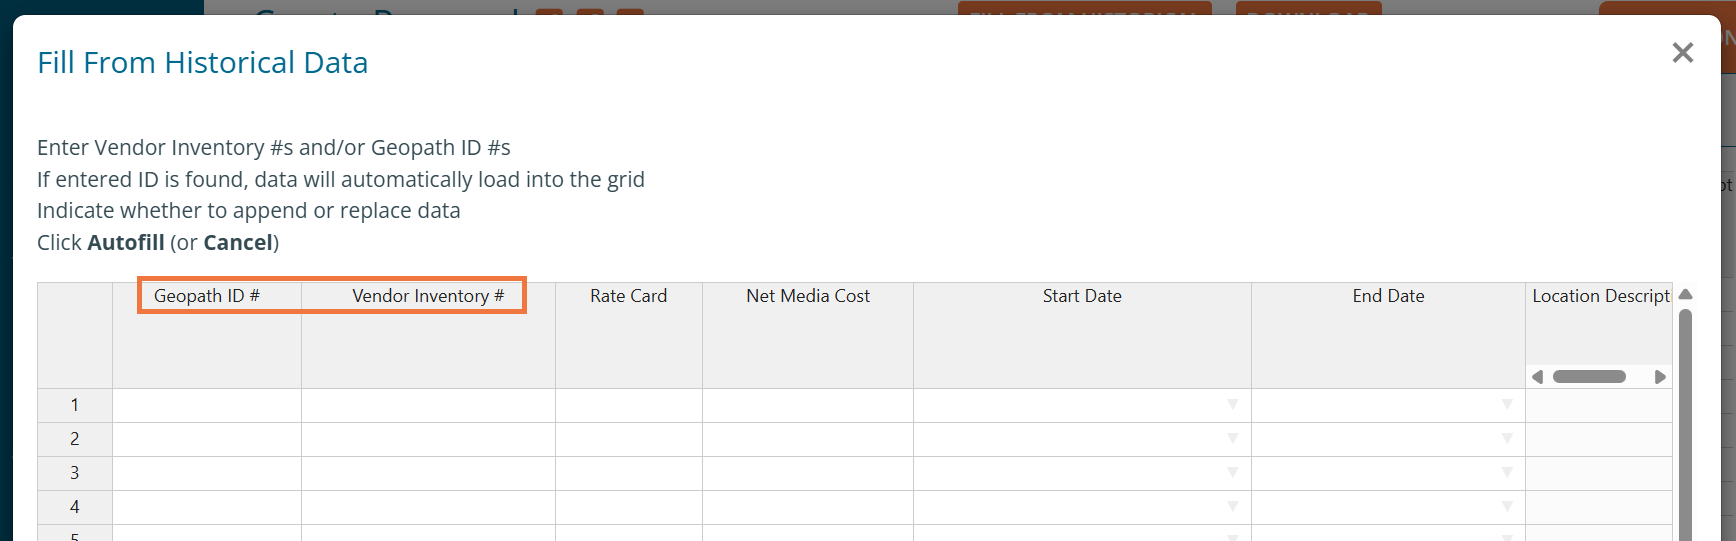
After clicking 'Fill', the Proposal Grid will populate fields on the grid according to the Vendor Inventory # that was chosen. The grid populates these fields based on the information that is associated with the asset. However, the fields titled '# of Cycles', 'Net Media Cost/Cycle', '# Copy Changes Included (Incl. Install)', and 'Net Install/Copy Change Fee' cannot be populated by the system since each RFP is unique.