
Buyer: How To Create a Target Locations Report
Using the search feature, you now have the option to generate a list of potential assets along with their distance to the target, geopathic impressions, and historical costs. This support article will walk you through the step-by-step process of generating target location reports after creating your Target Location Lists.
Creating Target Locations Report:
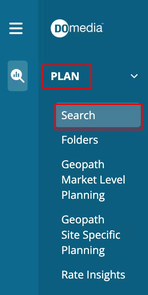
Go to the left-hand side menu and click on "Plan," then select "Search."
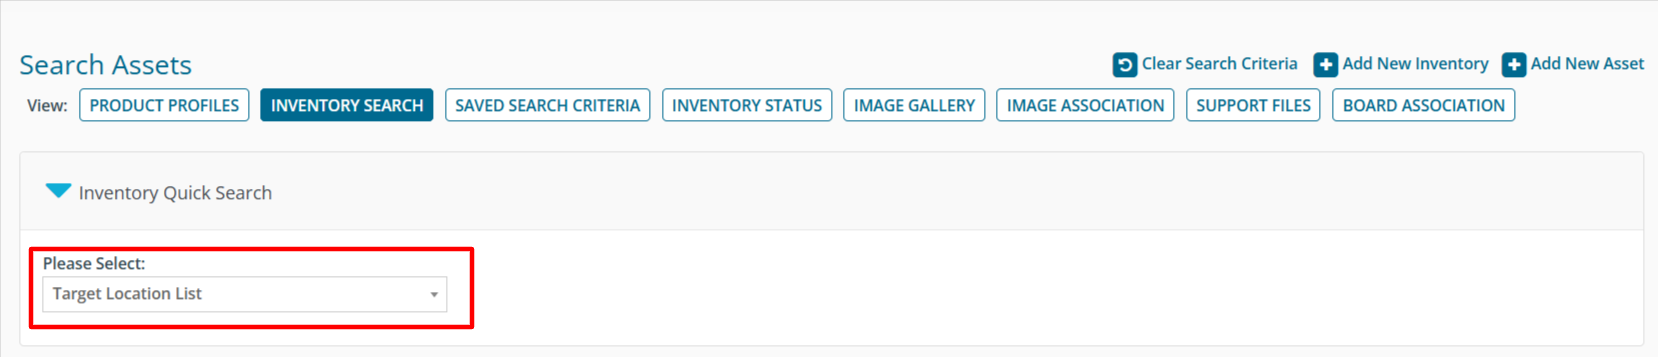
In the "Inventory Search" field, use the drop-down menu to choose "Target Location List" and then select the desired target location lists you have previously created by checking the corresponding boxes.
After filling out the necessary information, click "Generate Target Locations Report" at the bottom of the page.

You will see a green success message at the top of the screen, indicating that the report is being processed in the Task Manager. You may have to click the bell in the top right if a success message does not appear. To access and download your generated report, click on the "View" option.

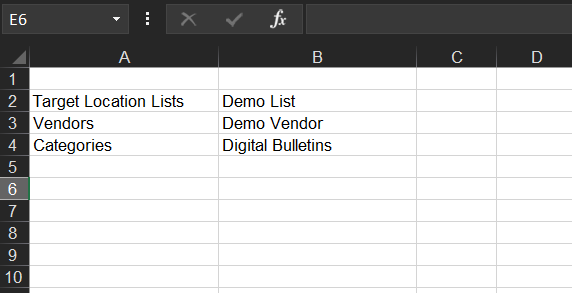
Once you click on "View", the report will be downloaded to your computer, and you will see a spreadsheet similar to the following.
To learn more about creating Target Location Lists, check out these support articles:
How Do I Plan and Map Target Locations?
How Do I Save Search Results in a Map as a Target Location List?