
Buyer: How do I create and manage my KML layers (Custom KML Layer Management)?
Custom KML Layer Management is a tool that helps you create and manage KML layers. KML stands for Keyhole Markup Language, which allows you to add additional layers of data to your maps.
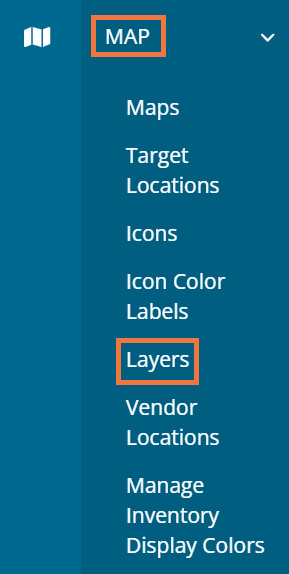
Begin by clicking on "Map" and then selecting "Layers" from the left-hand menu.
Creating a New KML Layer:
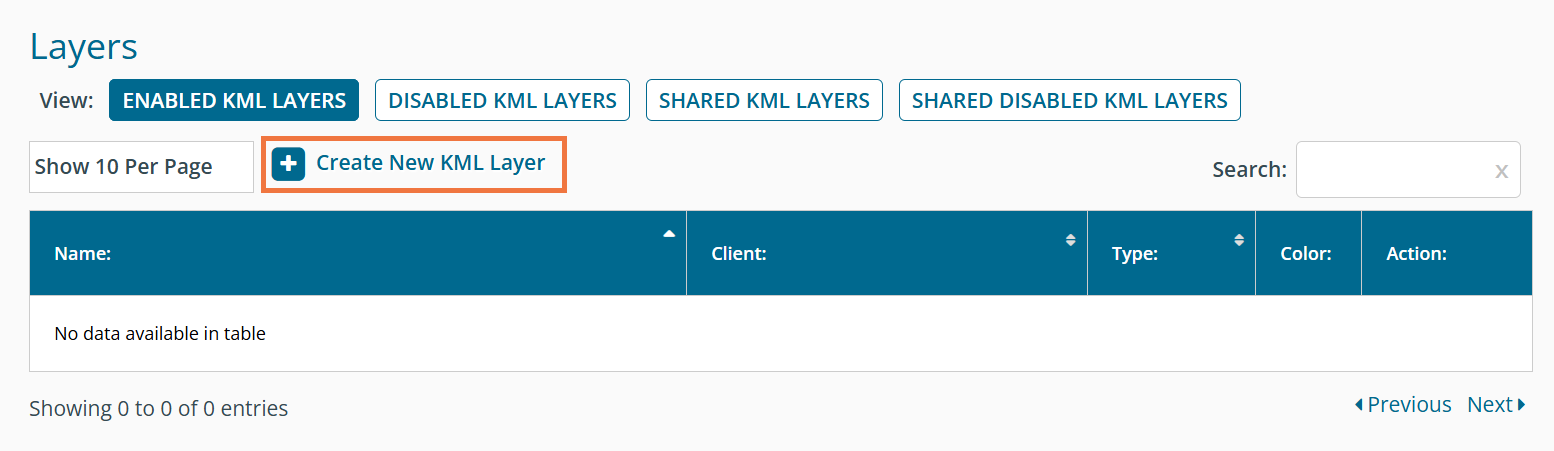
To create a new KML layer, click on "Create New KML Layer" at the top of your dashboard.
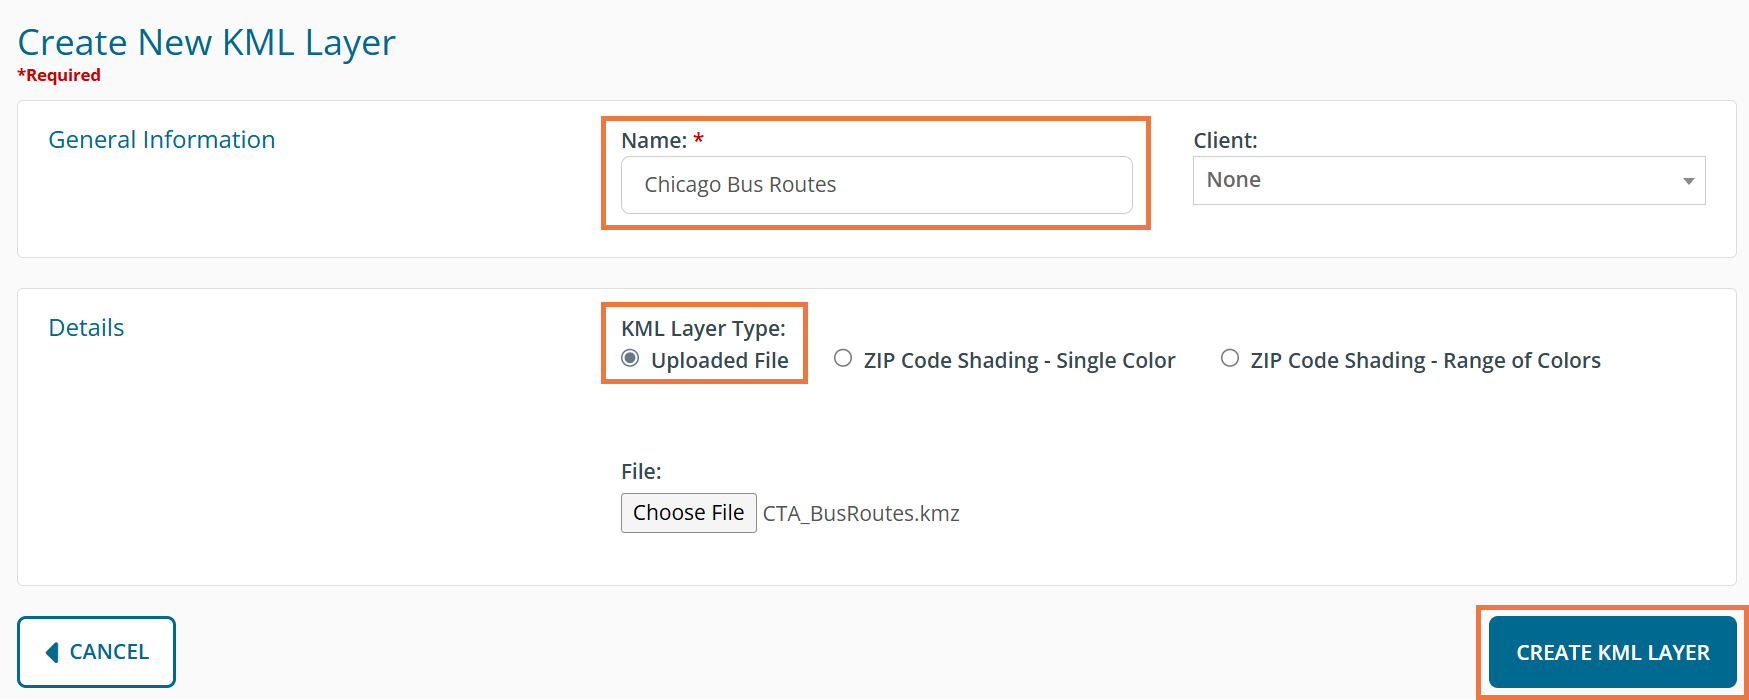
There are three ways to create a map layer:
KML File -upload a file from a third party (e.g. NYC Subway route, marathon routes)
ZIP Code Shading - Single Color - with different levels of opacity
ZIP Code Shading - Range of Colors - set a low and high color and the map will show a gradient between the two by value of the ZIP Code
KML File
Give your layer a name that describes its content, like "Chicago Bus Route" or "NYC Subway Routes." You can also choose a Client if relevant. Afterward, click on "Choose File" and upload your KML file.
Here's an example of multiple KML files turned on:
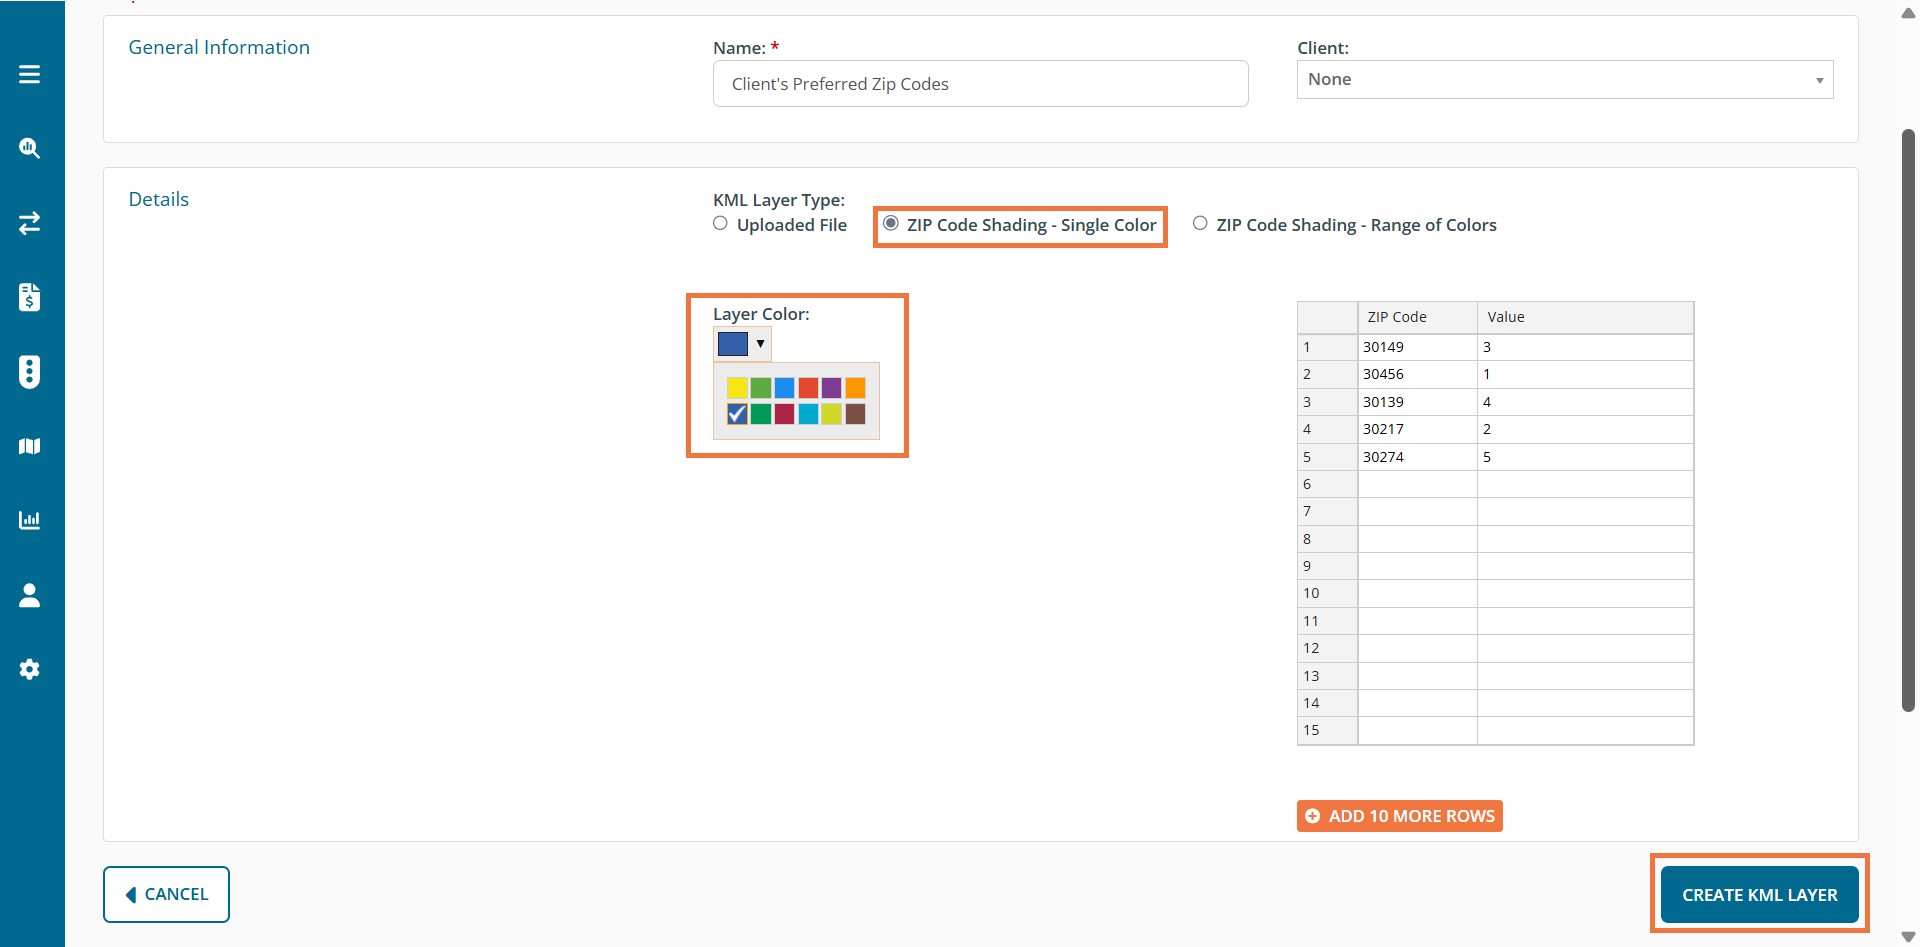
ZIP Code Shading - Single Color
For Zip Code Shading, you can click on the "Zip Code Shading - Single Color" option, select the layer color, and then enter the Zip Codes along with their relevant values. The system automatically compares the values and assigns a relative level of transparency using quintiles.
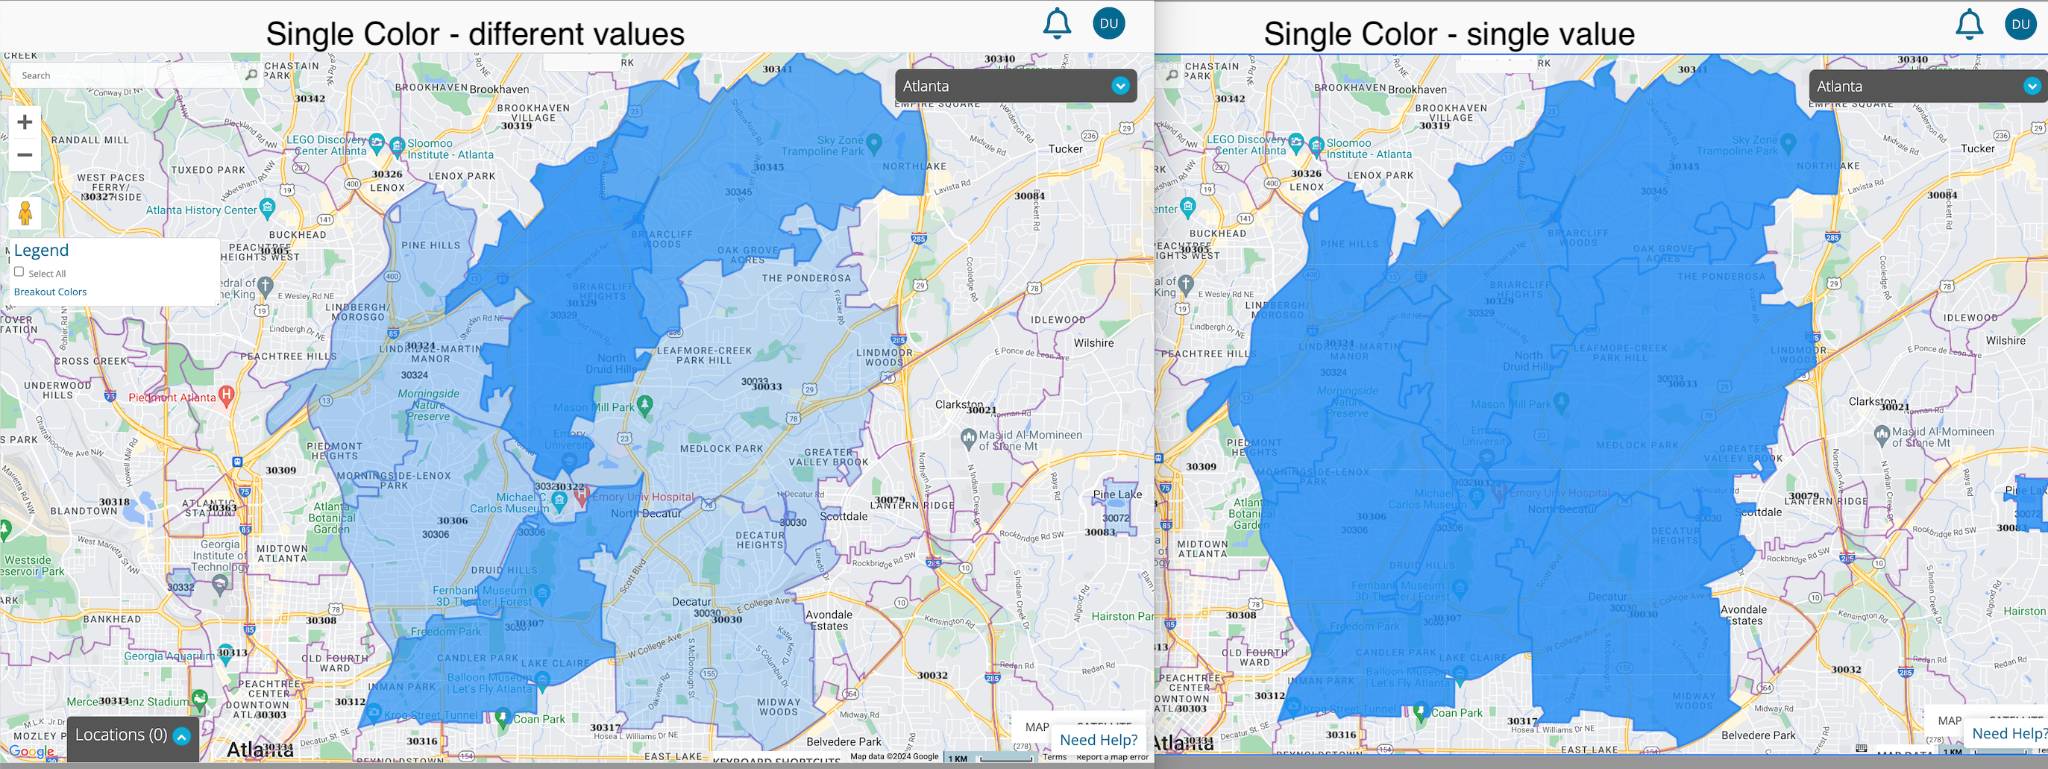
Here's an example of Zip Code Shading - Single Color with different values side by side (left) with a layer with all of the same value (right):
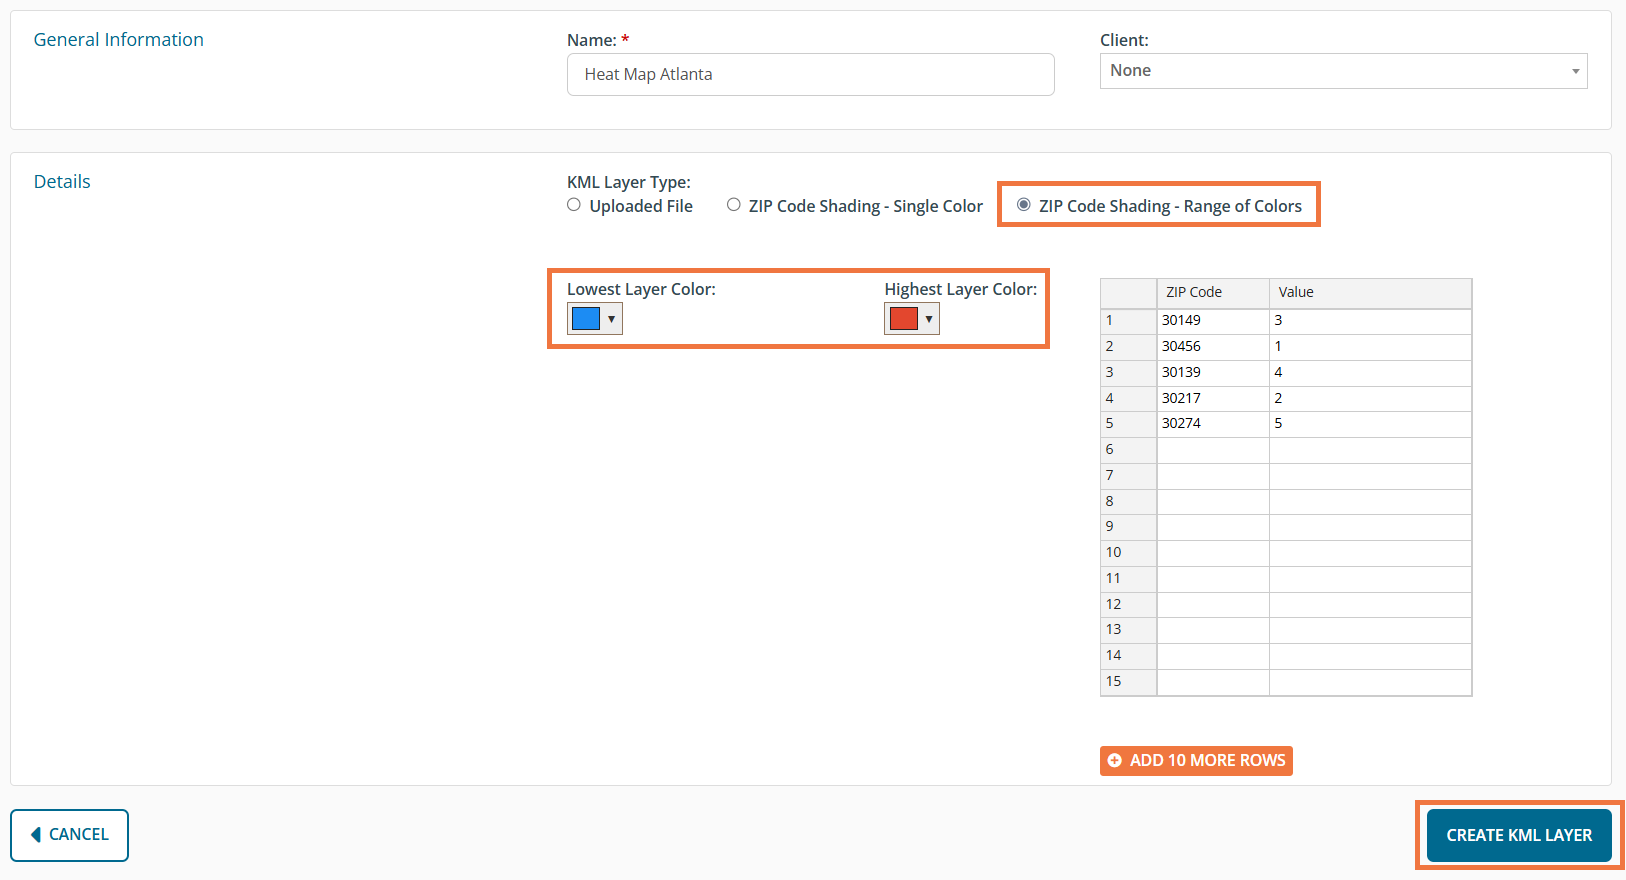
ZIP Code Shading - Range of Colors (Heatmap)
Select "Zip Code Shading - Range of Colors". Give this layer a name. The default for the lowest (coldest) values is blue and the highest (hottest) values is red. You can change the color range. The values are broken into quintiles. Therefore, there will be always be five shades in the color range.
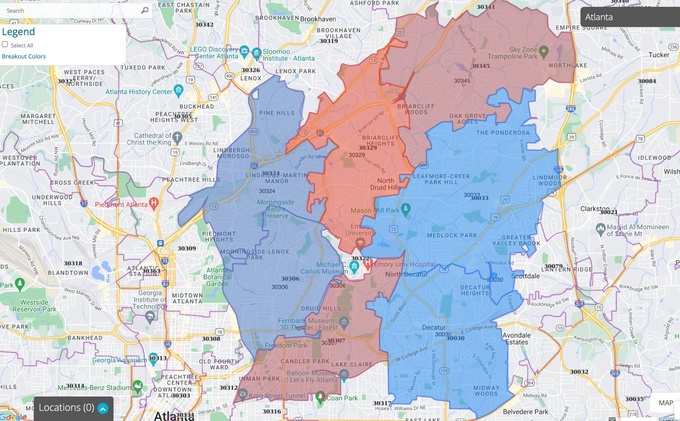
Here's an example of Zip Code Shading - Range of Colors (Heatmap)
When your KML file is successfully uploaded, a confirmation message will appear at the top of the screen. You can edit the file name any time using the "Edit" option or deactivate the layer by selecting "Disable". The disabled KML layer can be found by clicking "View Disabled KML Layers".

Assigning KML Layer to a Map:
A map must exist for a KML layer to be assigned to it. To create a map, click on "Map" then "Maps" on the left-hand side menu and then select "Create New Map".
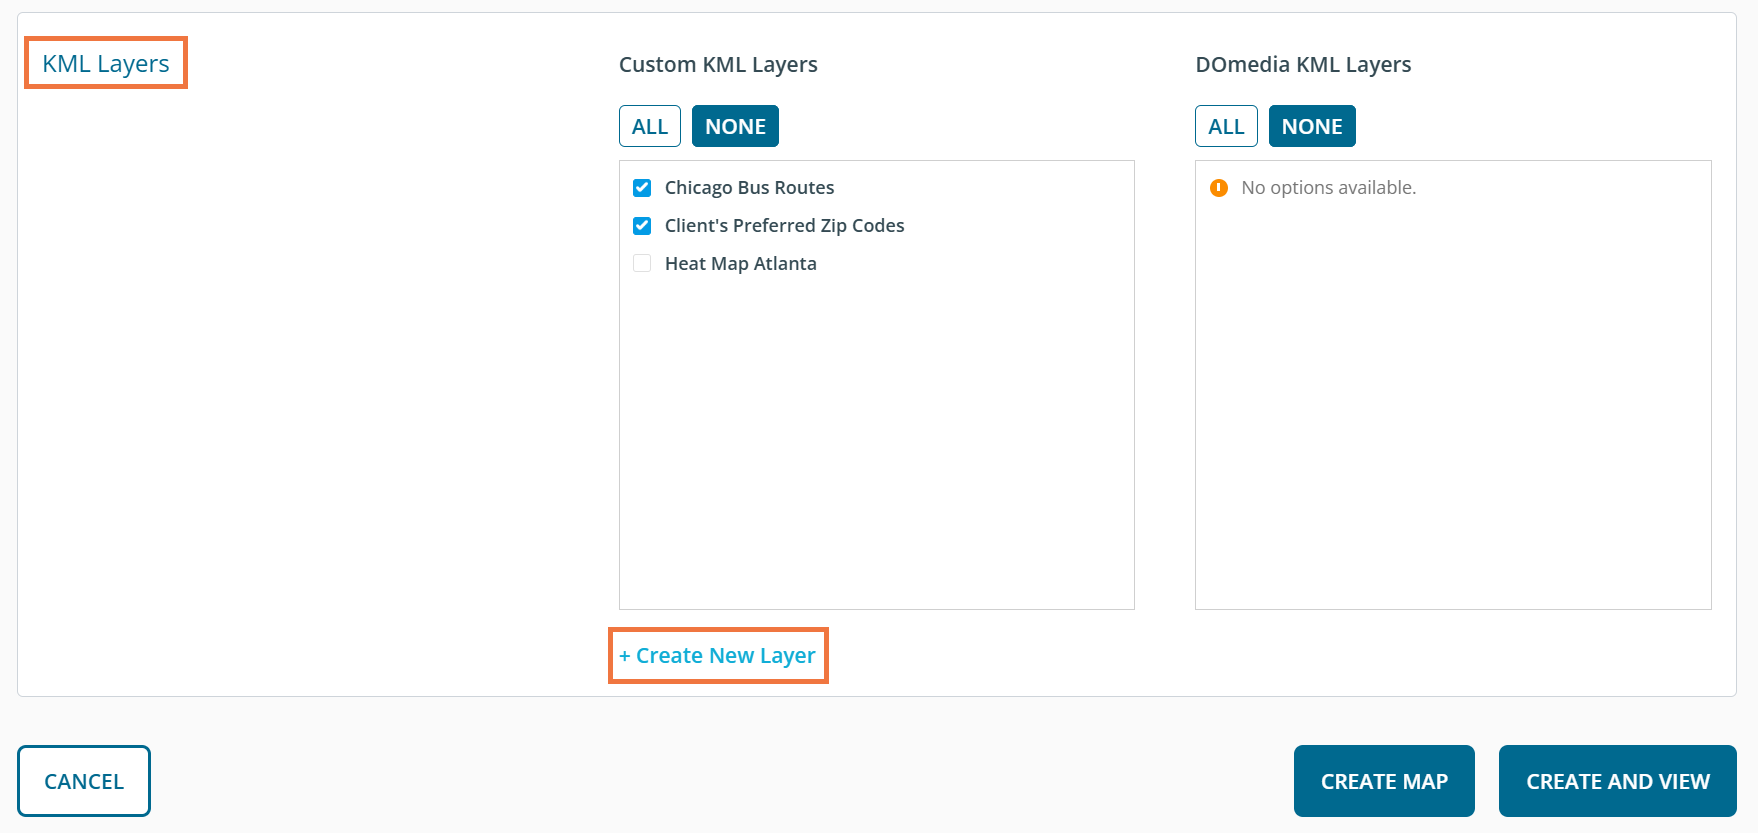
Scroll to find "Custom KML Layers" on the Edit Map page. Click the name of the desired layer(s) and Create your map. Assigning. KML Layer(s) to a map makes it available. KMLs can be available and visible (or not) on the map. That is a separate setting.
Viewing the Map Layer
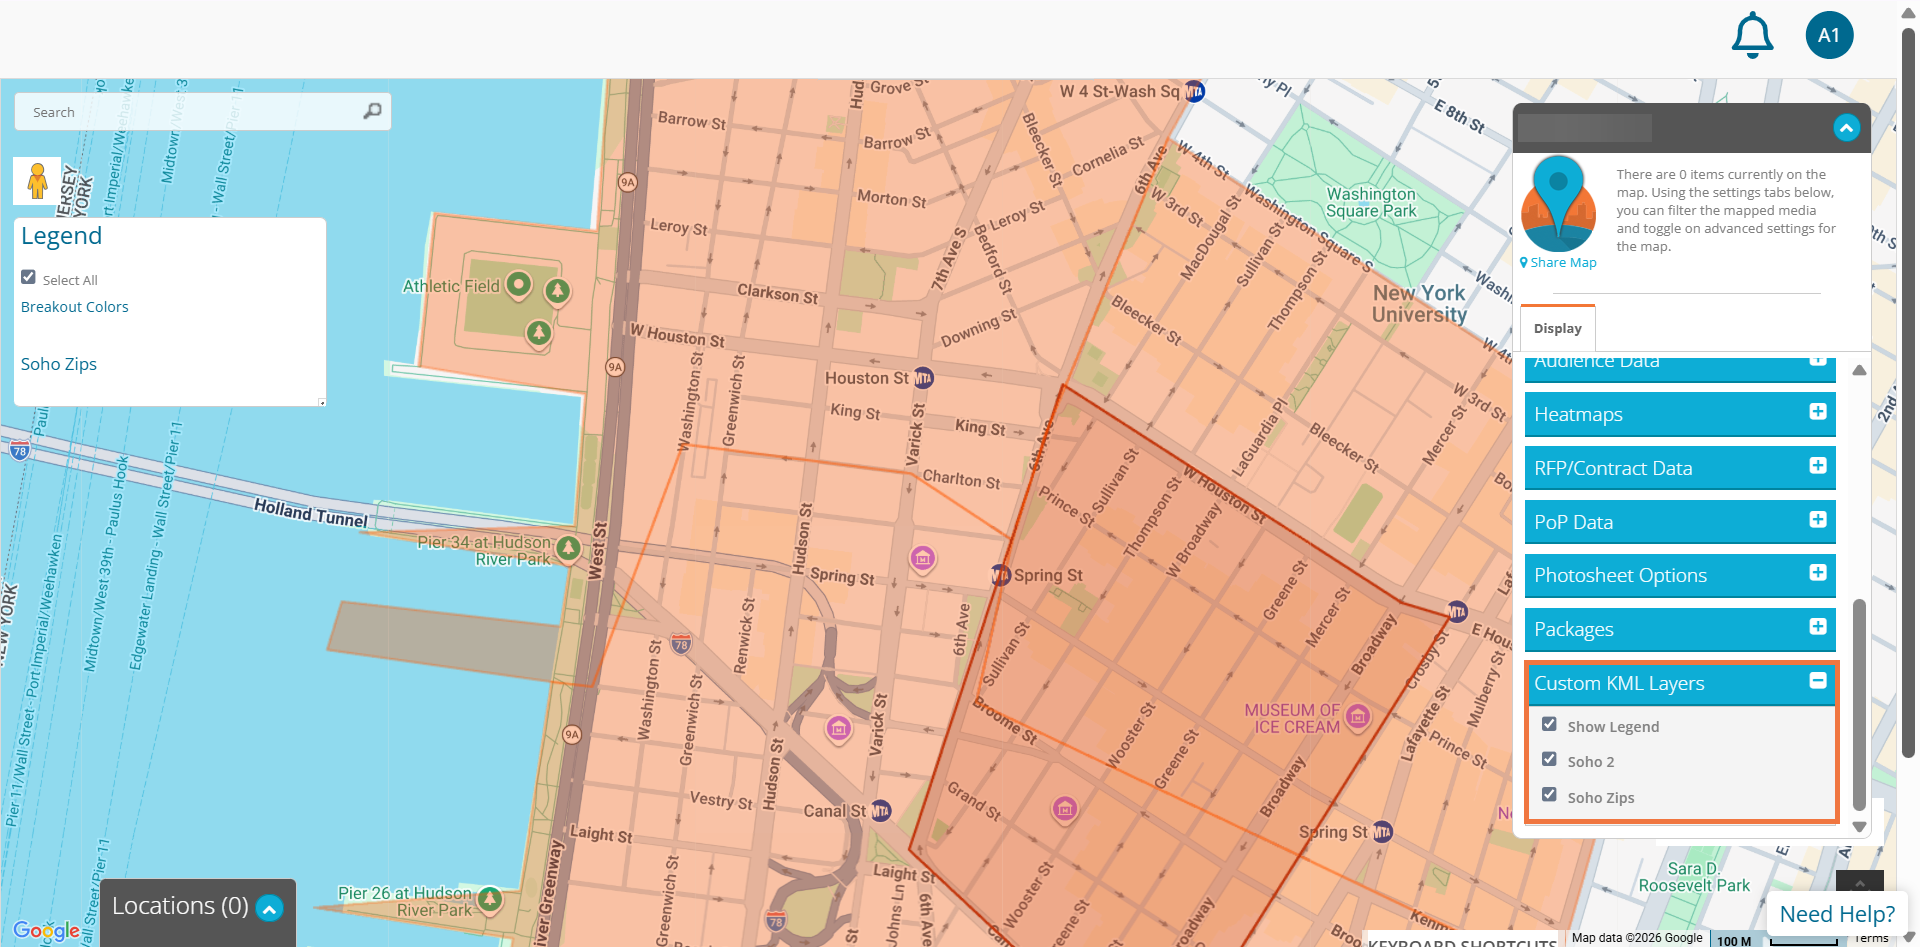
While viewing your map, click the "Display" tab to expand the "Custom KML layers" box. Select the ones you created. The layers will be displayed based on your inputs on your map.
When you use the share map link, client will see the map layers.