
Buyer: How do I review a RFP using mapping?
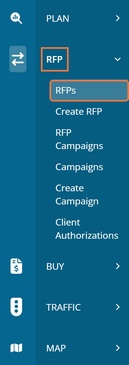
To map an RFP, click "RFPs" under the "RFP" menu.
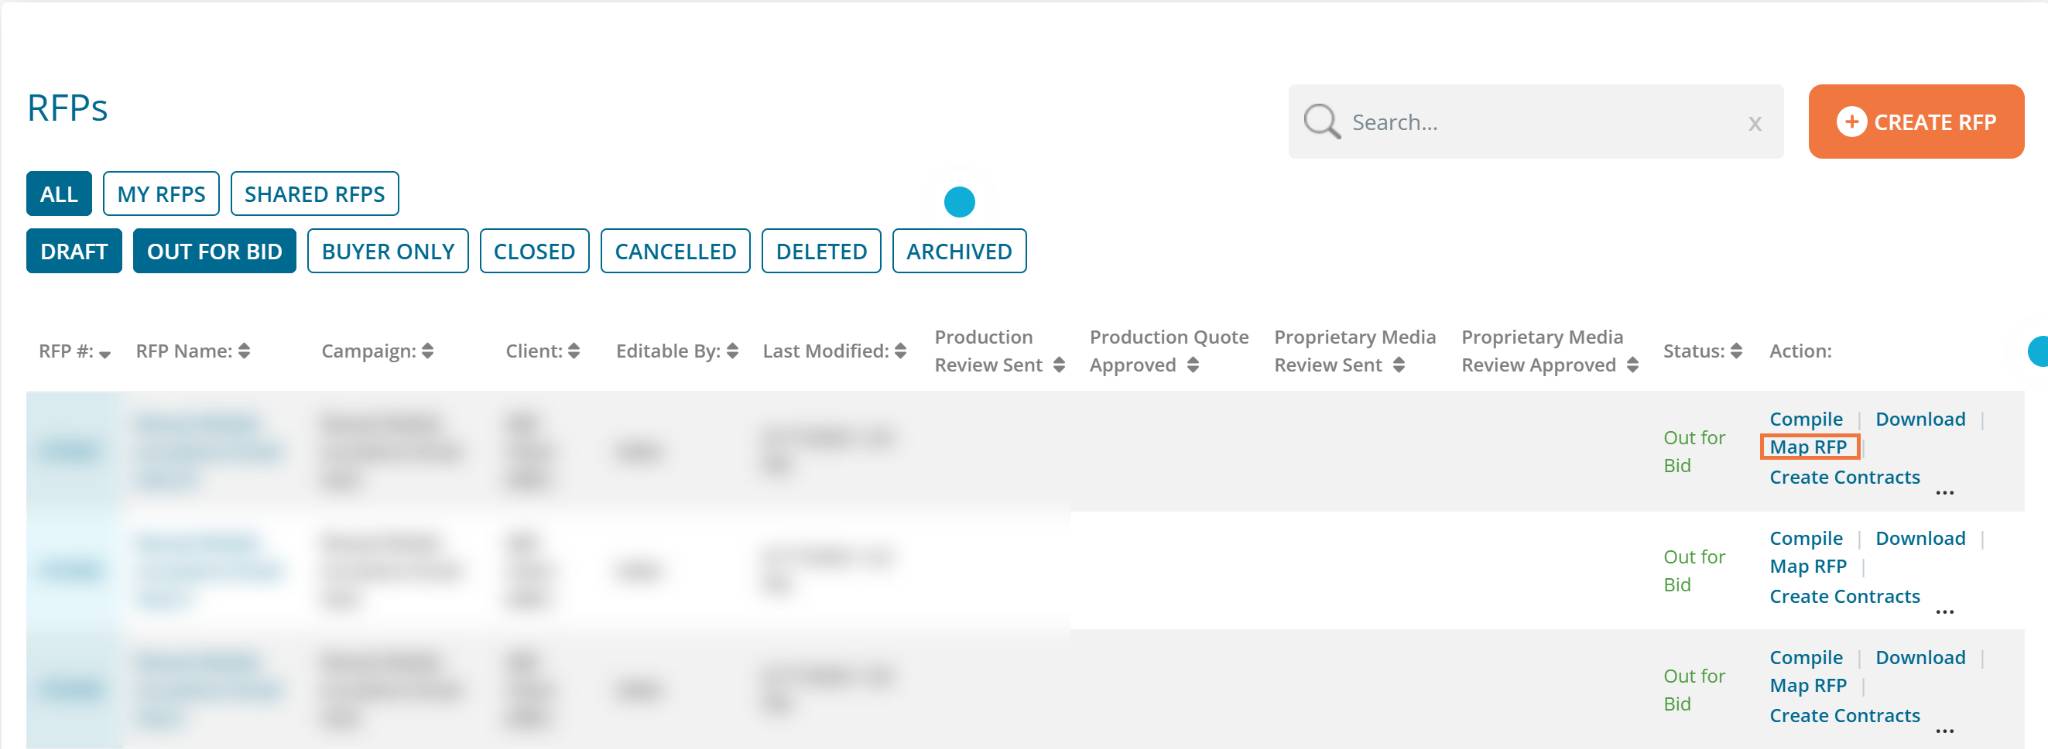
Find the desired RFP and click "Map" under the Action column. A map displaying the proposed units marked 'In' will open and contains many tools for reviewing the proposed inventory.
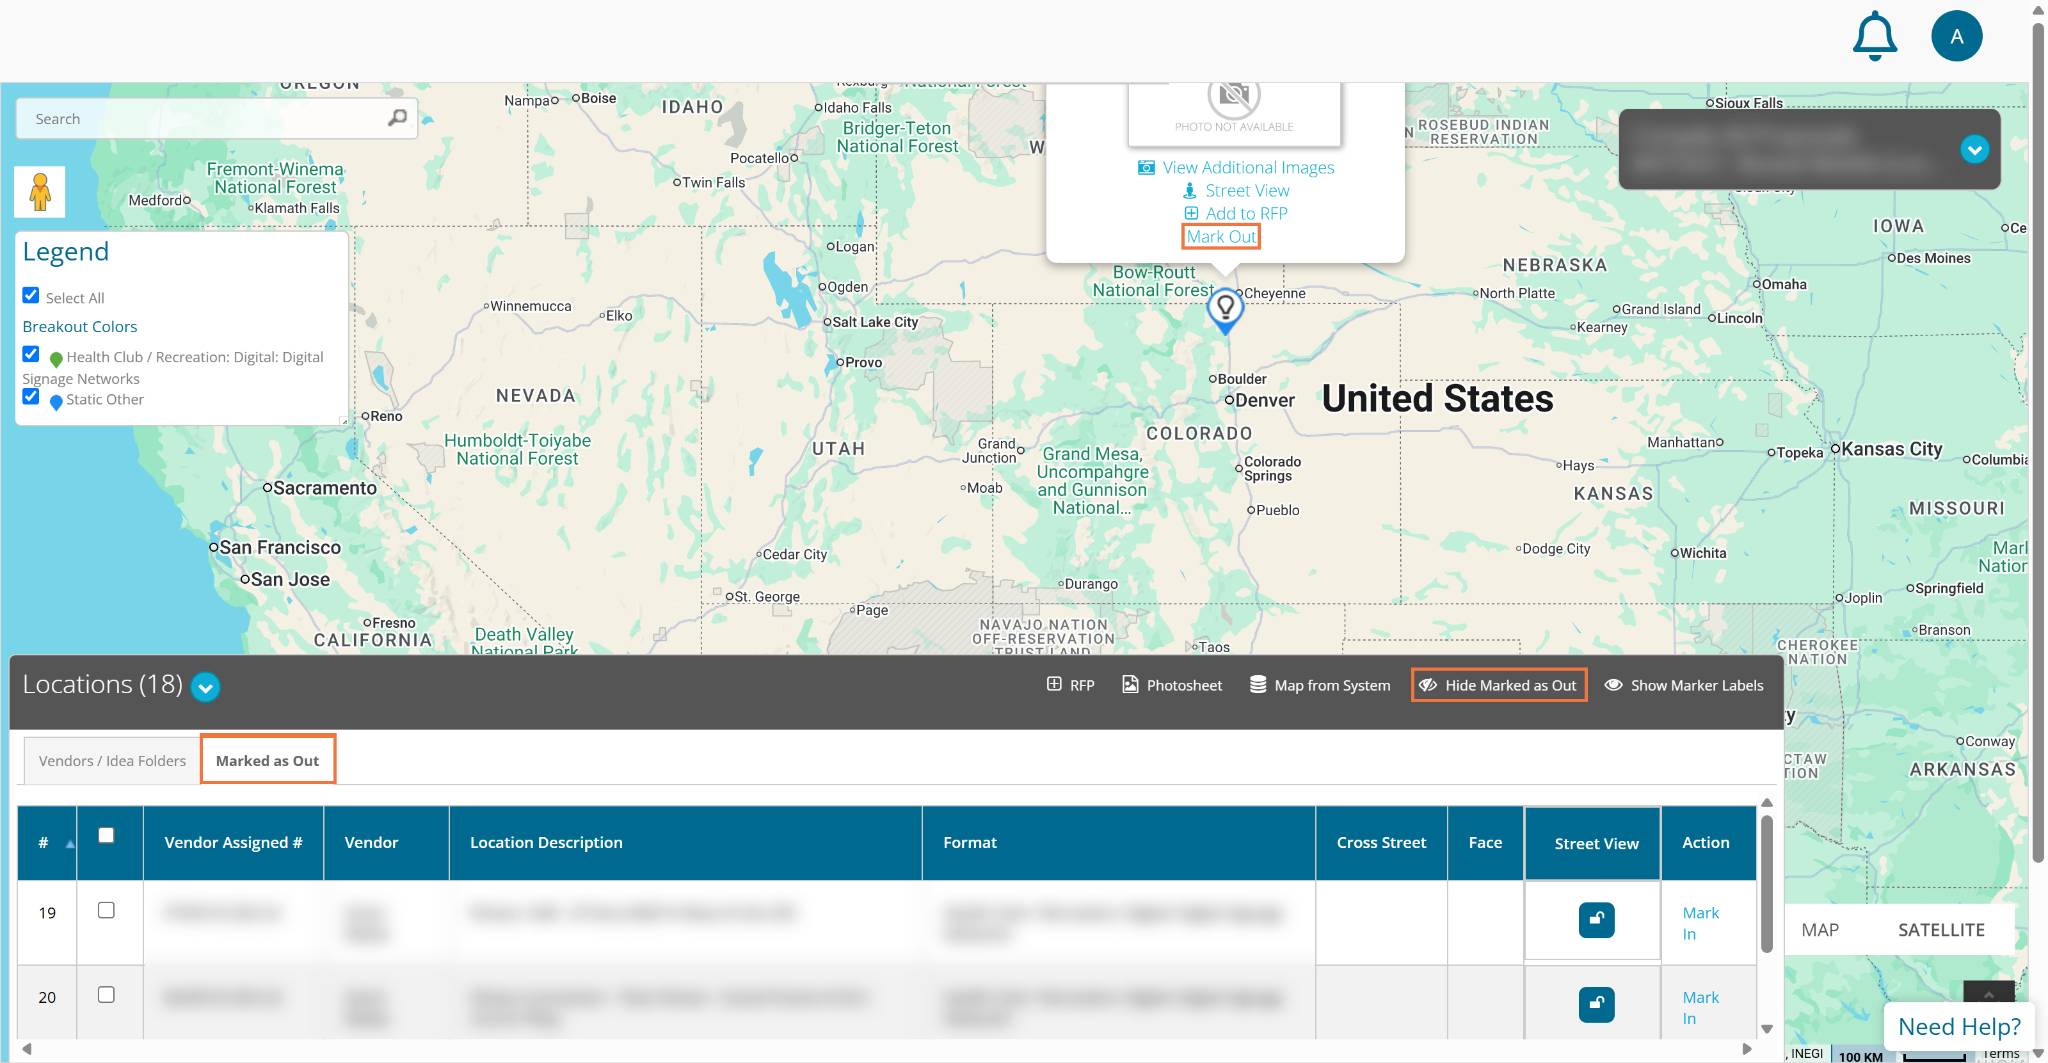
If you accidentally mark a unit as 'out' on the map, you can easily correct this. Simply click on the 'Locations' panel and select the 'Marked as Out' tab. This action will display all units currently marked as out. To mark a unit back in, click on its pin on the map, or find the unit in the 'Locations' panel and choose the 'Mark In' option
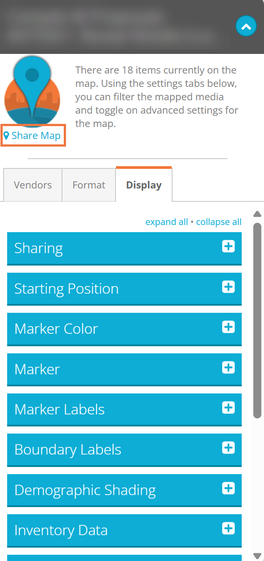
To access Display Settings, click on the drop down arrow in the top right of the page, then click on the 'Display' tab. From here, you can change display settings including zip codes, shading based on demographic data, as well as choose what information you would like to see in your pins.
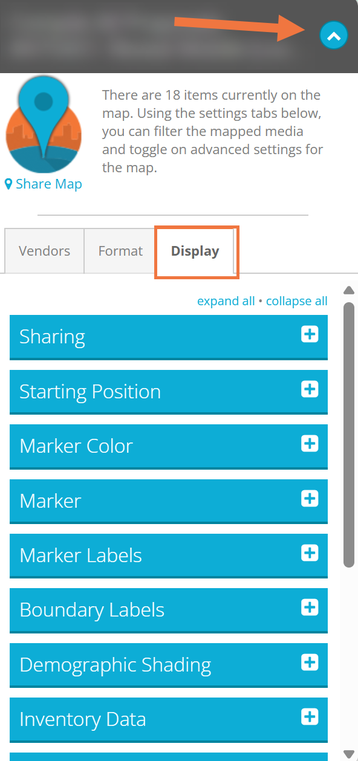
This map can be shared with your clients (they do not need to have an account in DOmedia to access and interact with the map). Click "Share Map" in the drop down menu in the top right of the page to grab the link or email it from the system. You do have the ability to customize your client's view of the map using the Display settings for Sharing (anonymize vendors in your client's view or show the units you've marked Out) and Starting Position (set the zoom level that the client will be immediately taken to after clicking the link.
For more complex maps you will want to create a map under the Map menu. This will allow you to select multiple RFPs, contracts, target location lists, vendor locations lists, and more to map on one map together.