
Buyer: How do I create and manage RFP templates?
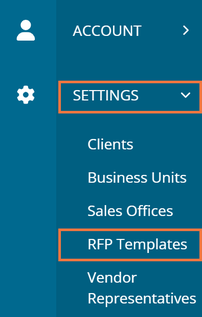
Your RFP templates can be found by clicking "RFP Templates" under the "Settings" menu.
Once you have navigated to that page, all templates will be listed. Click "Create New RFP Template" to get started.

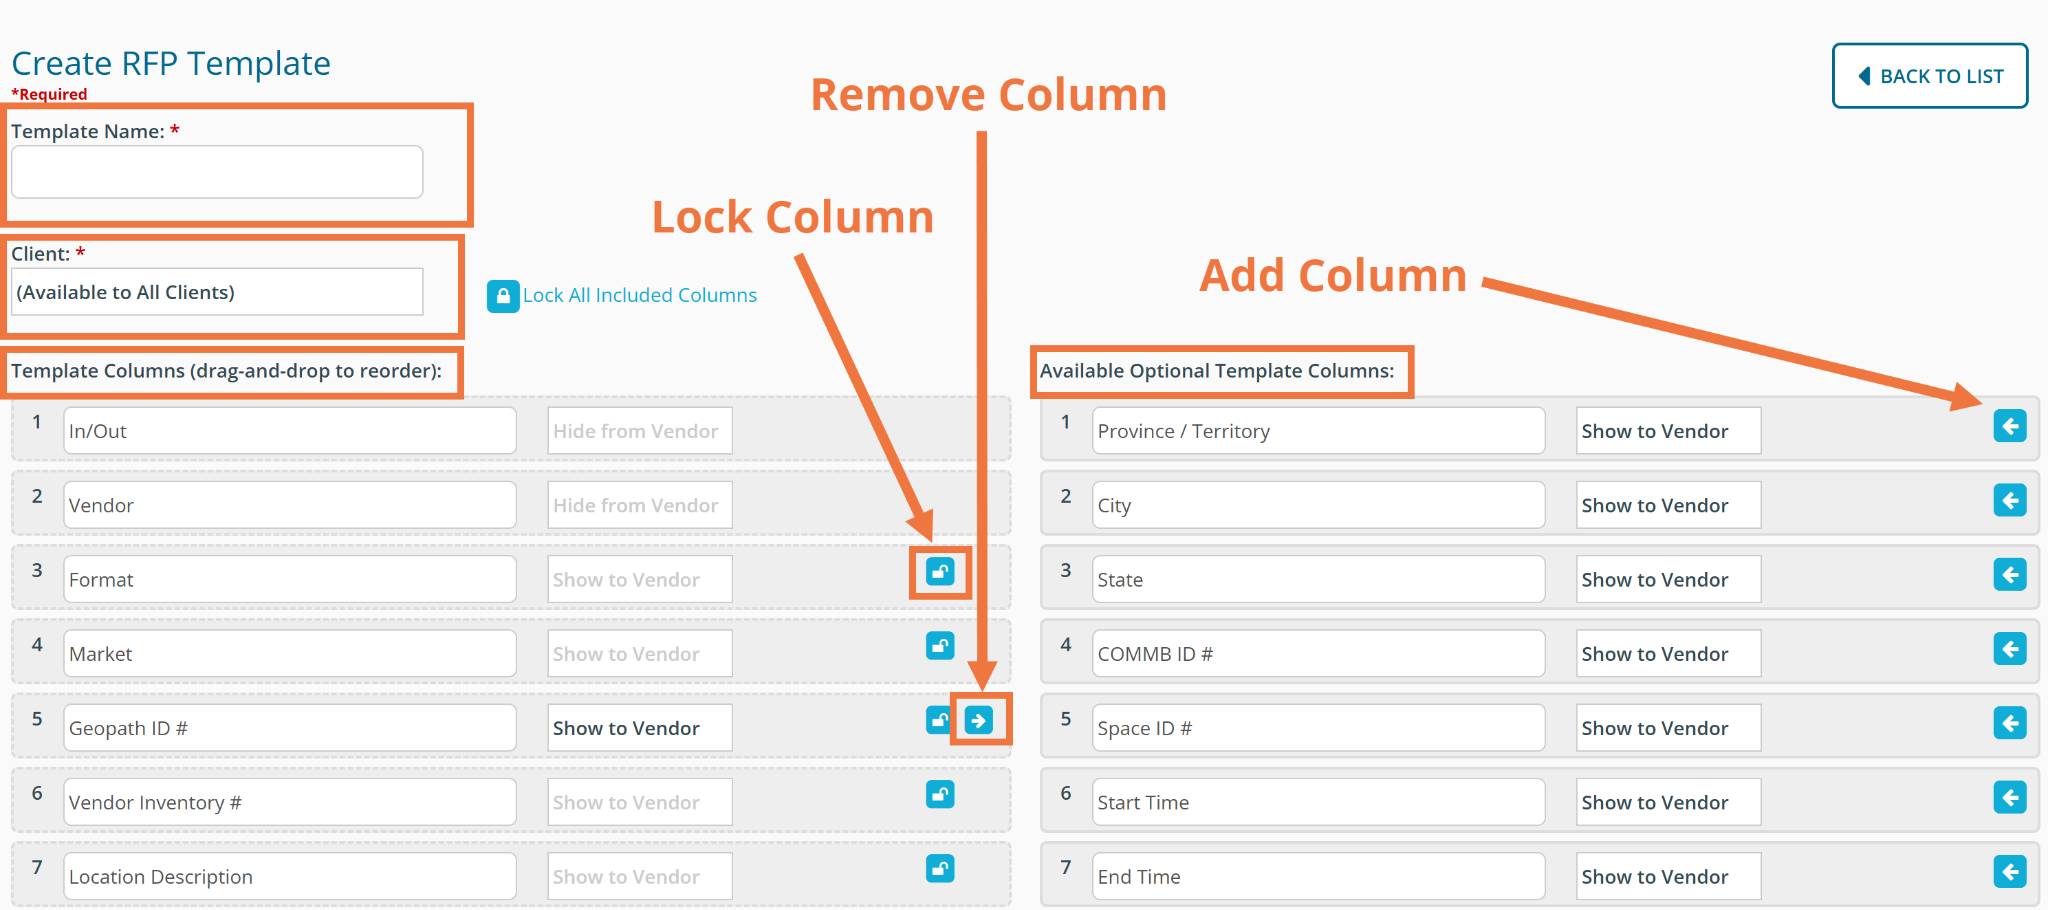
On the Create RFP Template page, you will see the following:
Template Name - Use this field to give your template a unique name.
Client - Associate the template to a specific client or make it available to all clients using the drop-down menu. If you associate the template with a specific client, the template can only be selected for an RFP when a project brief is being created for that client.
Template Columns - Choose the standard column headers you'd like to include for the RFP. You can drag and drop each based on the order you would like them displayed.
Available Optional Template Columns - Review and if desired, add columns from a list of additional standard column headers.
Note: If you are a Geopath member, some additional fields (Geopath Impressions, TRP, Reach, Frequency, and CPM) are available to be added as columns in your template. When these columns are added to a template, all calculations will be pulled in real-time and displayed in the grid for each Geopath audience selected on the RFP, all by clicking on the Update Geopath Data button after proposals are received. Available actions include:- Adding and removing columns using the arrow icons shown next to the headers. Note: Some of the standard column headers cannot be removed from the template, these will not have an arrow icon next to them.
- To add a custom column header to the template, click "Add Header" at the bottom of the Template Columns list.
- You can remove a custom header by clicking on the X.
- When creating, you can choose from data types including Text, Number, Currency, Date, and Dropdown. The Data Type validation will not stop vendors from inputting data that does not match the requested data format, but it will highlight the cell red to call attention.
- Establish whether or not your custom column headers should be visible to vendors by choosing from "Show to Vendor" or "Hide from Vendor"
Lock: There are two options when locking columns in a template. You can lock columns so users are unable to remove them when creating an RFP using this template.
- You may lock individual columns by selecting the lock icon on the right-hand side of the wanted column.
- You may lock all columns by selecting "Lock All Included Columns" at the top.
Remember to hit Save at the bottom once done.

Your template is now created! Your templates will live in RFP Templates under Settings. From there you can preview, edit, export, and copy any of your templates. When creating a new RFP, the template can be selected in Step 1. The template will then be displayed in Step 2 to be further customized by the user as needed.