
Quick Guide: Buyer Posting Instructions
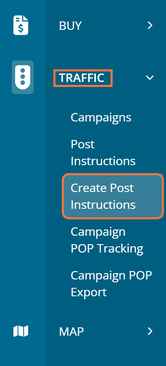
Everything trafficking related can be found under the Traffic menu:
Creating Posting Instructions
Posting Instructions can be created on a contract or campaign-level basis.
Creating Multiple Posting Instructions at Once
There are various places throughout the site to create multiple posting instructions at once. However, the fastest way is to click Create Post Instructions under the Traffic menu. Once clicked, you will need to select the desired campaign and then click Next.
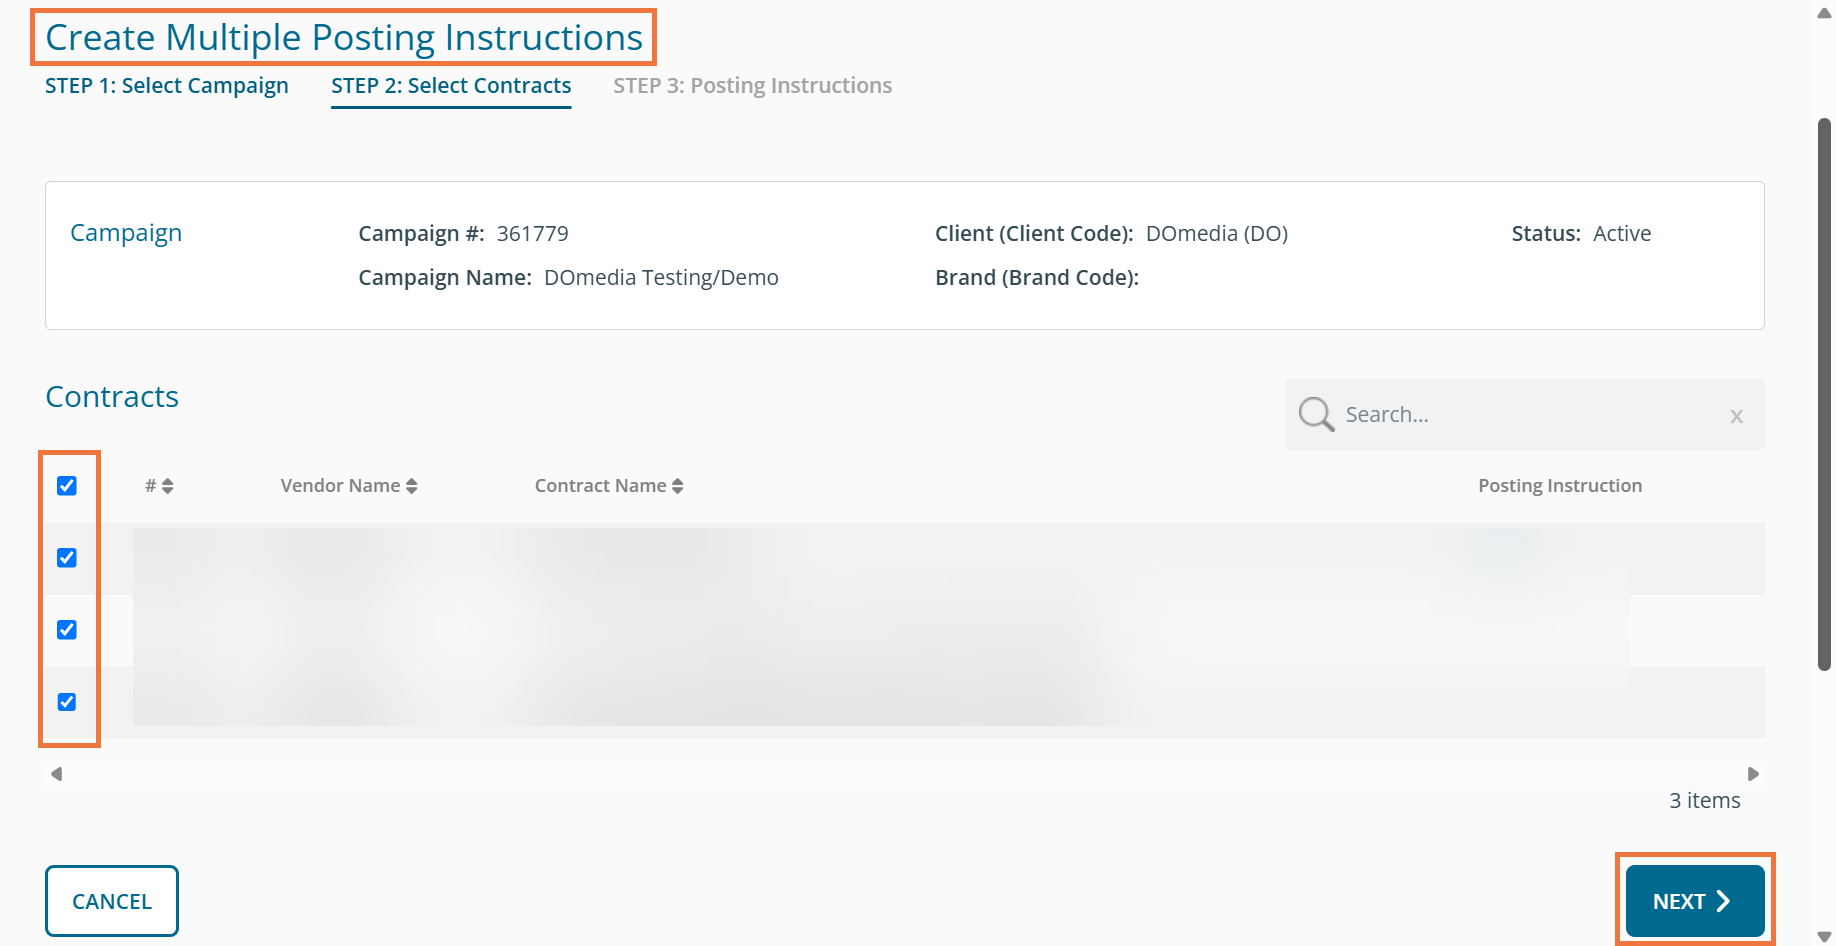
On the following page, you are able to see the contracts associated with the selected campaign. Select (using the checkboxes on the left) the contracts for which you'd like to create posting instructions. Click Next to continue.
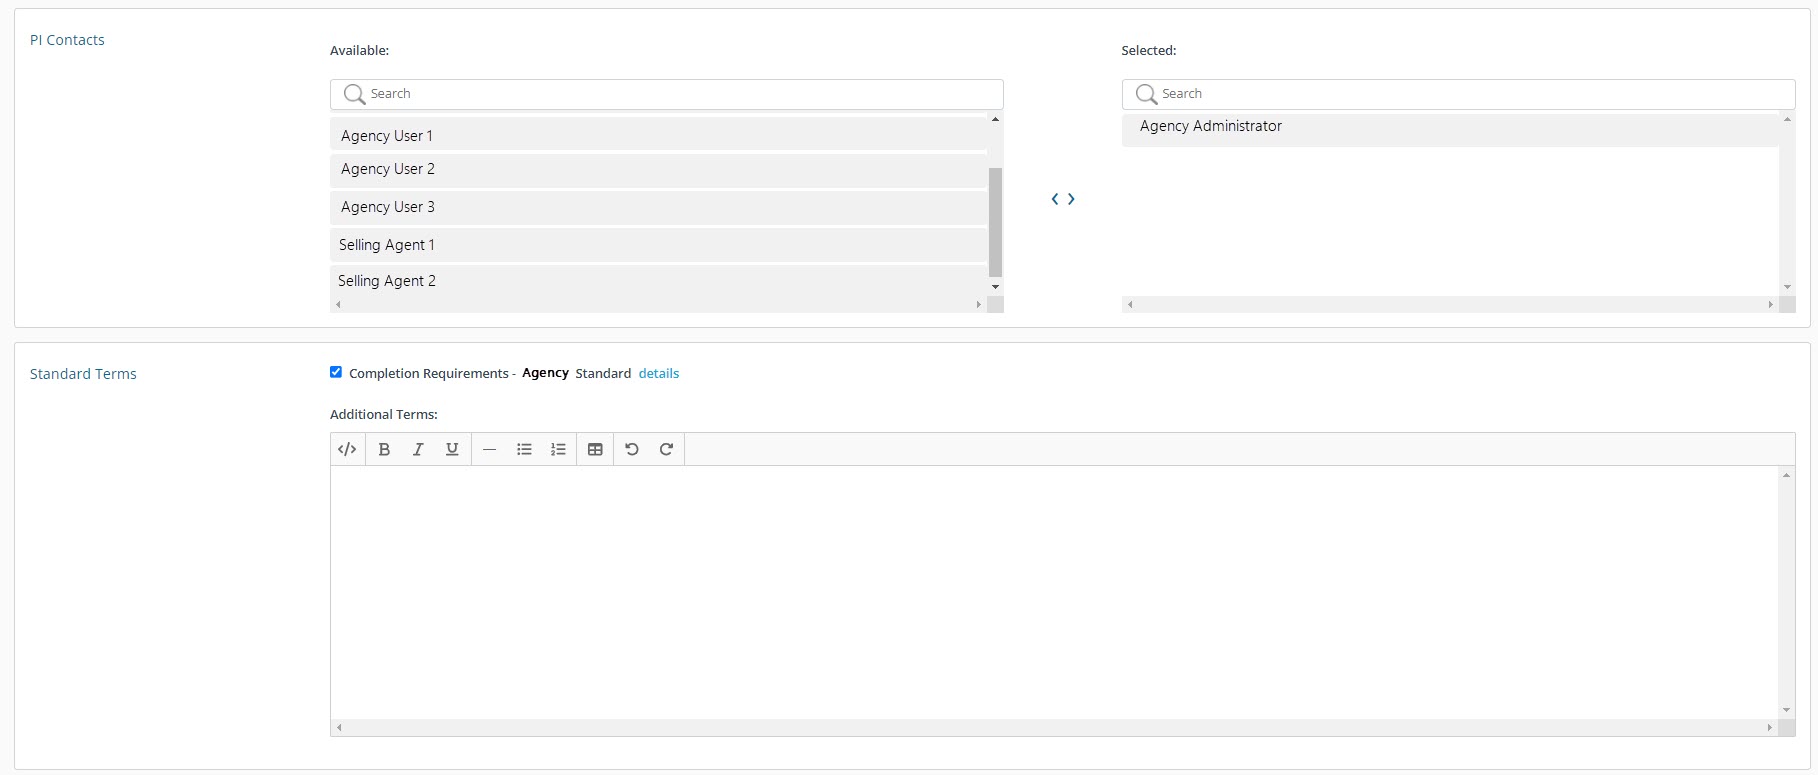
On the last step, you can select your internal contacts as well as add standard PI terms and attachments to your posting instructions. Once completed, click Create Posting Instructions.

Editing and Issuing Posting Instructions
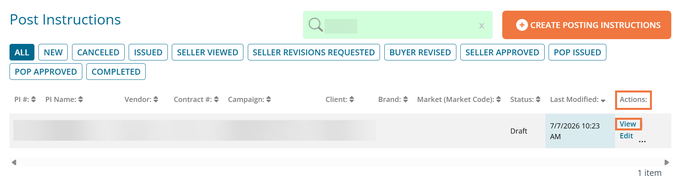
On the Post Instructions Dashboard, you can click Edit on each posting instruction to add design images and issue the instructions to vendors.
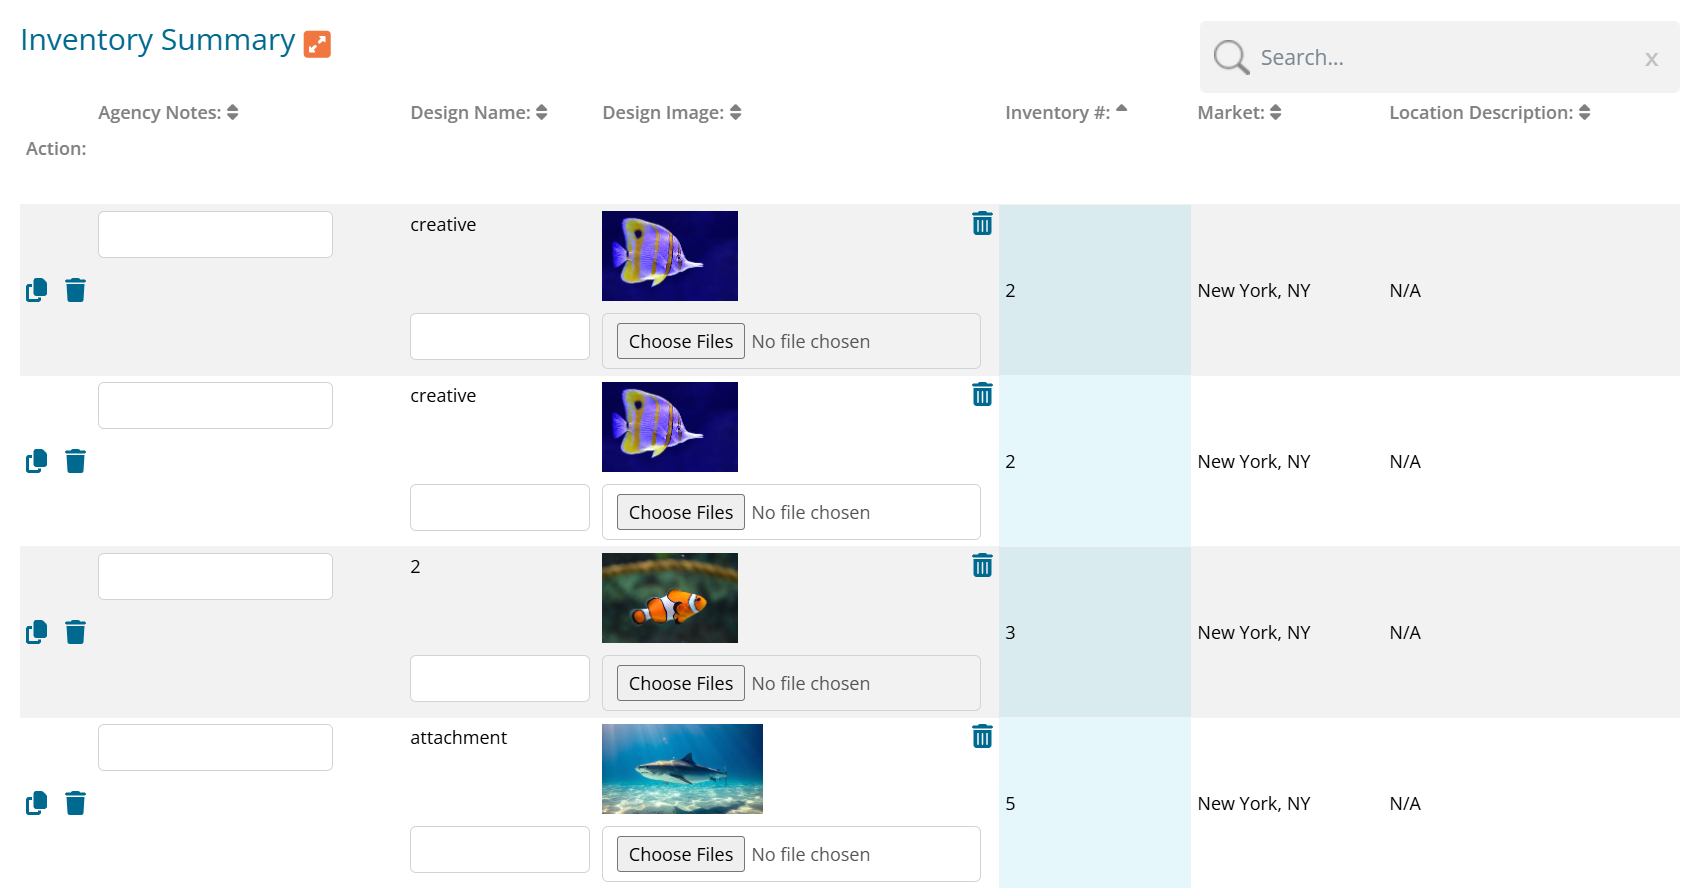
Posting instruction details are tracked in the Inventory Summary table found on the Edit Post Instructions page. The following columns are included in the Inventory Summary table, and Bolded columns indicate columns only the buyer can edit.
- POP Accepted Date (autofills once accepted)
- Proof of Install Photo
- POI Date
- Completion Photo
- Completion Date
- Completion Report
- Design Name
- Design Image
- Inventory # (prefills)
- Market (prefills)
- Location Description (prefills)
- Format (prefills)
- Size (prefills)
- Start Date (prefills and is editable)
- End Date (prefills and is editable)
- Actual Post
- Actual Take Down
- Shipping Address
- Tracking # (autofills once it becomes available and if an API is set up with your printer)
- # of Units (prefills)
- # of Units Shipped (prefills)
- # of Slots
- Impressions per Cycle (prefills)
- Materials Type (prefills)
Once you've completed the posting instructions, click 'Save and Review'. Next, click Issue Posting Instruction in the upper right corner. This will trigger an email notification to the seller prompting further action.
