
UK Buyer: Search to Export/RFP
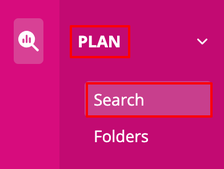
Begin by selecting "Plan" and then "Search" from the left-hand side menu.
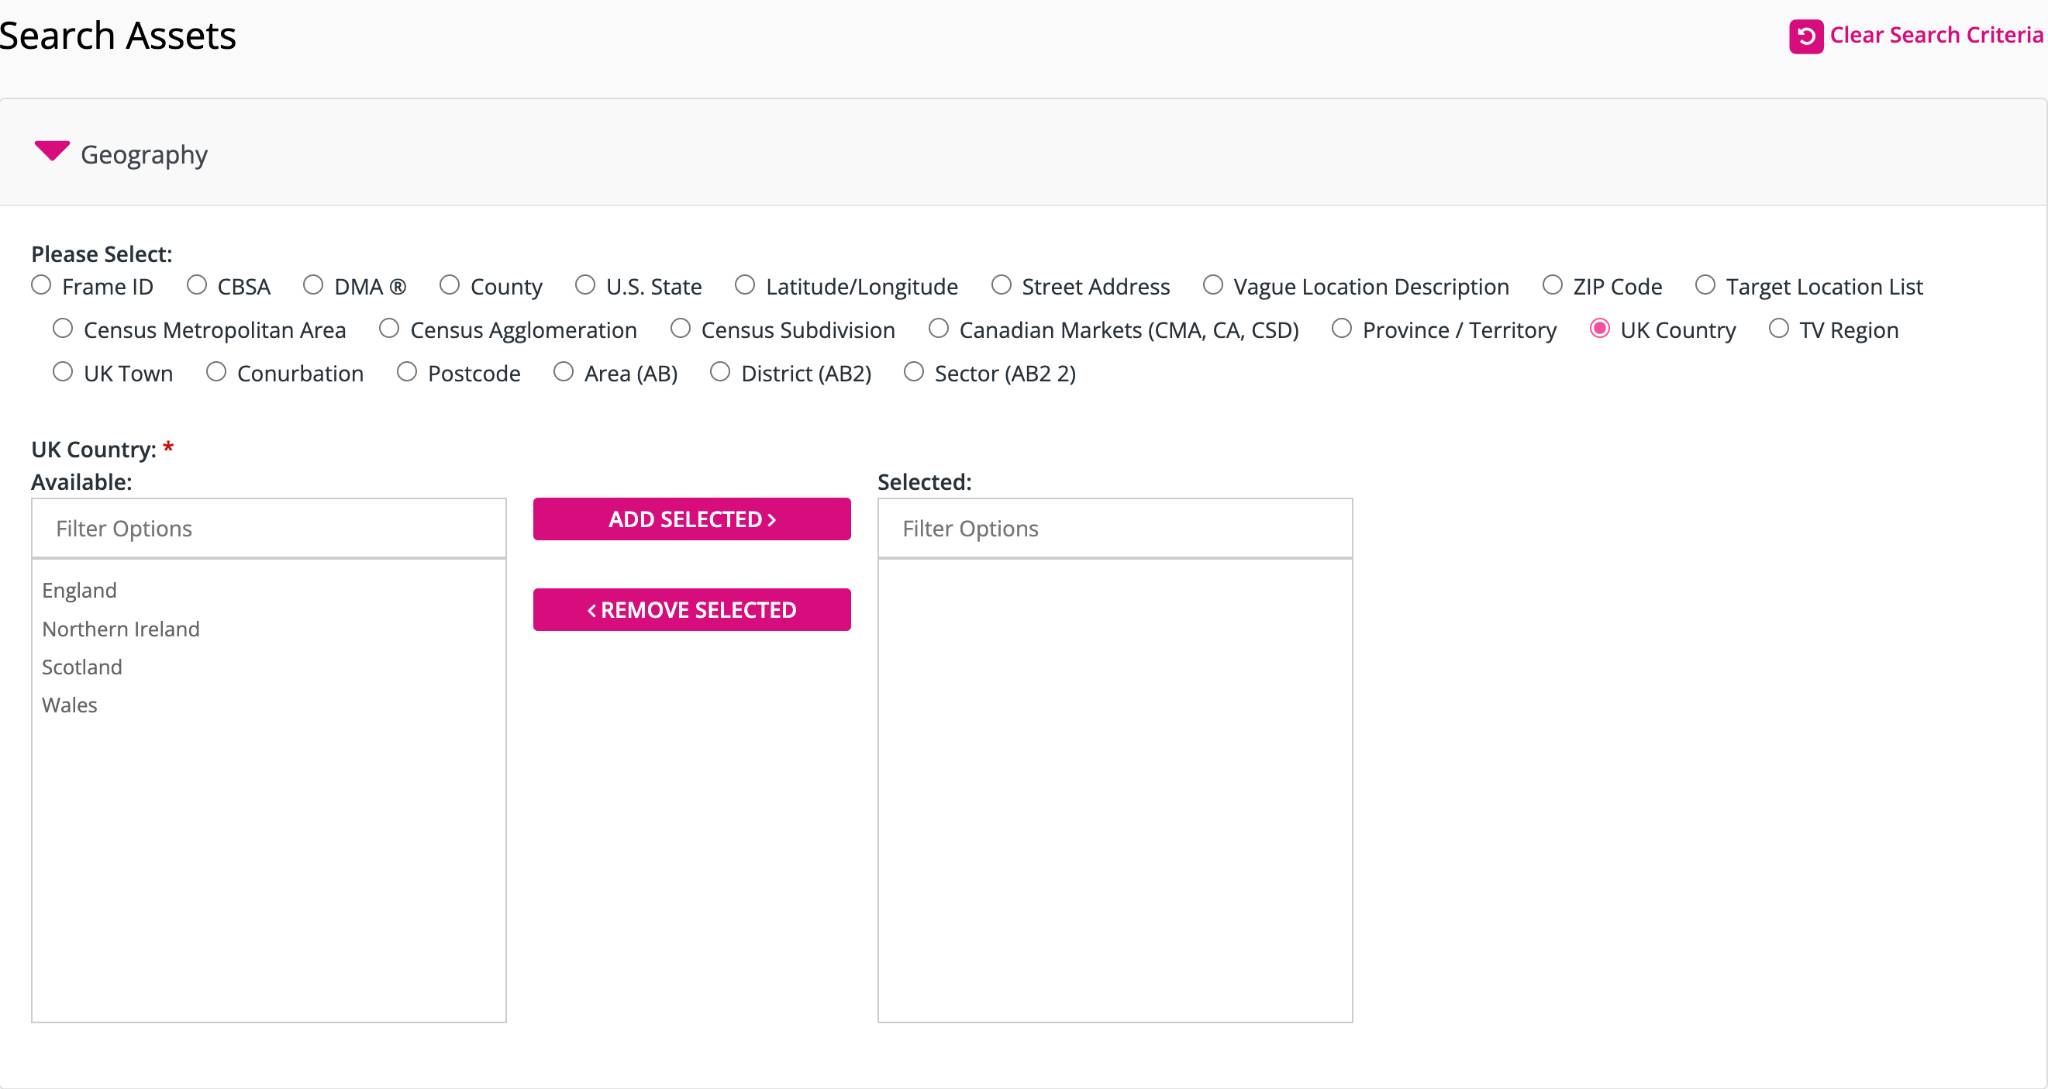
When making your search, start by choosing from the options below. Your selections will appear below in two boxes. Drag or click options from the "Available" box to the "Selected" box.
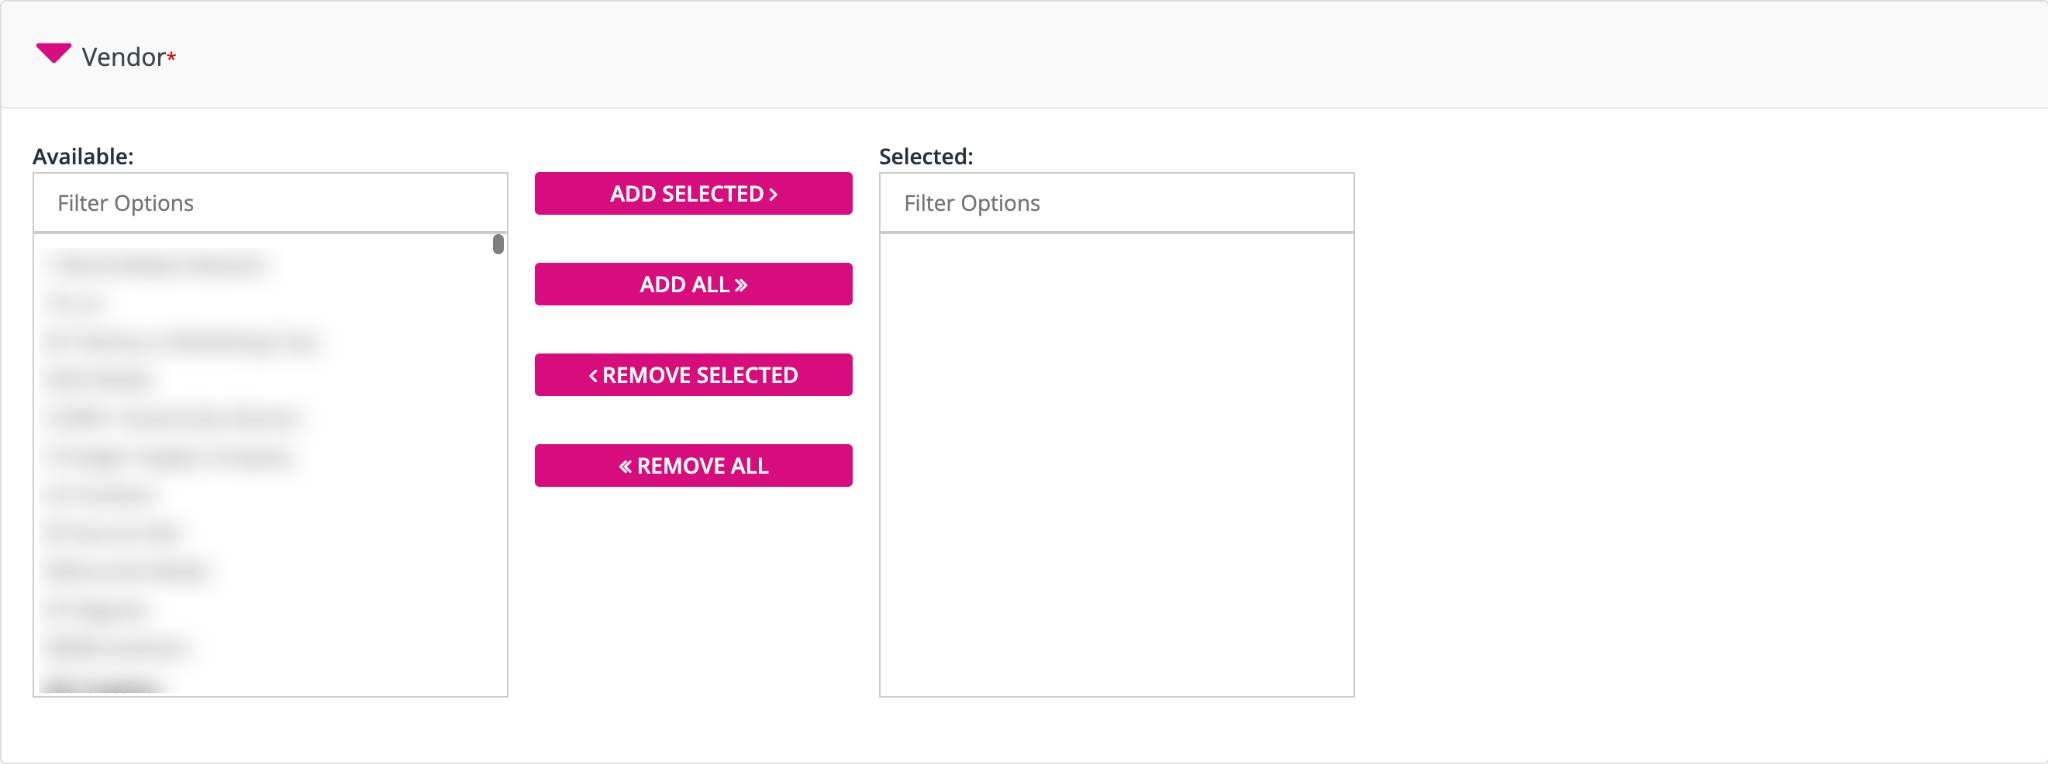
Next, in the "Vendors" section, drag or click options from the "Available" box to the "Selected" box.
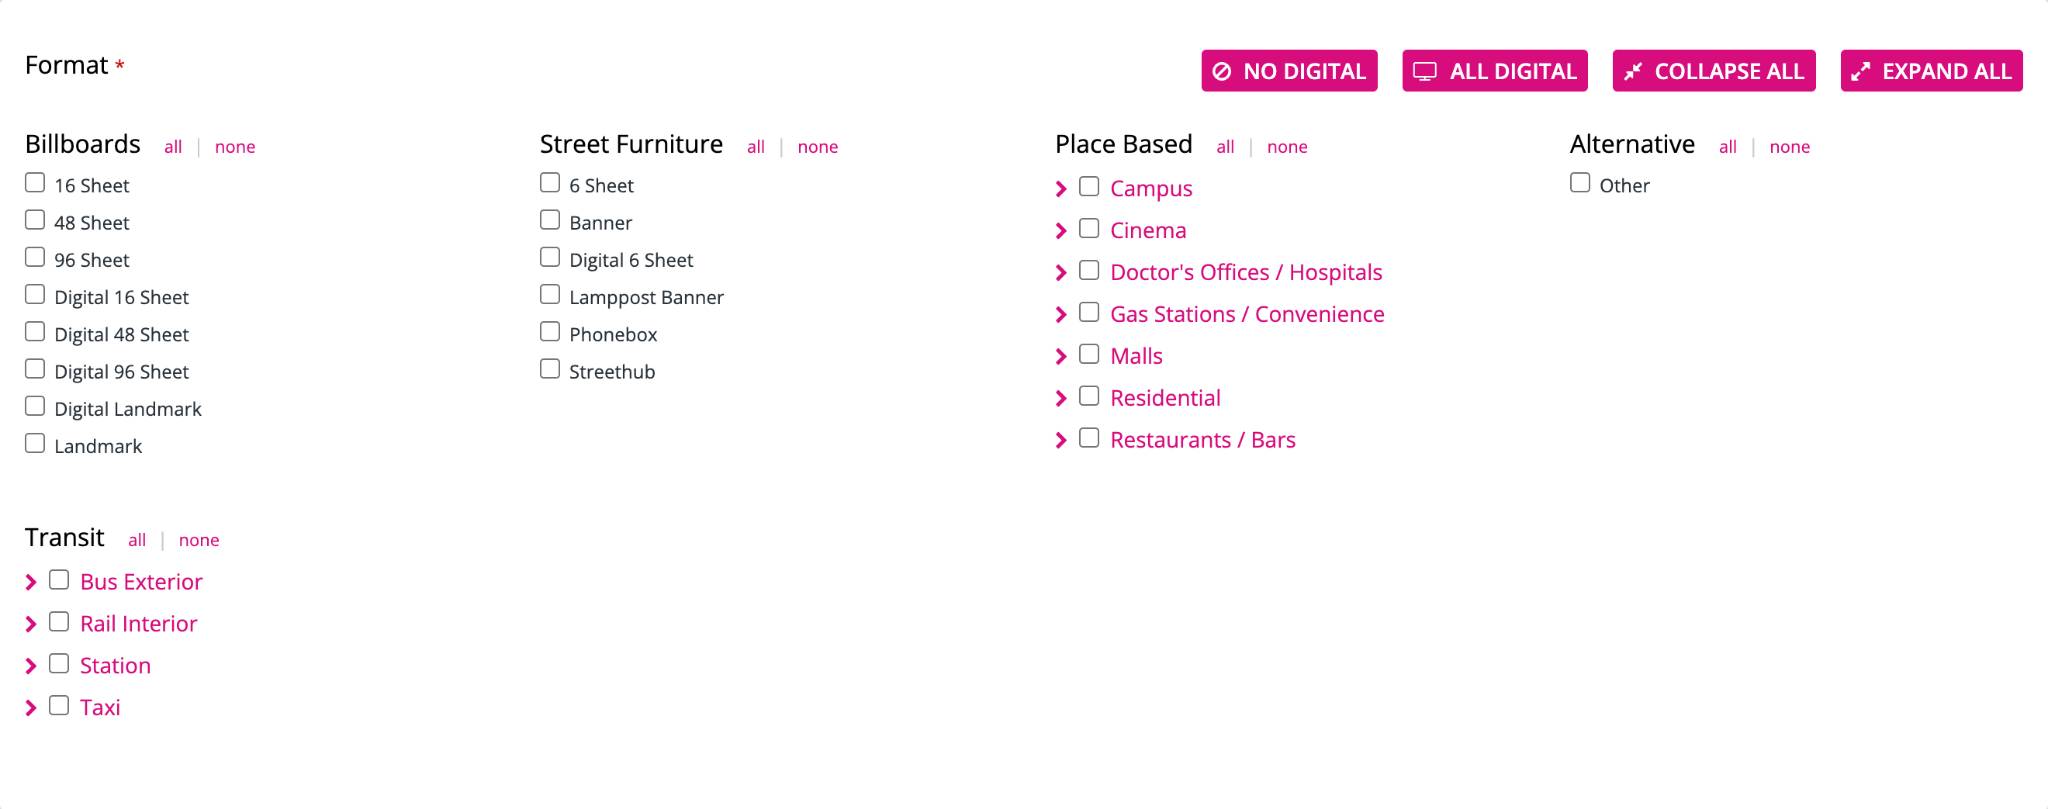
Under "Format," make your selections by checking the corresponding checkboxes.
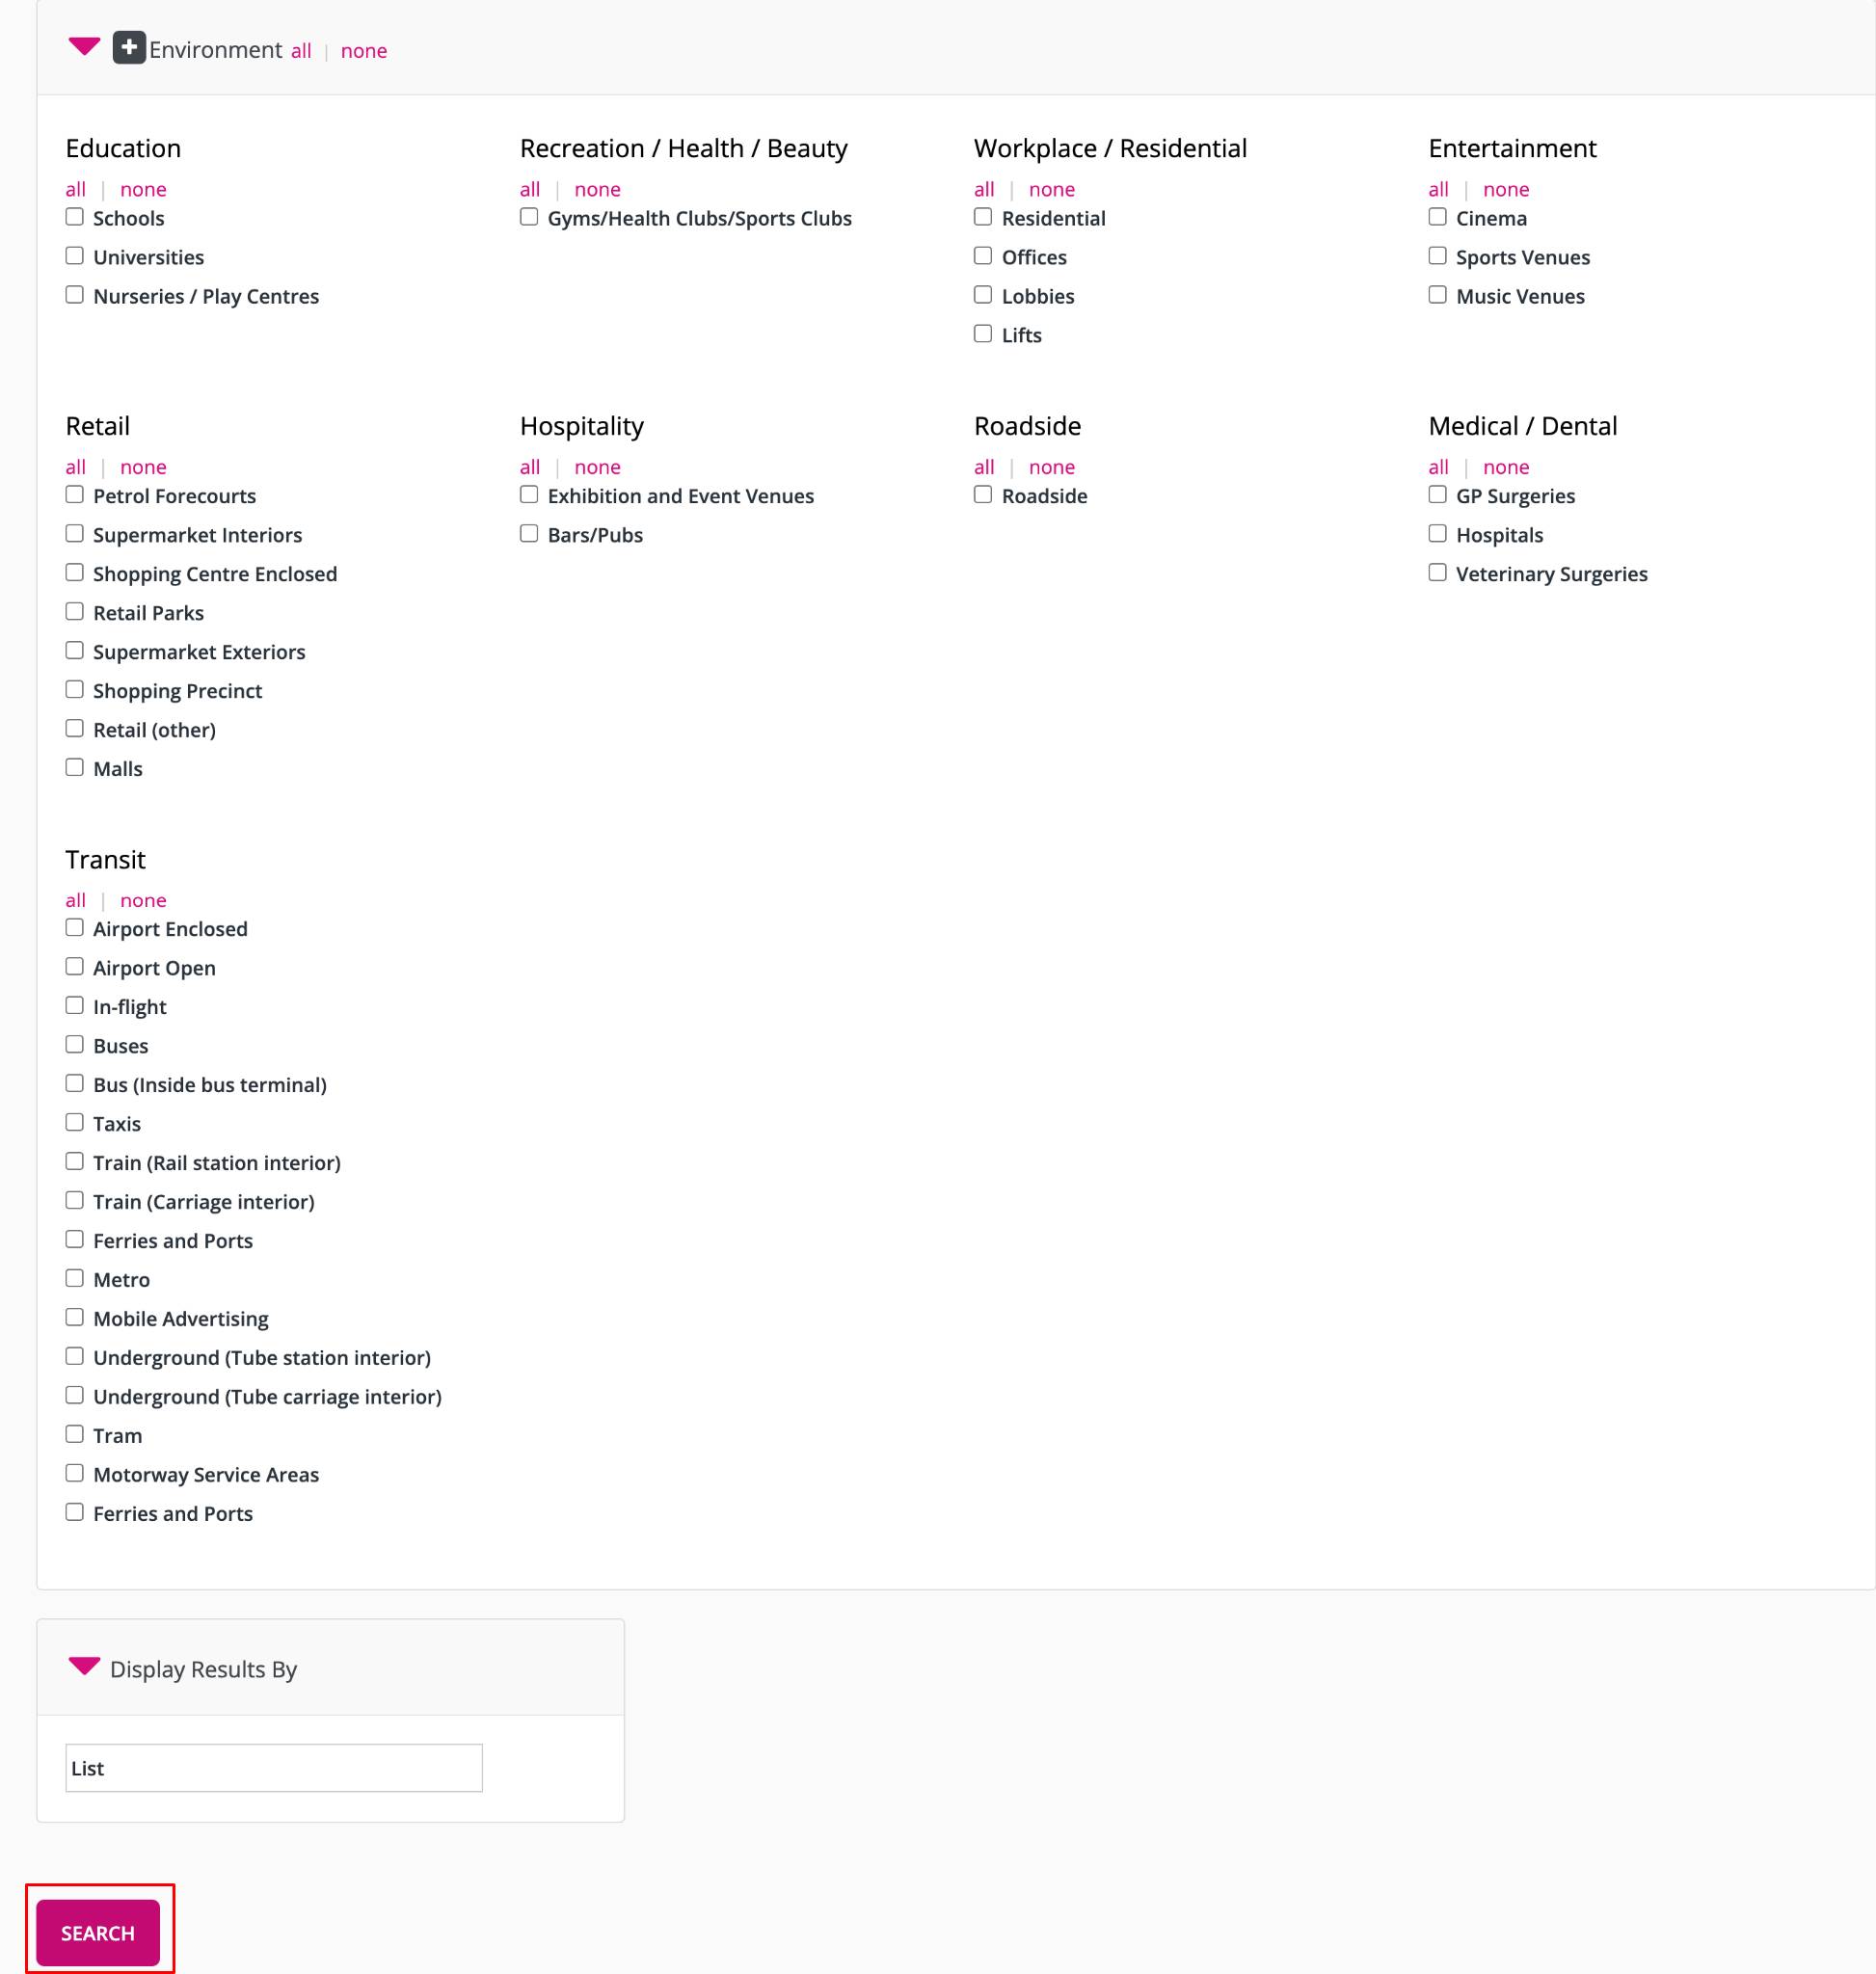
Expand the "Environment" section and make your selections. Choose to display the results as a list and click "Search."
You will receive a success message indicating the number of matching assets found. Use the checkboxes on each row to select the assets for which you would like to retrieve information, or click the top checkbox to select all on the page. Note: this will only select the number of assets currently displayed on the screen.
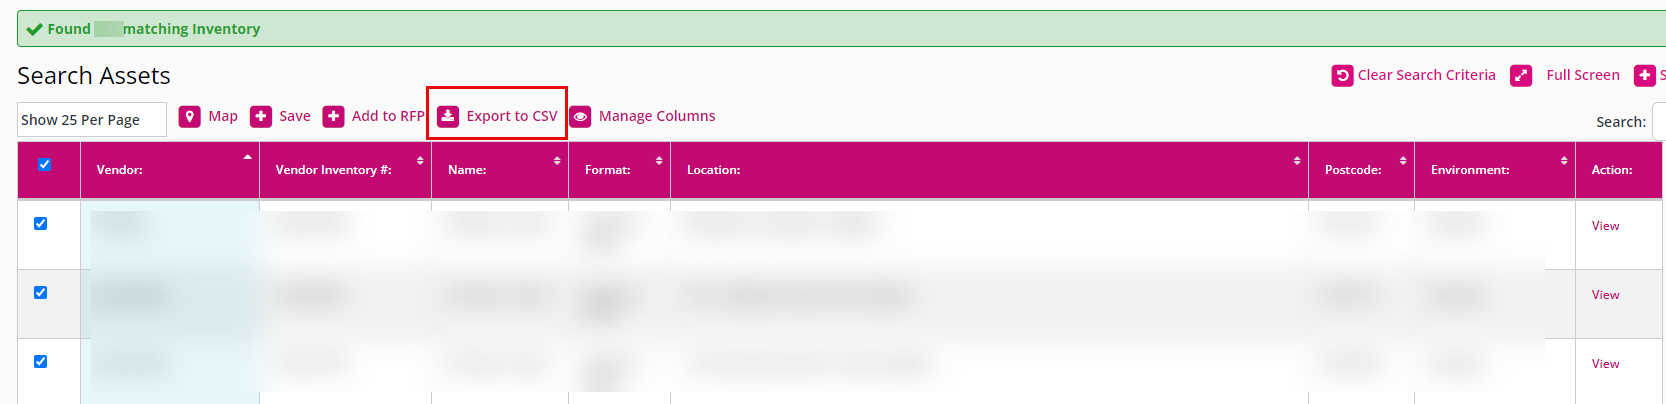
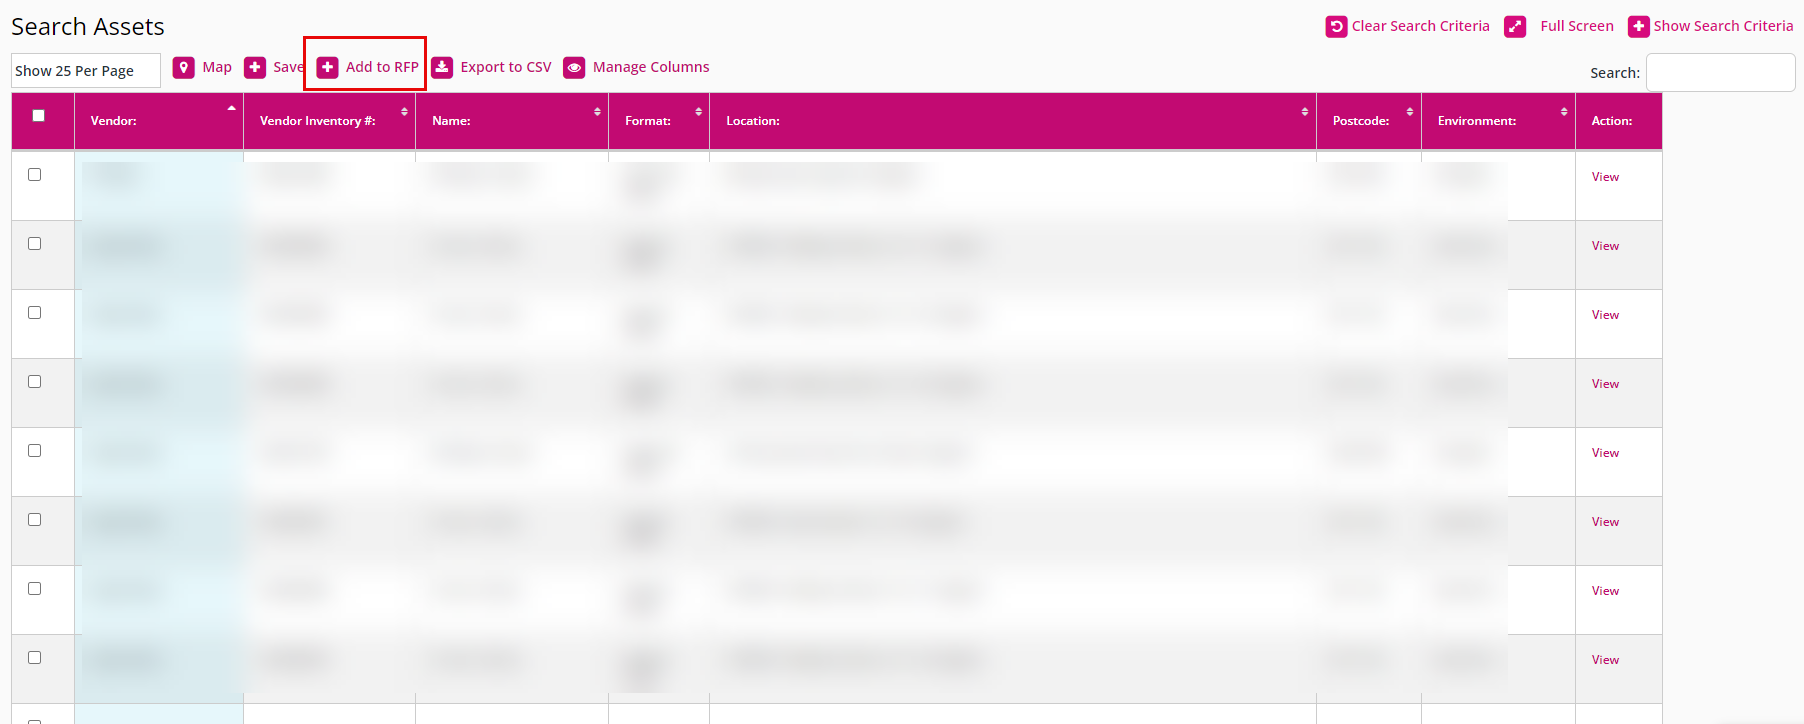
If you would like to select the entire list of inventory, please scroll down can click "Select All." After choosing your selections, you can either "Export to CSV" to view the basic details of your search in Excel format, or you can click "Add to RFP."

If you click "Export to CSV," the Excel file will download to your computer, and you will see the downloaded file in your browser.
You also have the option to "Add to RFP":
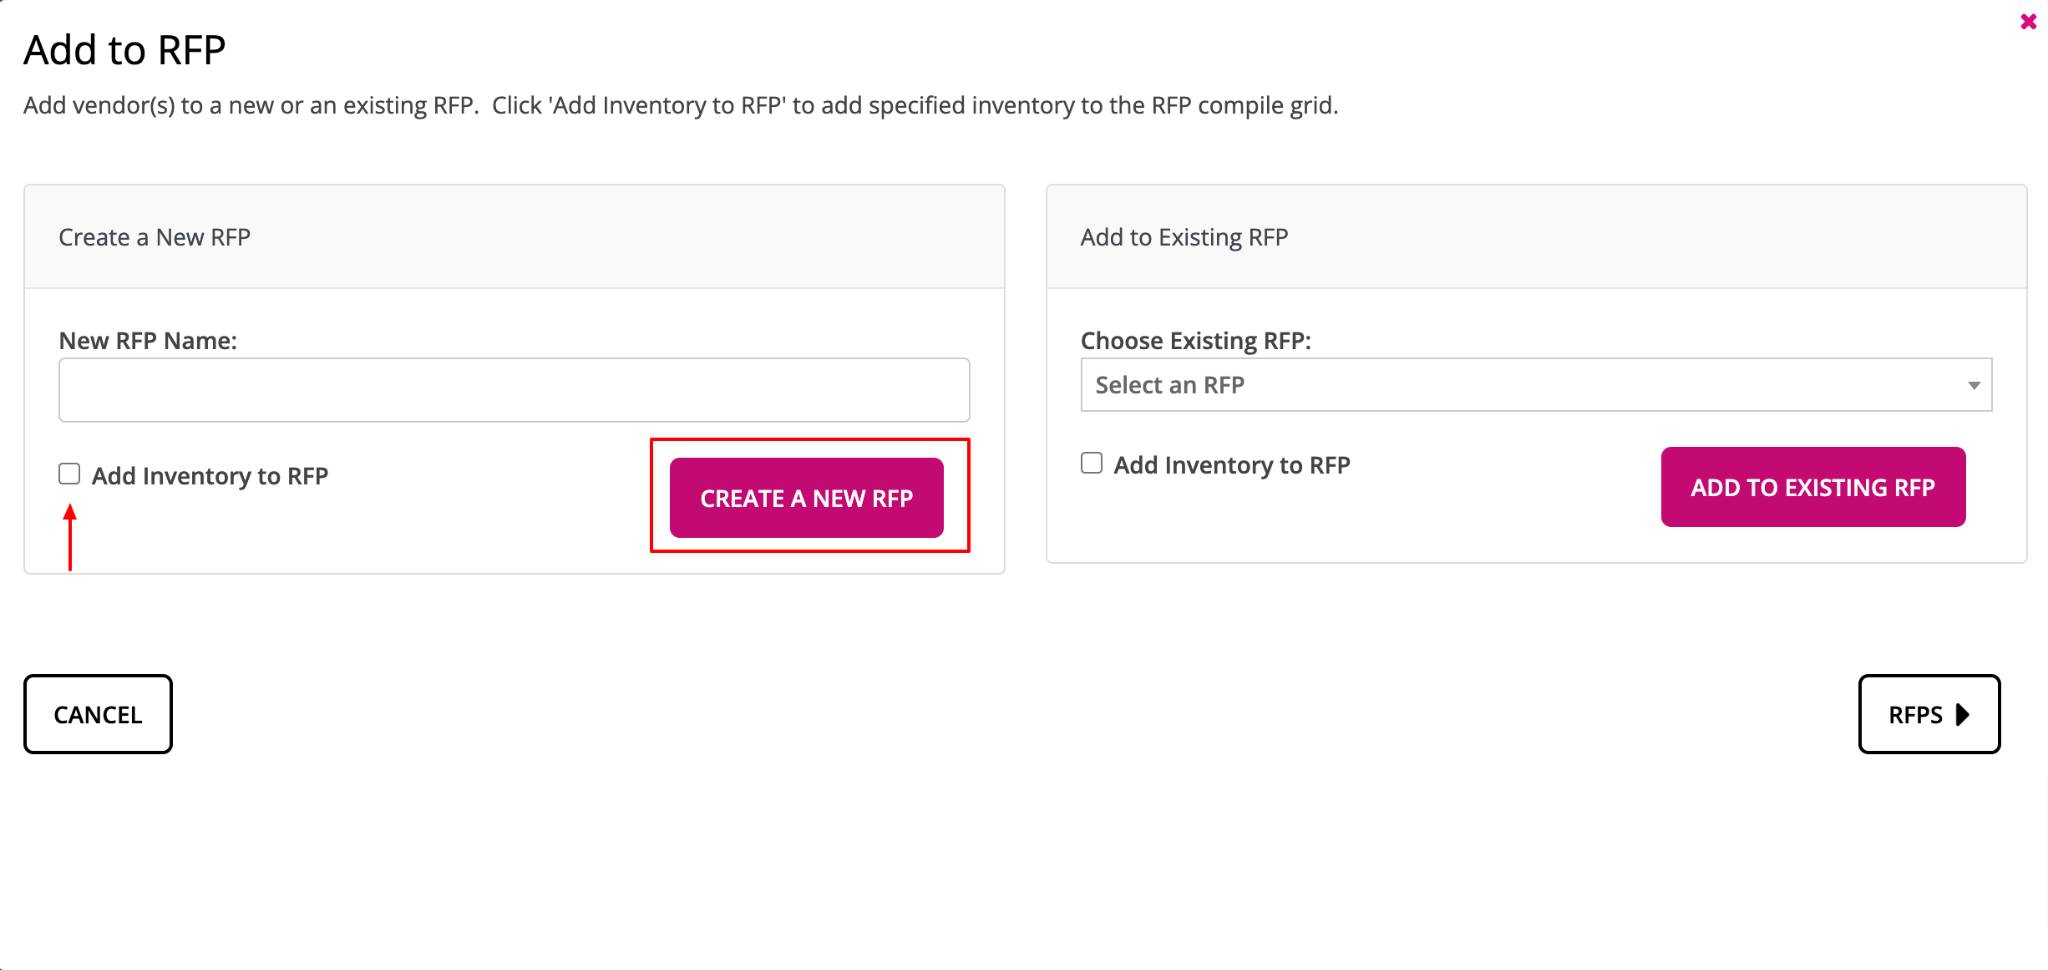
Clicking this will prompt you to either Create A New RFP or Add to an Existing RFP. When creating a new RFP, type in the new RFP name and click "Add Inventory to RFP." If you are adding to an existing RFP, use the dropdown menu to select the RFP.
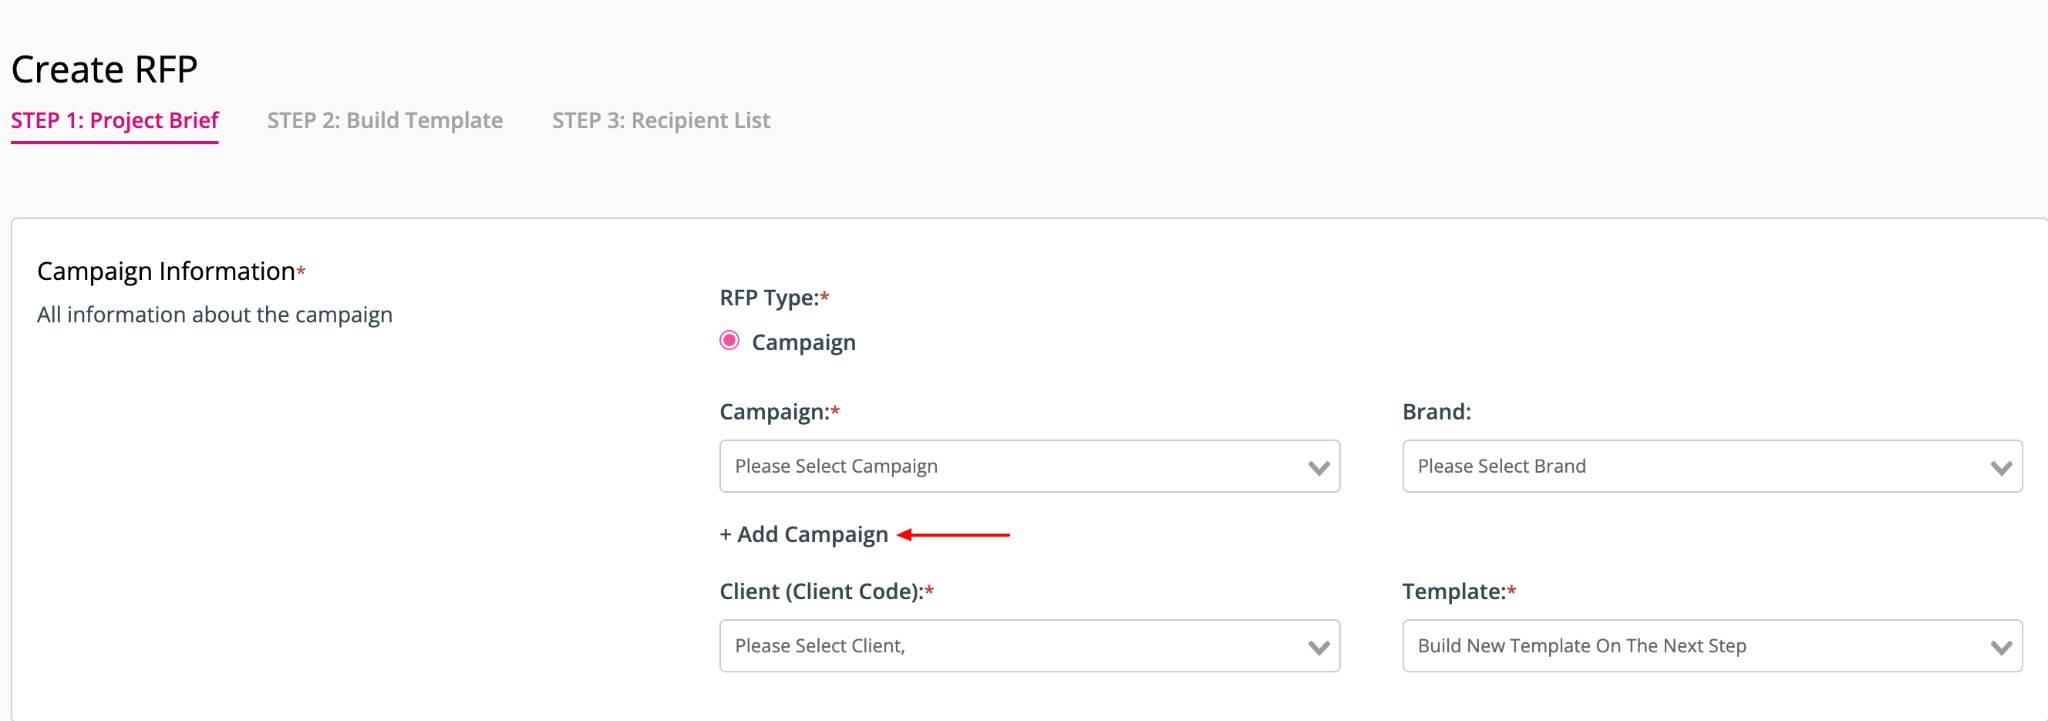
When creating a new RFP, you will be redirected to Step 1 of the creation process. Begin by selecting a Campaign from the dropdown menu or click "Add Campaign" to create a new one.
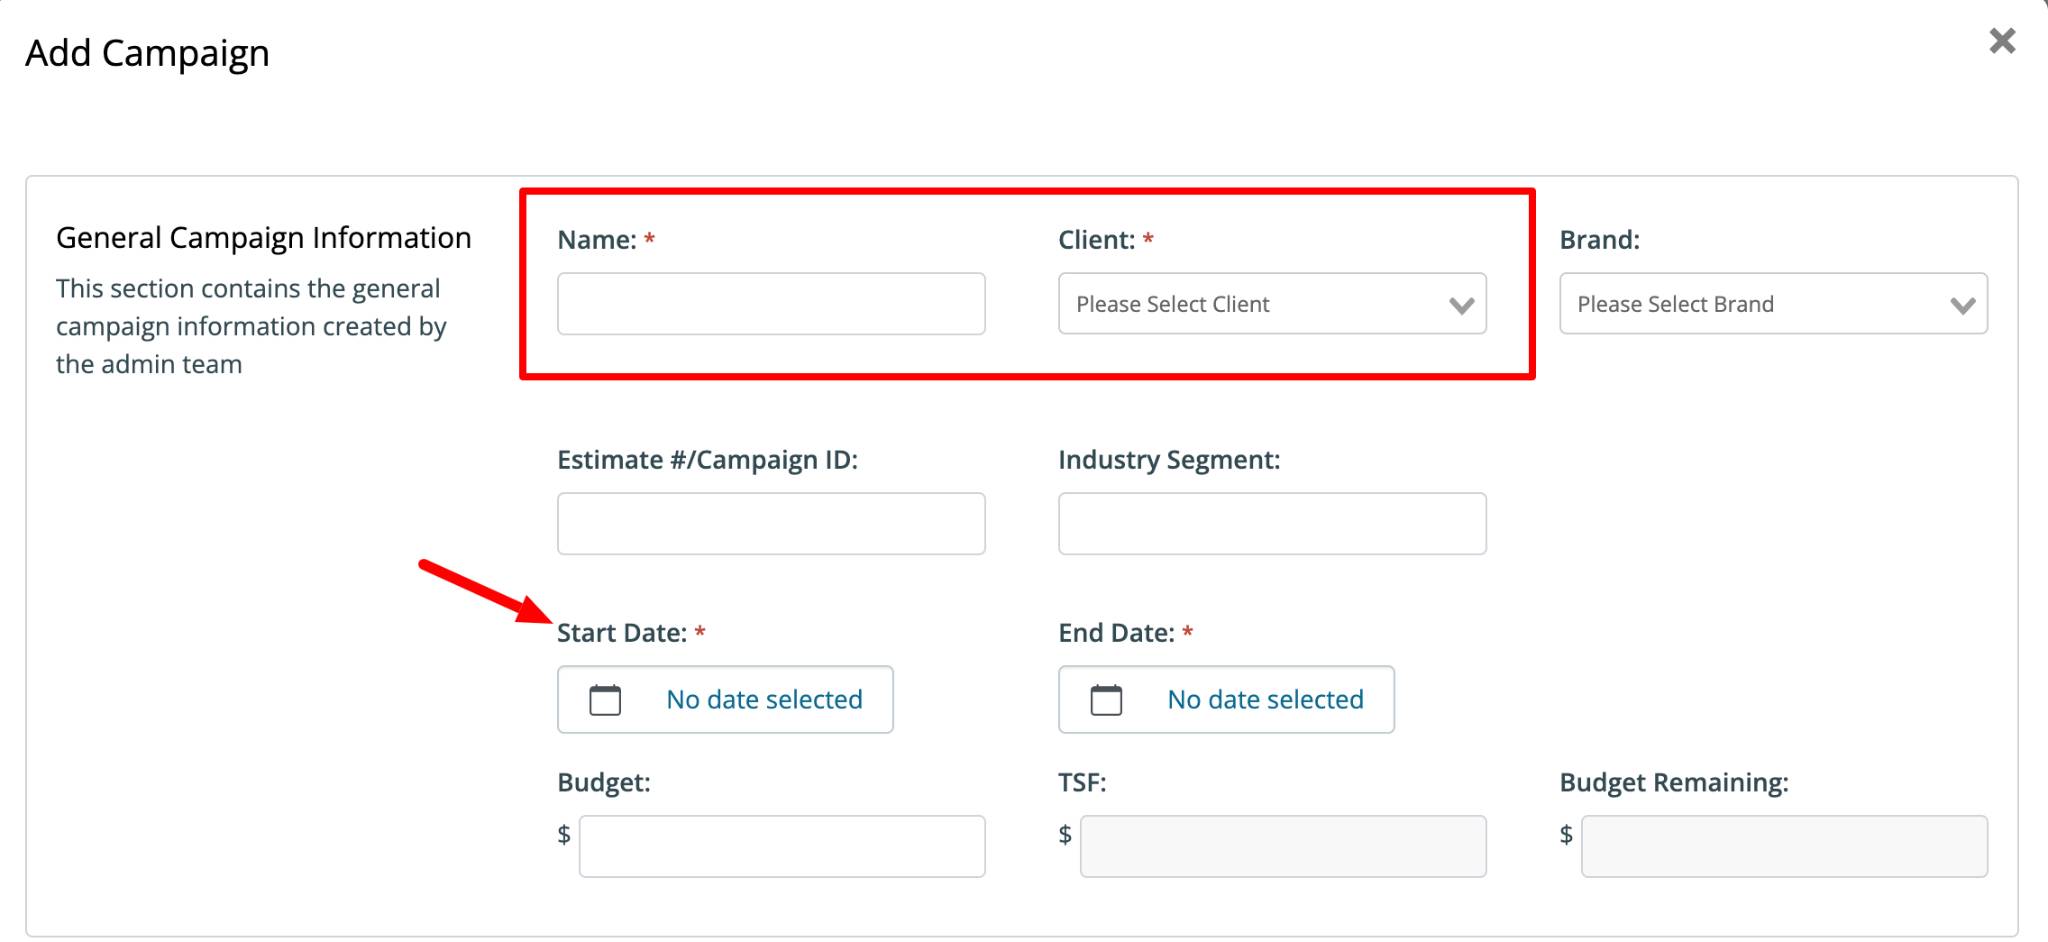
If adding a new Campaign, please name it, enter the appropriate client, and specify the start and end dates along with any other relevant details before clicking "Save Campaign."
Next, select your Campaign, choose a client from the dropdown menu and select a template. Your template can be edited in Step 2.
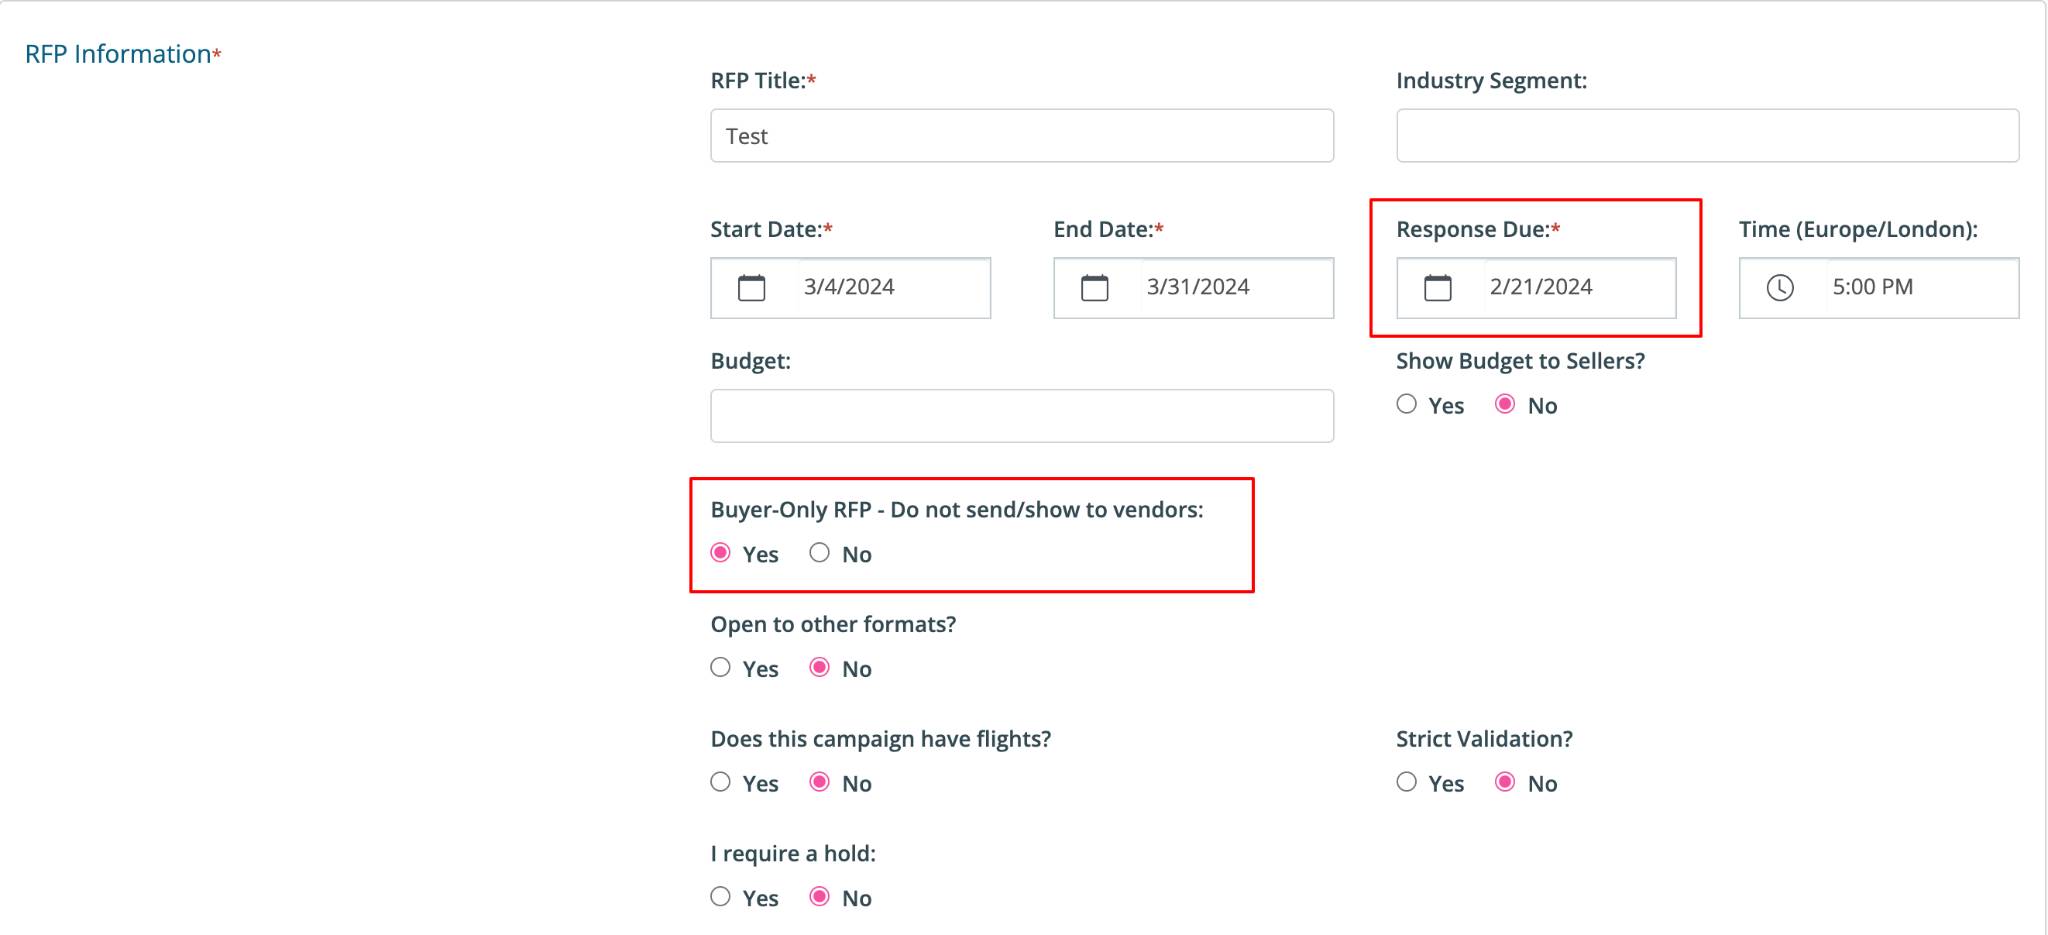
Under RFP Information, enter a date for "Response Due" and ensure that you select "Yes" under "Buyer-Only RFP."
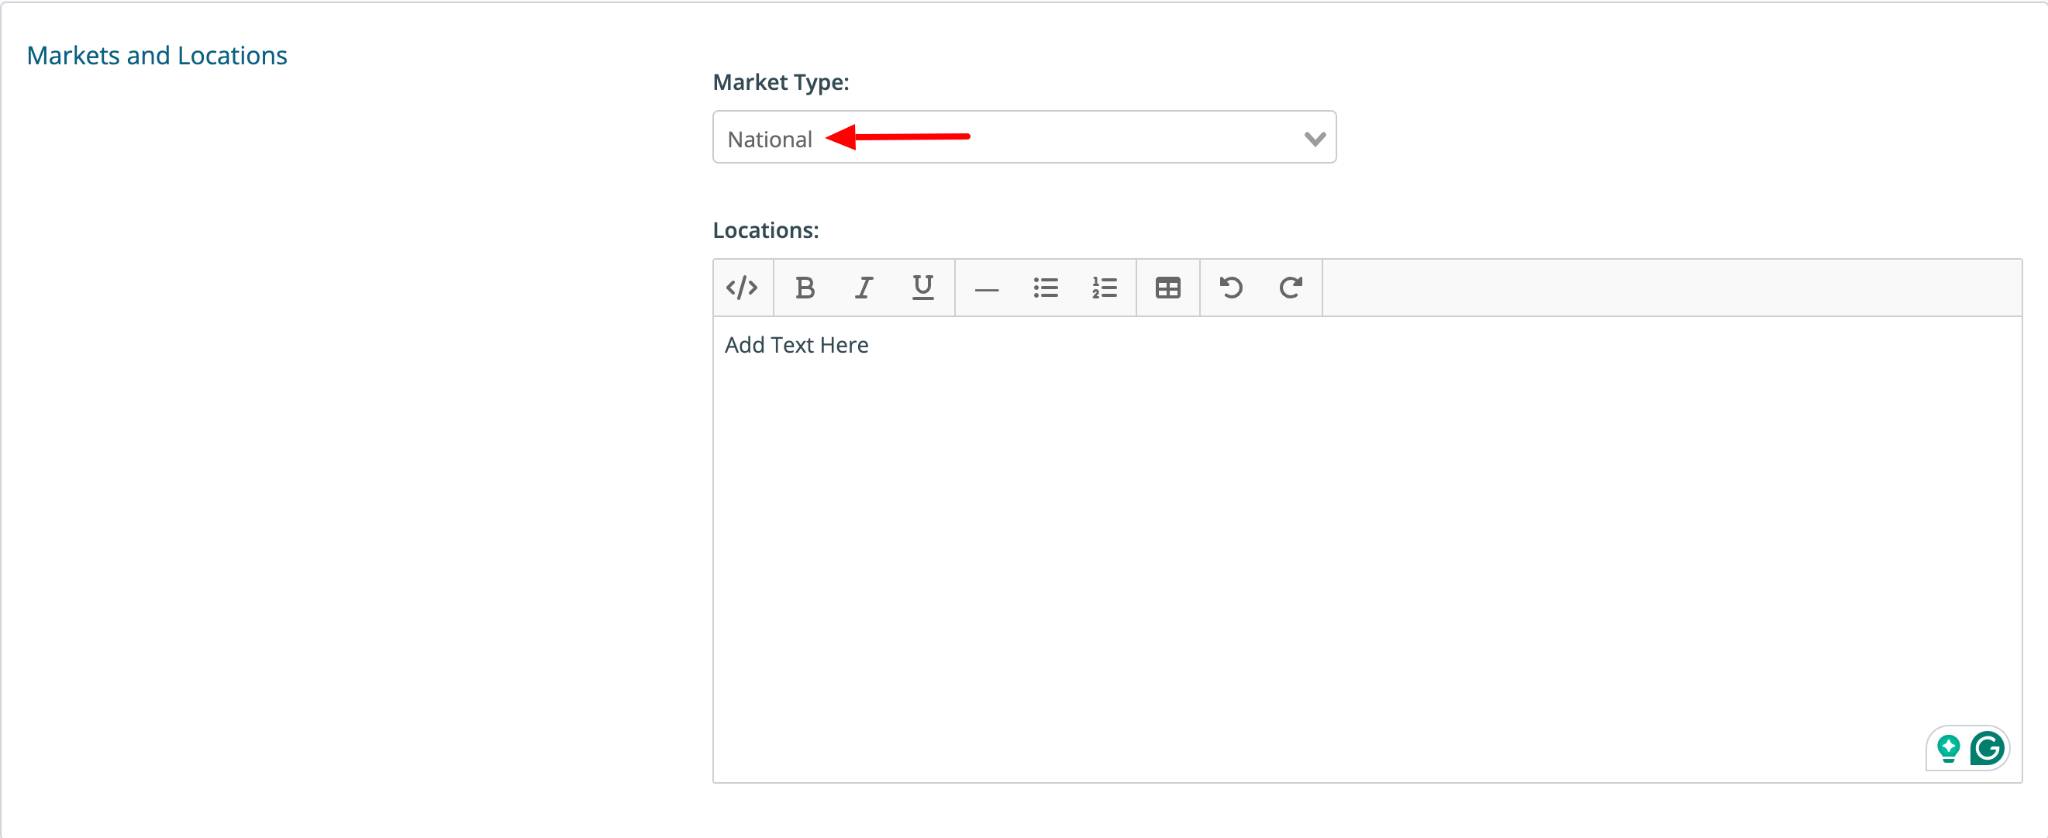
In the "Market and Locations" section, use the dropdown menu to select "National" as the Market Type and enter the locations in the "Locations" box.
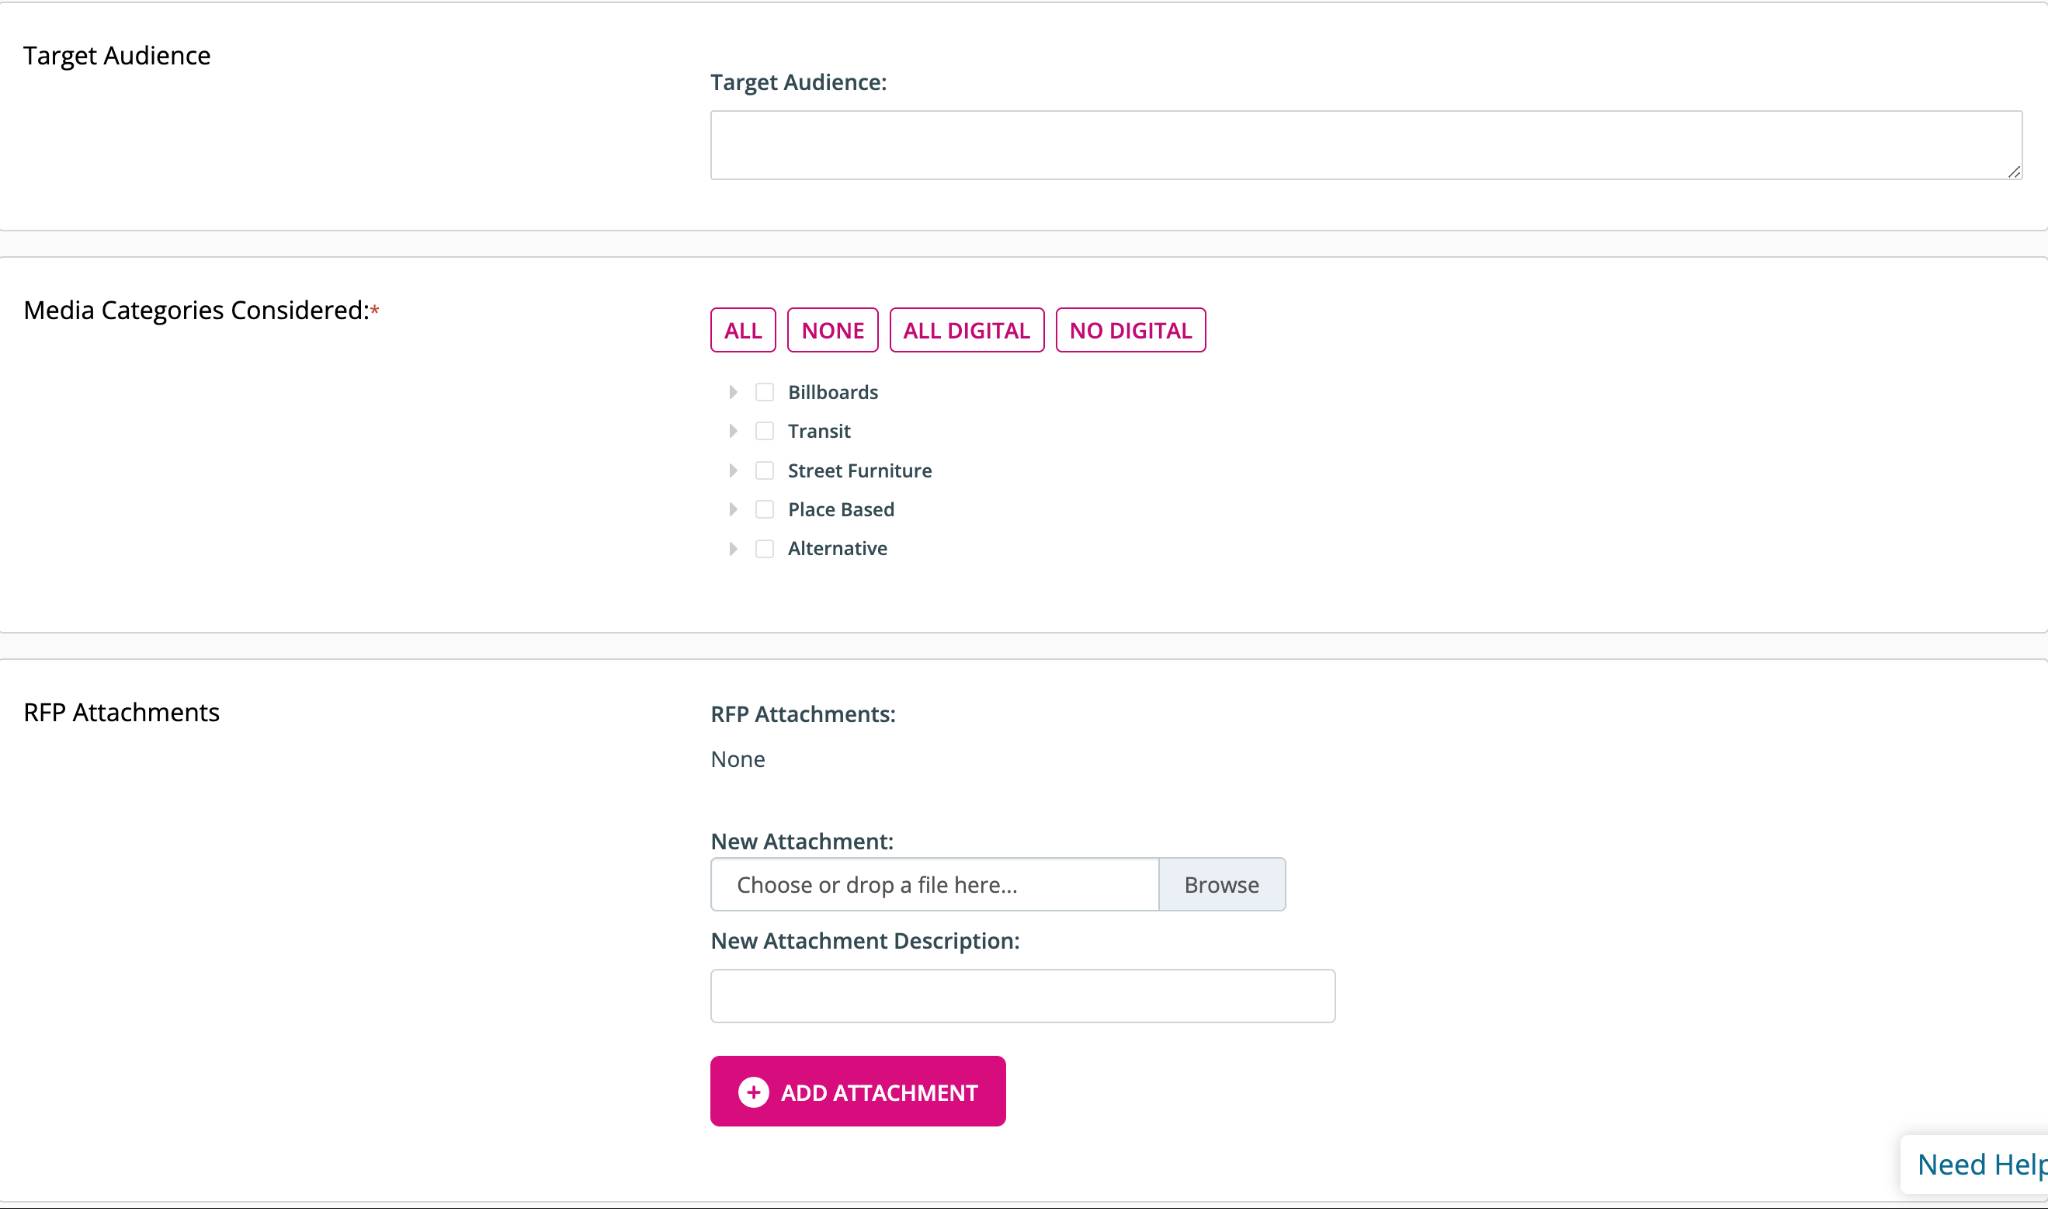
Use the checkboxes to select media categories and add any RFP attachments.
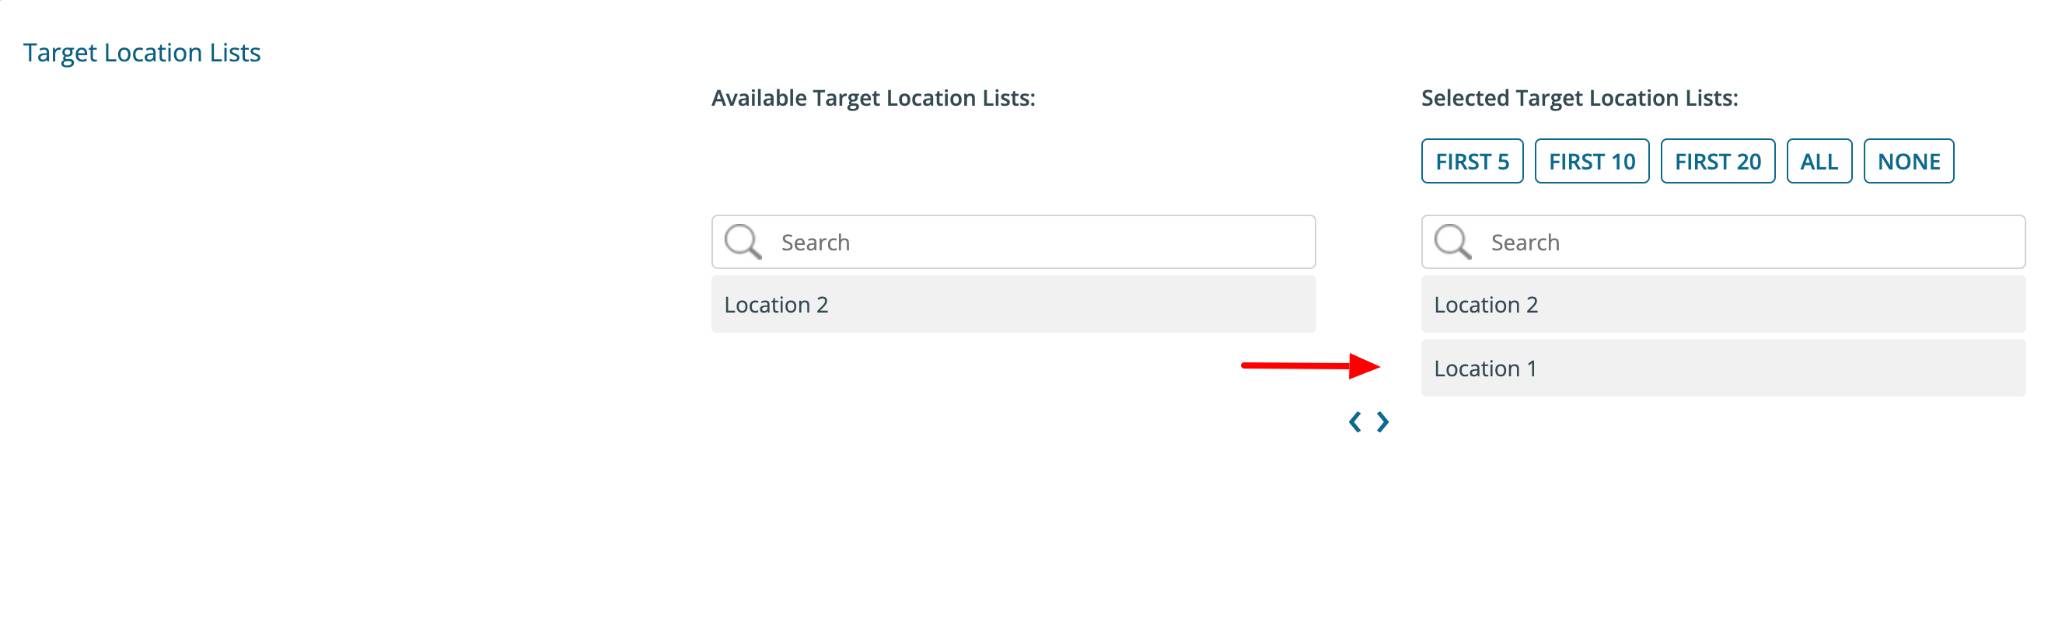
Under "Target Location Lists," you will see the available lists. Click on the ones you wish to select.
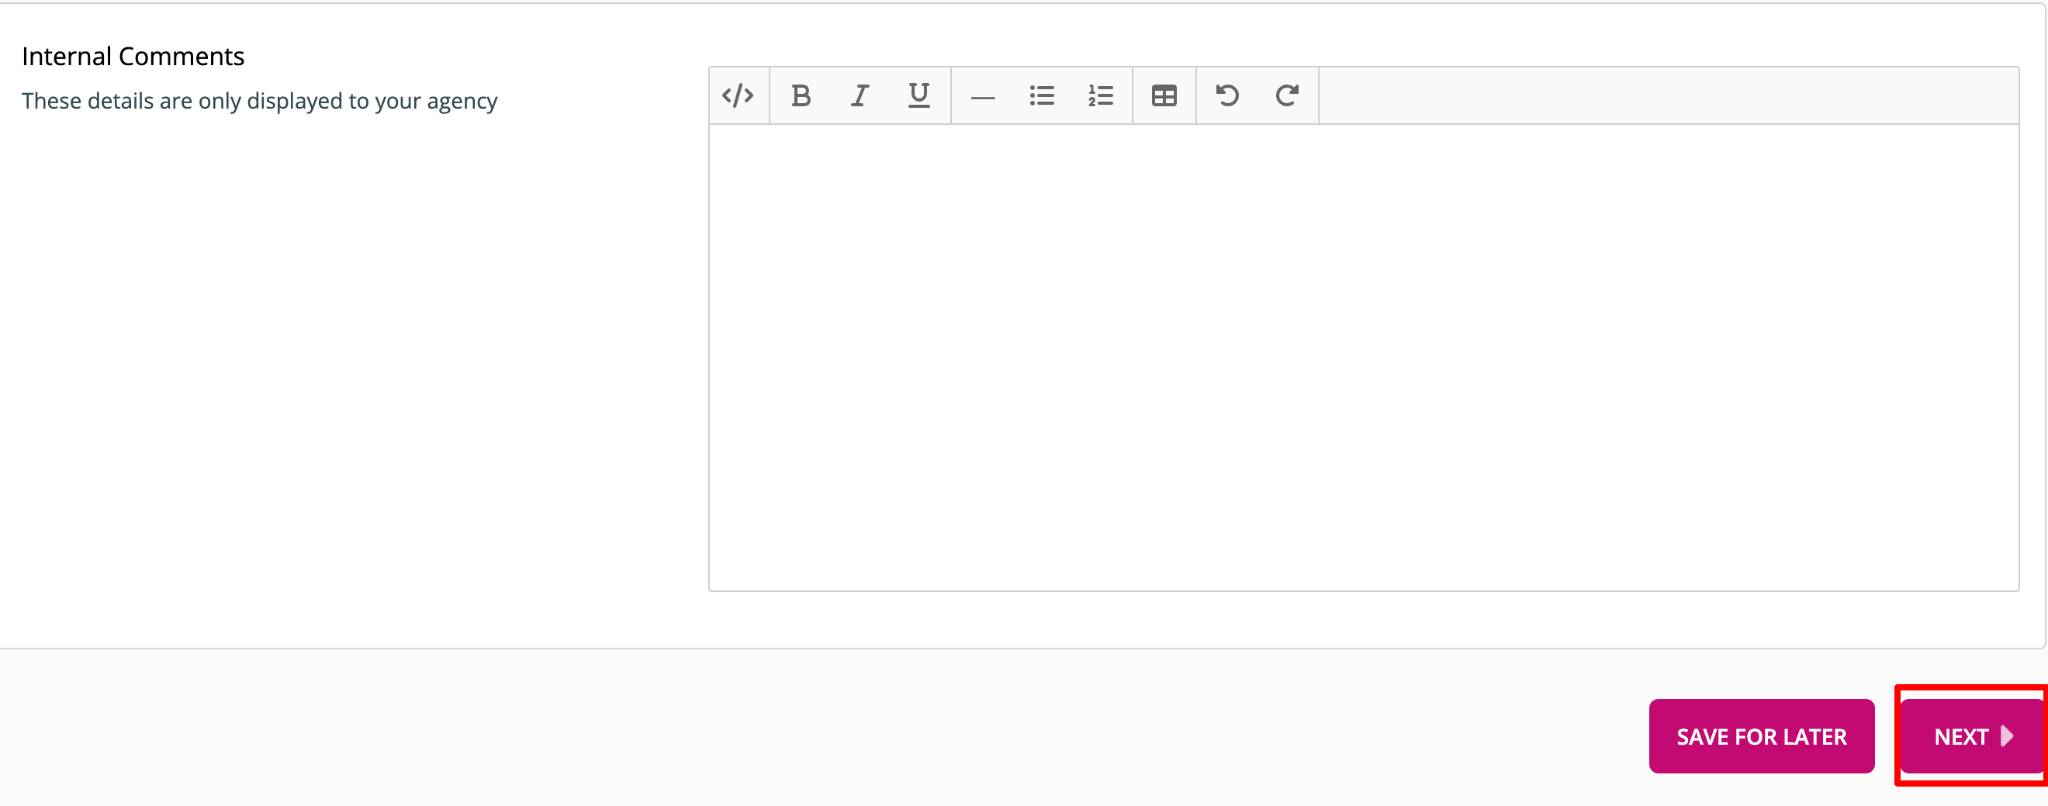
Click "Next."
You will receive a success message at the top indicating that your RFP has been created successfully.
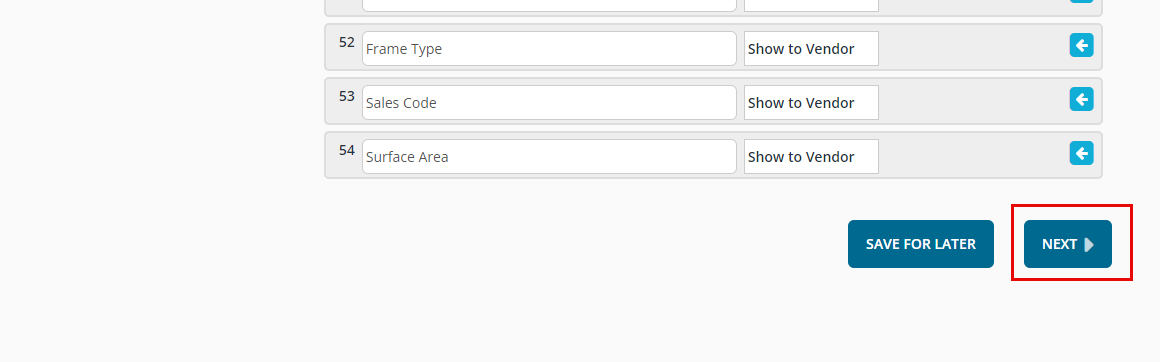
In Step 2, you can build your RFP template by adjusting the columns to suit your formatting needs. Most can be rearranged by order, or added/removed from the RFP by clicking the arrows beside each row.
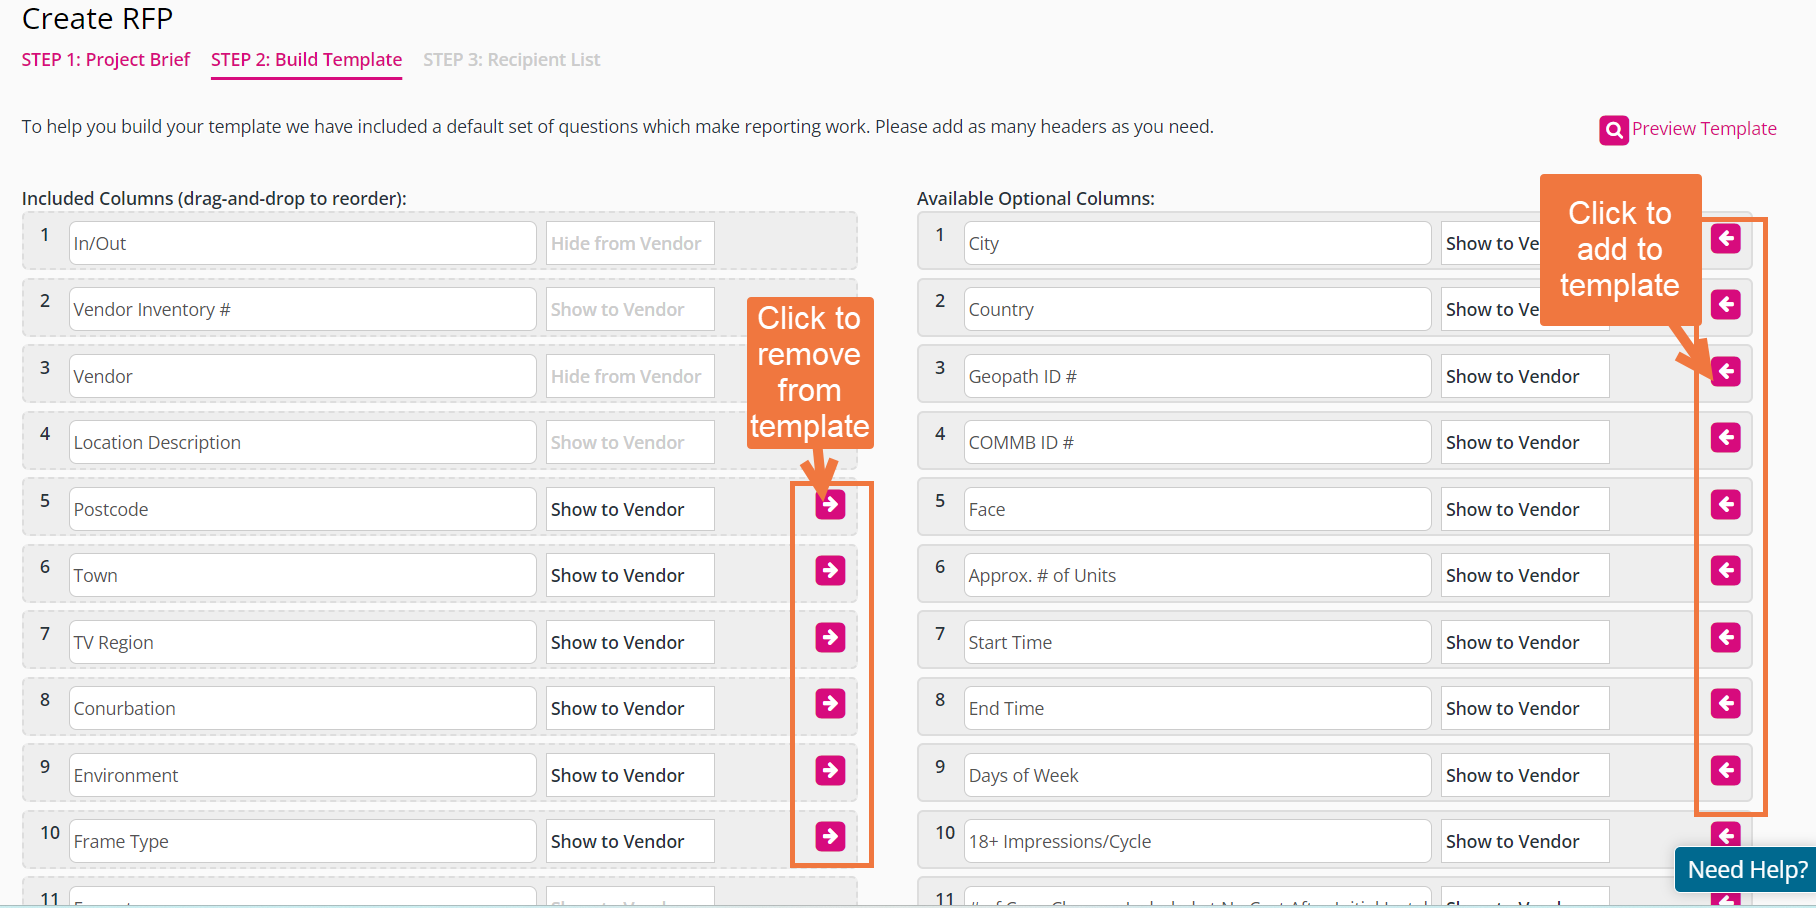
Once you are finished building your template, click "Next" at the bottom of Step 2 to proceed.
Lastly, click "Issue" at the end of Step 3 to complete the process.

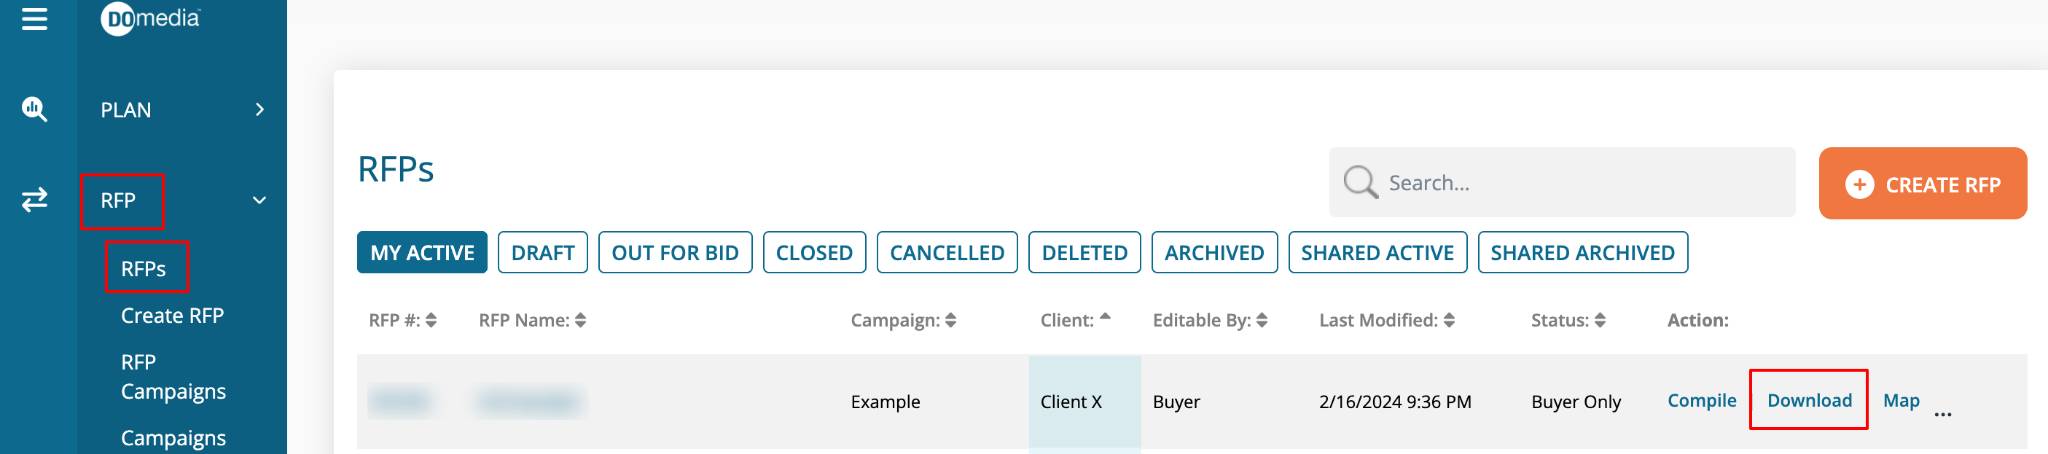
Your newly created RFP will be saved in your RFP dashboard. You can access this dashboard at any time by clicking on "RFP" and then "RFPs" in the left-hand side menu. Within the RFP list, in the "Actions" column, you have the ability to Compile (view your inventory grid within DOmedia), Download, and Map.
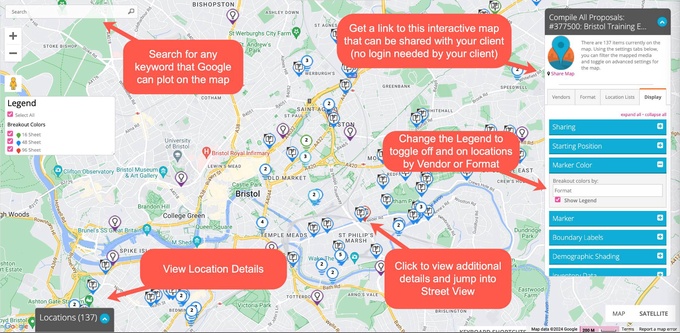
If you select "Map", a screen will display the inventory mapped with multiple options:

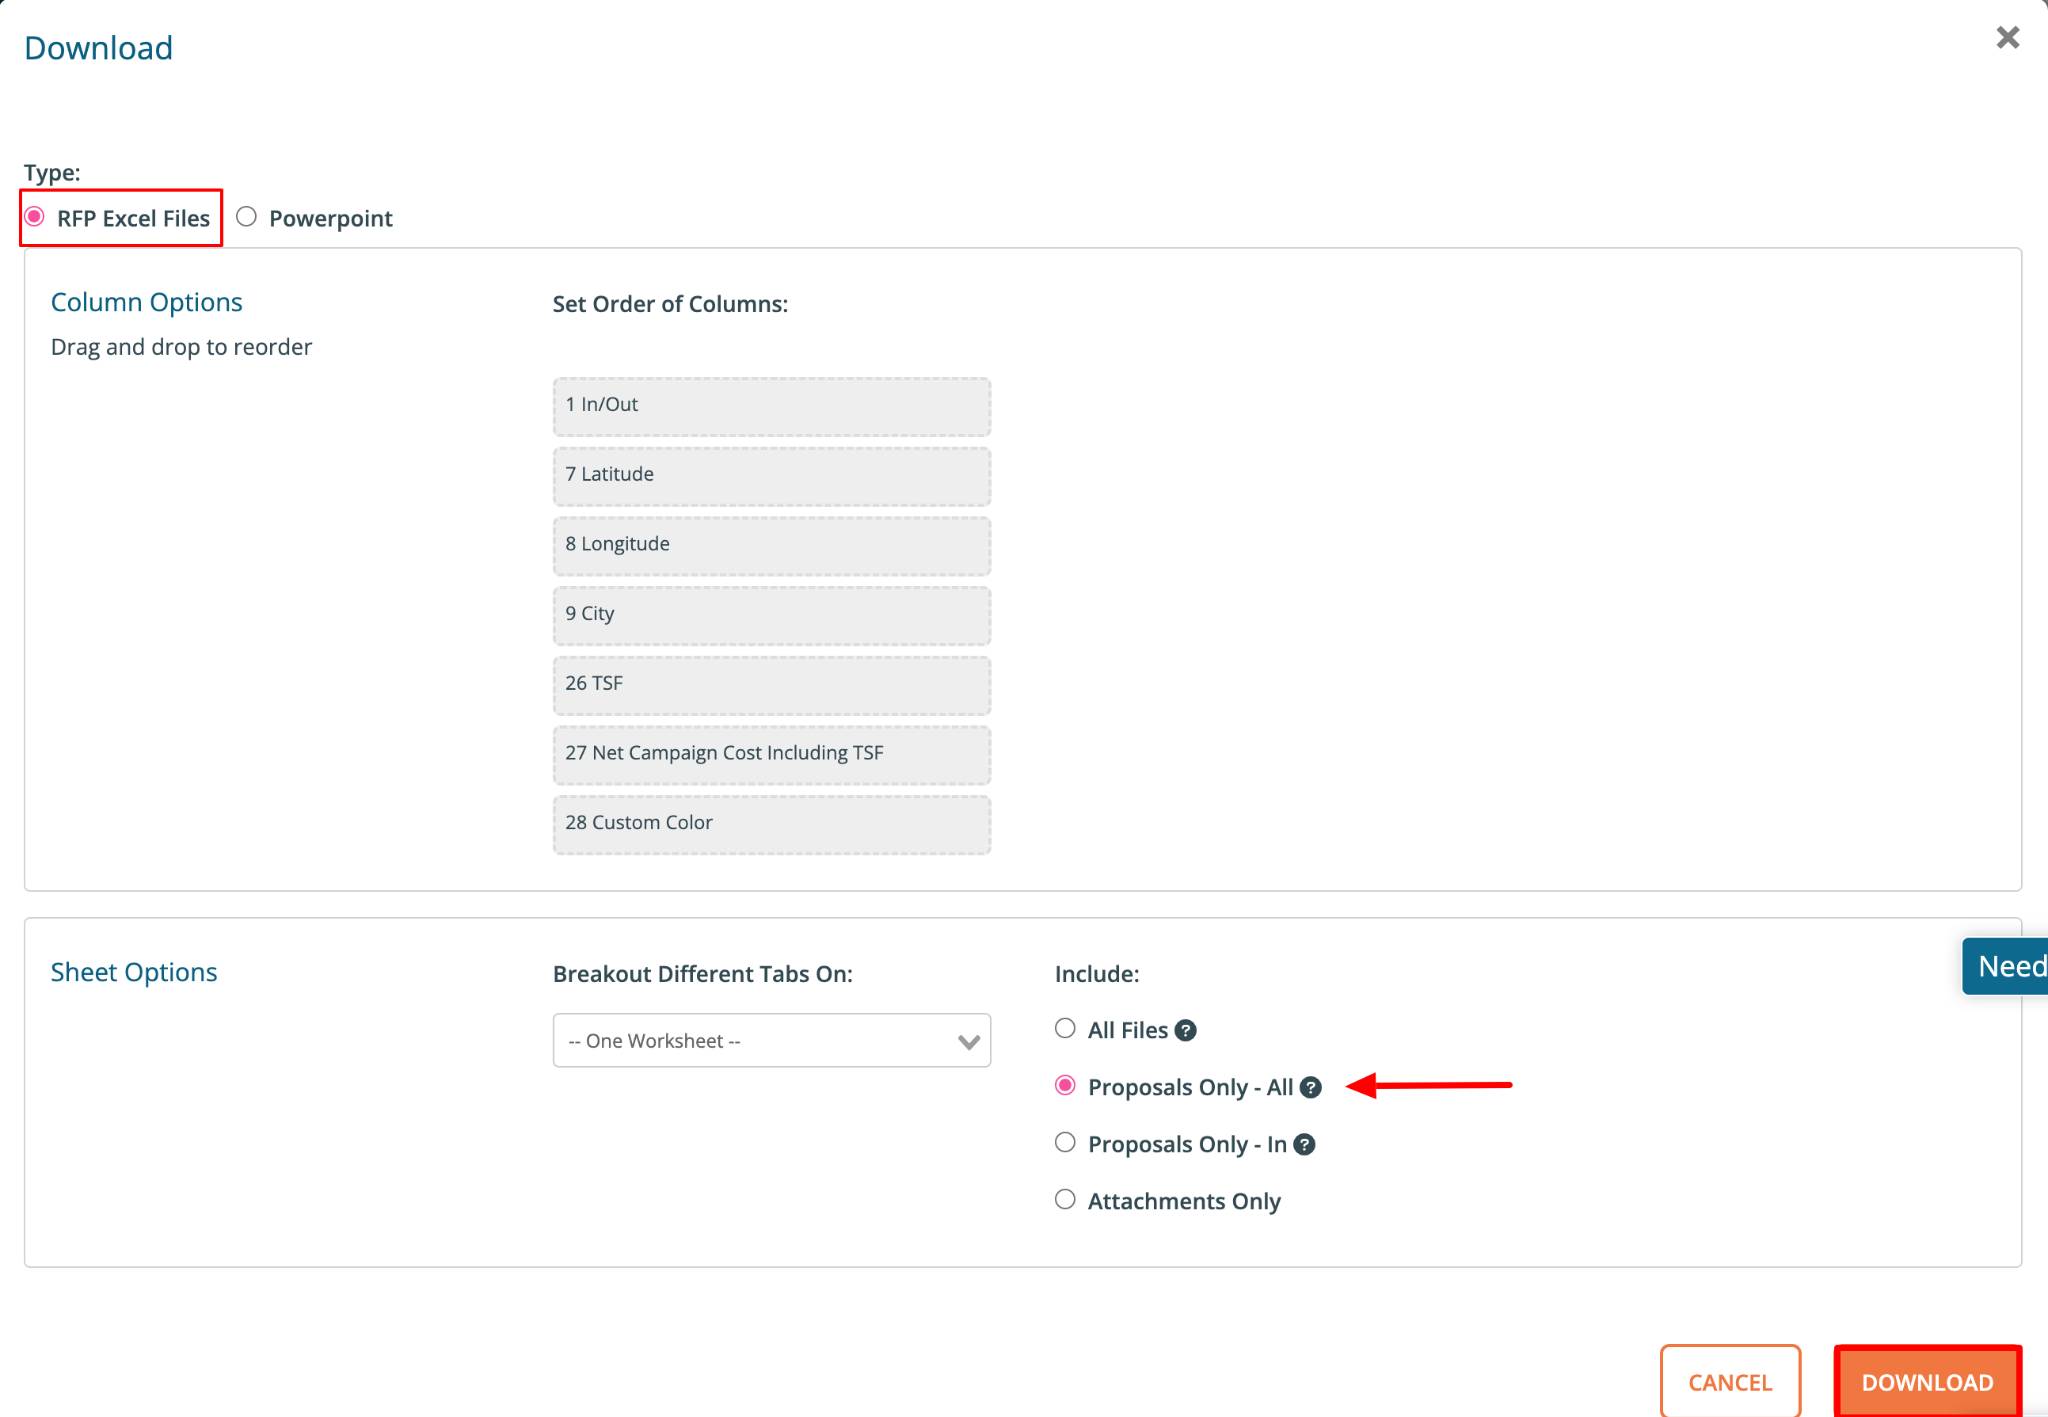
If you select "Download", under "Type," select "RFP Excel Files" and ensure that "Proposals Only - All" is selected. Then, click "Download."
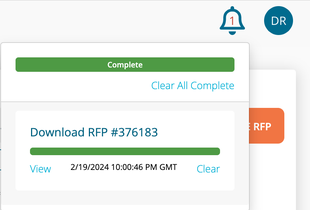
Your Excel file download status will be available in your bell icon at the top of the screen. Click "view" when the download completes to download the report to your computer.
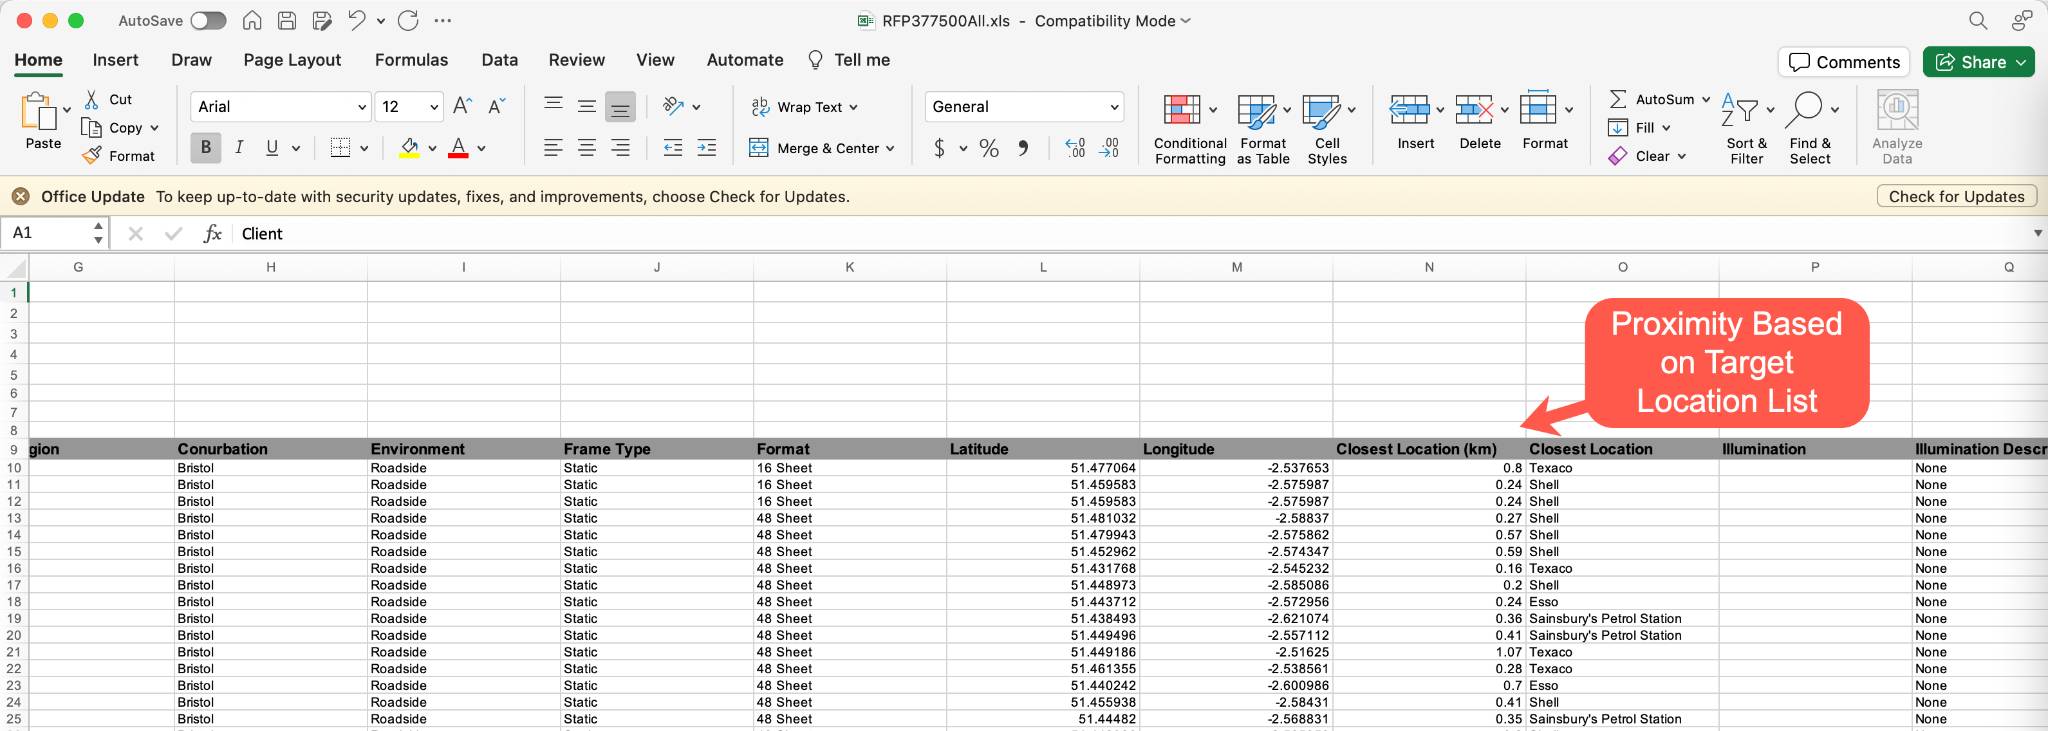
If you included a Target Location List with your RFP, the Closest Location columns will calculate and populate automatically.
If you have any questions please reach out to us at agencysupport@domedia.com and we will be happy to help!