Buyer: Geopath Planning Tools
Geopath Market Level Planning and Site Specific Planning Tools are available to Geopath-Affiliated agencies using DOmedia
Geopath Market Level Planning: This tool facilitates the pre-planning process by allowing you to create multi-market, multi-format, and multi-vendor plans that show what combination, on average, you’ll need in your plan to hit your reach, frequency, and impressions goals.
Geopath Site Specific Planning: This tool allows users to view Geopath impression data for specific units to help plan buys and RFPs.
Create a Market Level Plan:
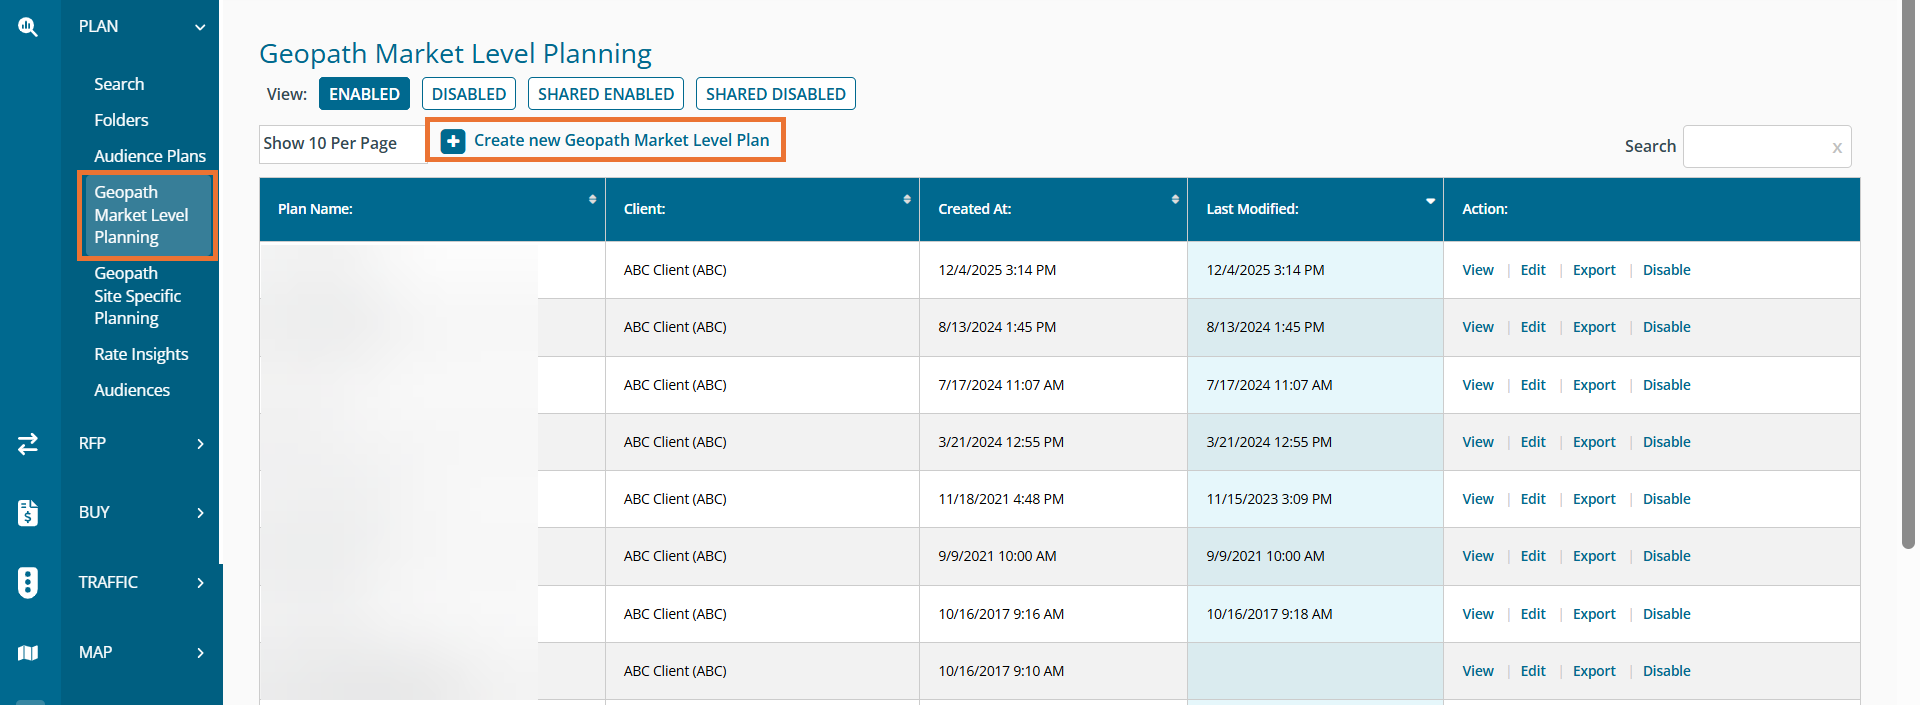
To create a new Geopath Market Level Plan, hover over "Plan" in the navigation bar and click on "Geopath Market Level Planning." From that page, you can click on the "Create New Geopath Market Level Plan."
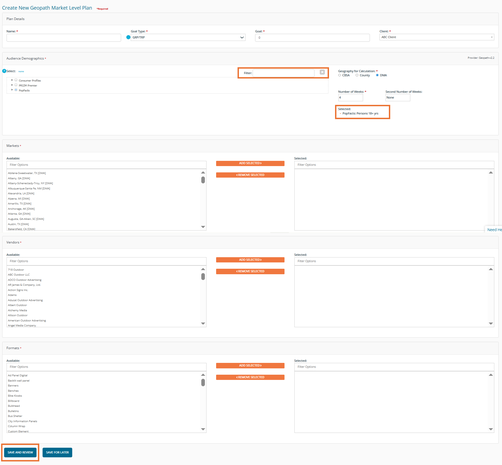
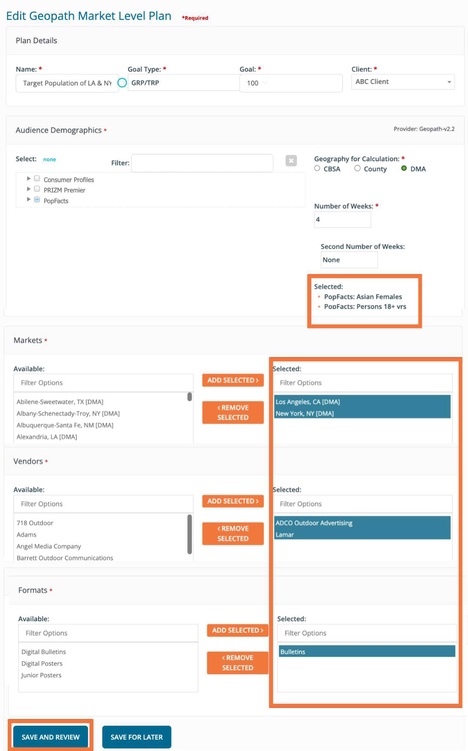
Next, give the plan a name, choose the "Goal Type," set your "Total Goal" amount, and choose the "Client" from the dropdown menu.
Available Goal Types:
GRP/TRP - Set the goal of GRP/TRP for the plan.
Impressions - Set the goal of total impressions of the units.
Impressions (Target) - Set the goal of impressions only from the target audience (i.e. Persons 18+).
Impressions (Market) - Set the goal of total in-market impressions. In-market means that the impression is from someone who lives inside the defined market.
Impressions (Target Market) - Set the goal of in-market impressions from people within the target audience.
# of Units (Spots) - Sets the goal of the total number of units (aka spots) included in the plan.
In the next section, select the "Audience Demographics". Adults 18+ are selected by default. You can use the filter to find your target segment. Be sure to select the geography type that you would like the calculation based on, as well as the number of weeks and the second number of weeks (if desired).
Choose the Market(s), Vendor(s), and Format(s)
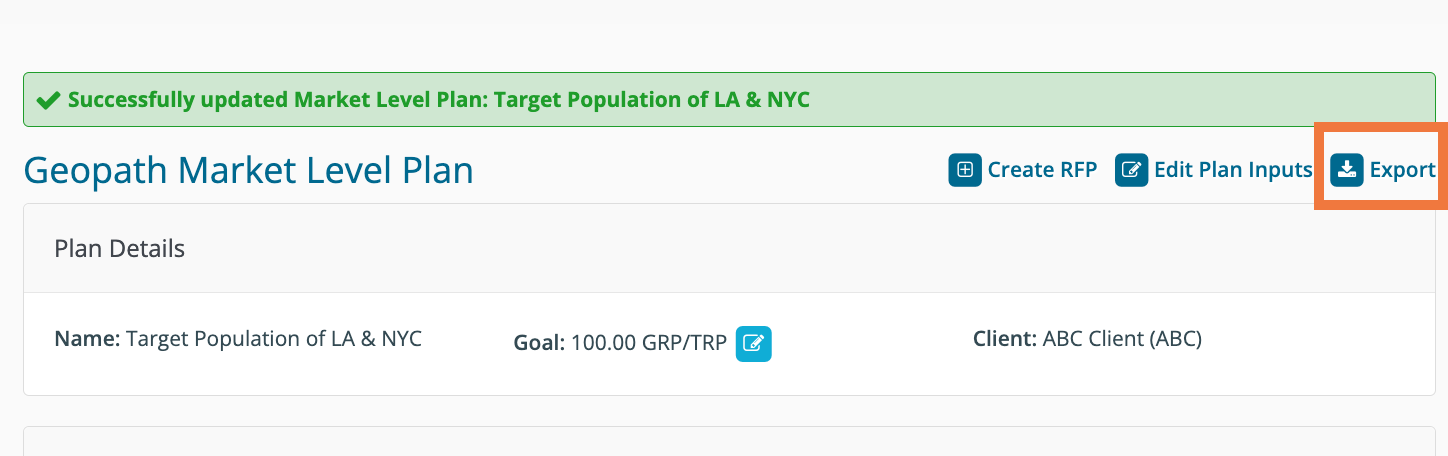
After clicking "Save and Review," a call will be made to Geopath and the plan will load. Depending on your selections this may take a minute or so to load. Please notice that there are actions available in the upper right:
- "Create RFP" - Create an RFP based on this plan
- "Edit Plan Inputs" - Change your plan criteria and rerun
- "Export" - Export the plan to a spreadsheet (downloads as .csv)
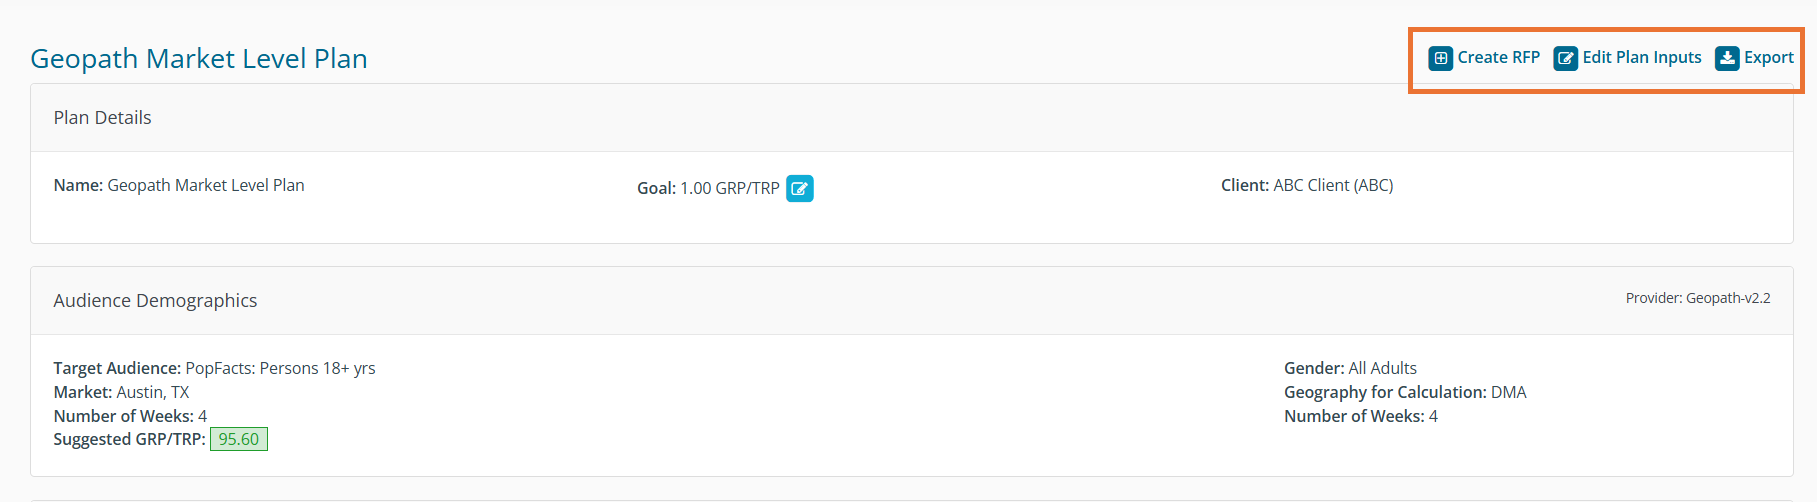
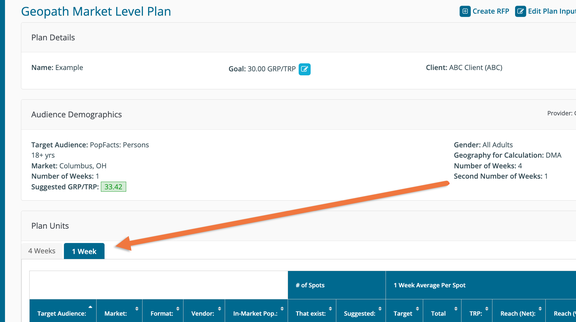
The top section includes your "Plan Details" along with the ability to edit the "Total Goal" type or amount by clicking on the pencil icon.
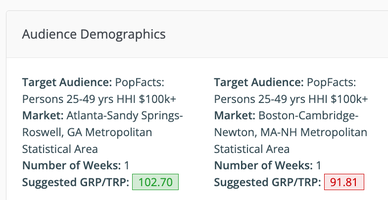
You will also see the Suggested GRP/TRP, Reach, or Frequency for each audience. Depending on how the plan compares to your Total Goal, the suggested amount will be shaded green (meets/exceeds goal) or red (underdelivers).
Further down the page, you will see the Plan Units with a separate tab, but only if you choose a second number of weeks. Here, you will see the suggested # of spots along with the related impressions and calculations.
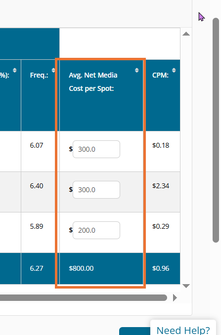
You can also enter an Avg. Net Media Cost per Unit that will be used to calculate CPM, and will be remembered when the same audience, market, format, etc. is chosen in the future. Enter the amount into the "Avg. Net Media Cost per Unit" box and then click the "Save Costs" button in the bottom right to generate the CPM.
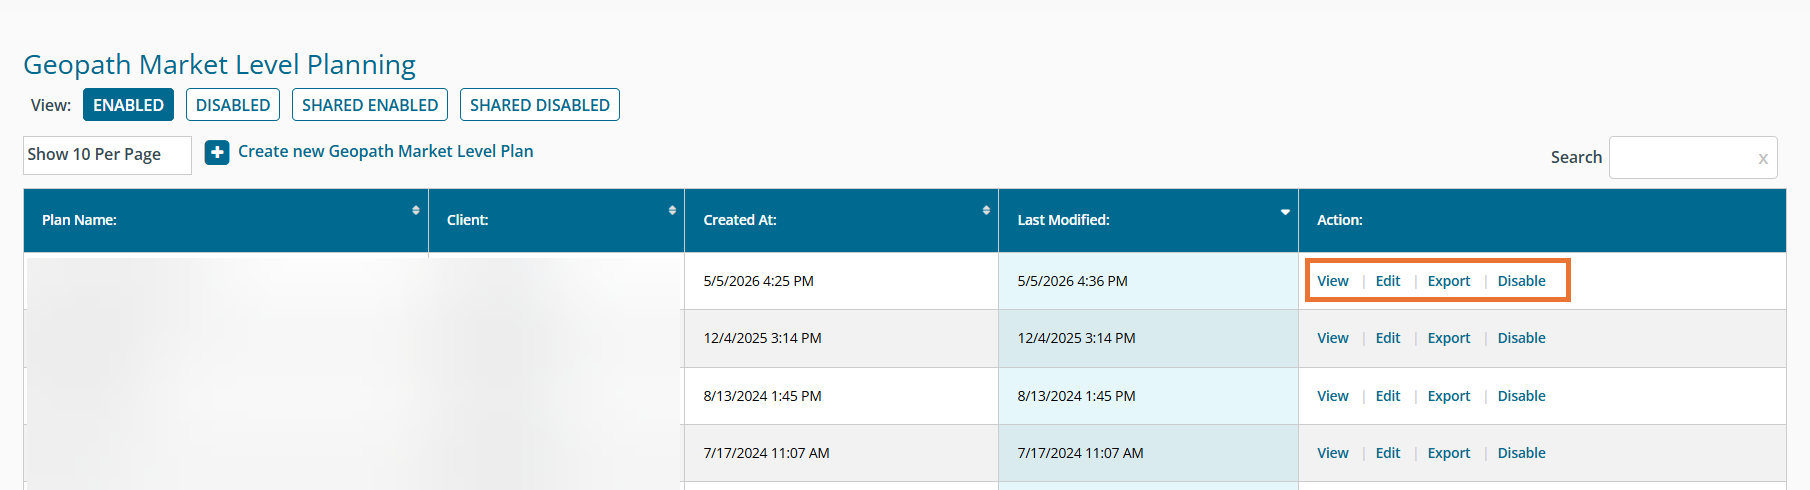
Additional actions (View, Edit, Export, and Disable) are available from Geopath Market Level Planning as seen here.
Check Market Population:
The Geopath market population tool has merged into the Market-Level tool to match what is currently supported by the Geopath API.
To look at the Market Population of your target audience:
Give your plan a name,and a goal, and associate it with a client.
Select your target audience(s).
Select the Markets you want to look up
Select vendors and formats so that at least one vendor-format combination exists in each of your selected markets to pull the population.
Click Save & Review.
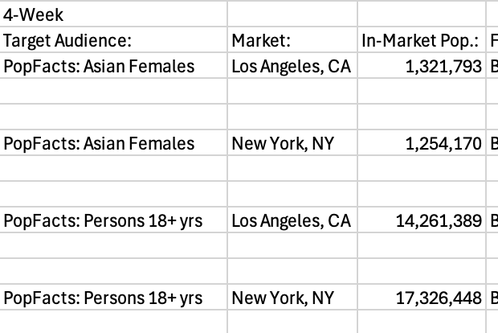
On the results, the in-market population is listed for each market.
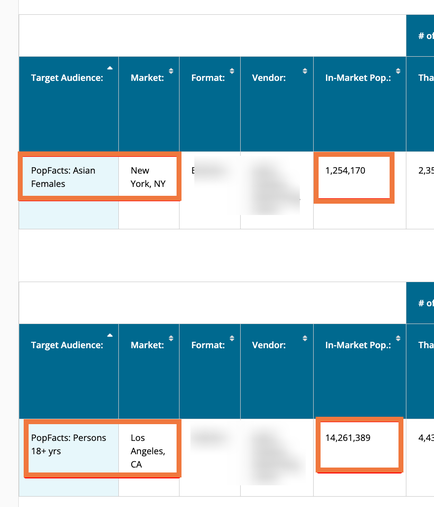
Note If the population is blank, edit the plan, add the market again, and include more vendor-format combinations to ensure the target population can be pulled.
Next, click Export
Optionally, drag the In-Market Pop. under the Market column.
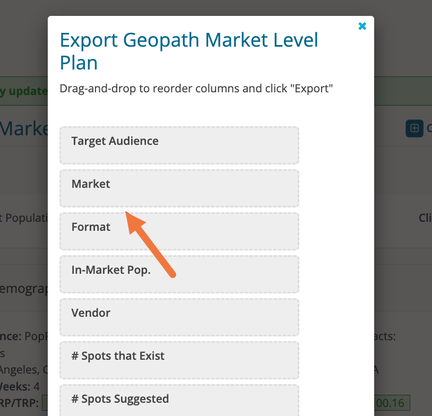
The Excel Export will have In-Market Pop. shows for each market.
Create a Site Specific Plan:
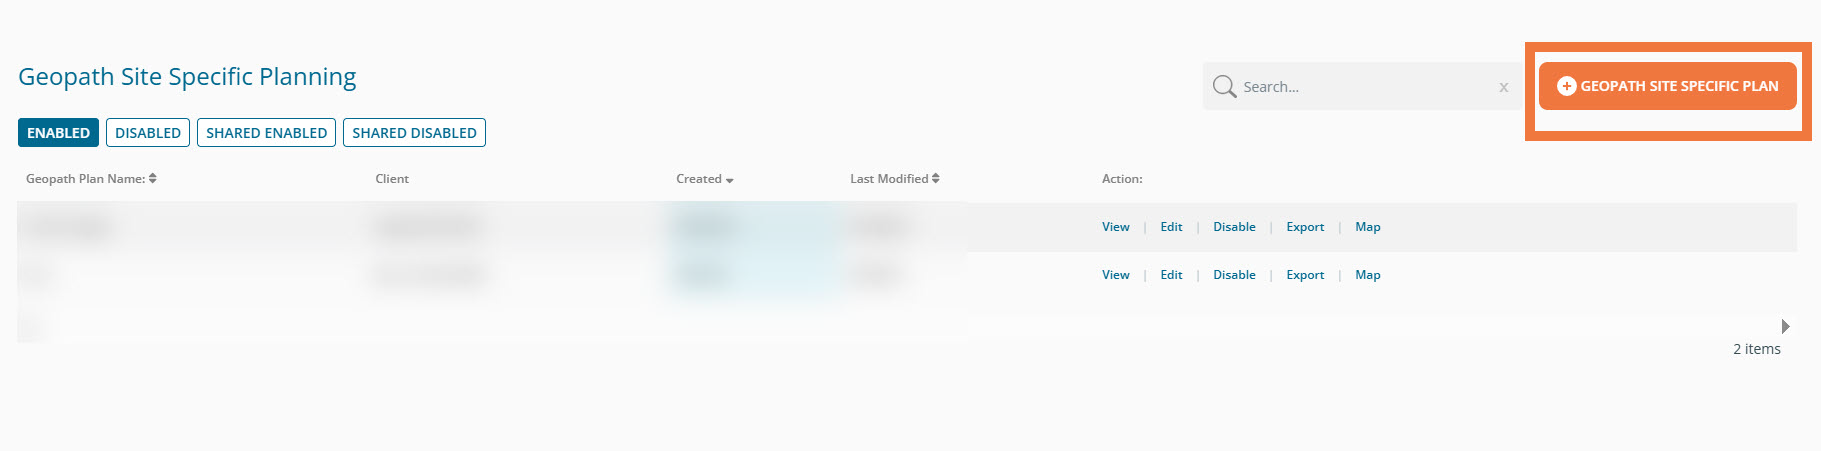
To create a new Geopath Site Specific Plan, hover over Search in the navigation bar and click on Geopath Site Specific Planning. From that page, you can click on the "+ Geopath Site Specific Plan."

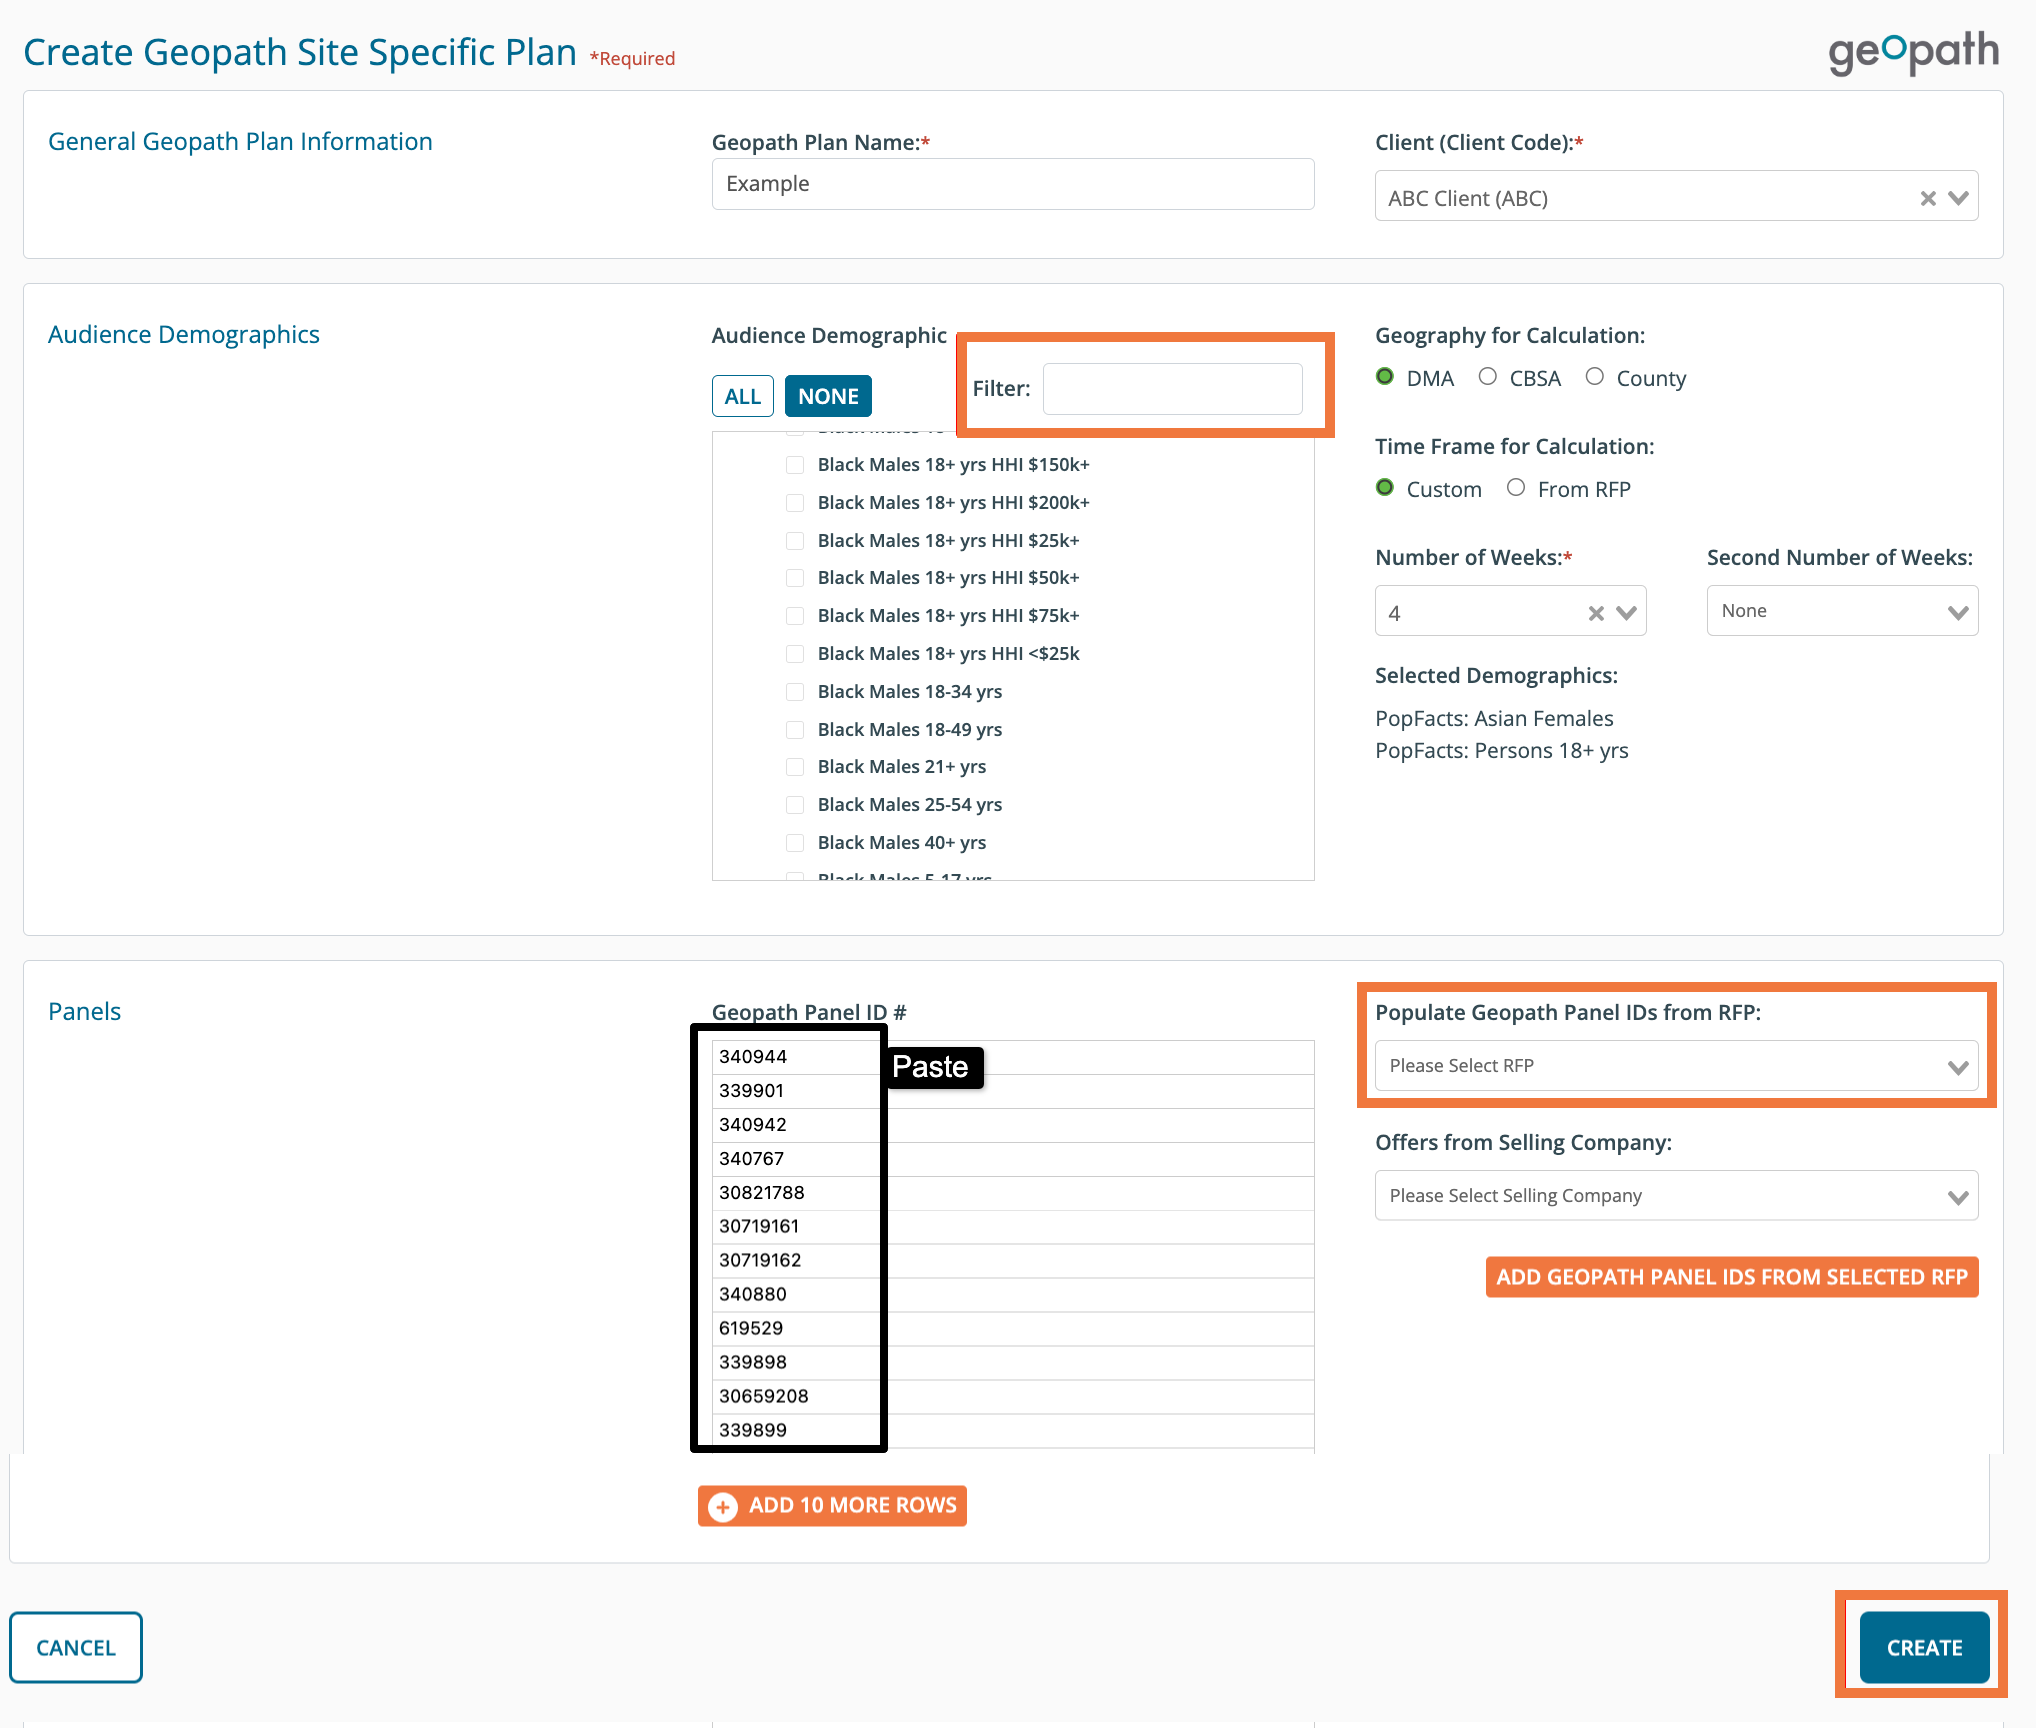
Next, give the plan a name and choose the Client from the dropdown menu.
In the next section, select the Audience Demographics you are interested in. Adults 18+ is selected by default. You can use the keyword filter to find your target segment. Be sure to select the geography type that you would like the calculation based on, as well as the number of weeks and a second number of weeks (if desired).
Lastly, enter the Geopath IDs directly or copy and paste them into the Geopath Panels list. Alternatively, you can populate them from an existing RFP.
To populate from an existing RFP, simply choose the desired RFP from the dropdown and then click "Add Geopath Panel IDs" from the selected RFP. This will fill the Geopath Panels list with the Geopath IDs corresponding with rows marked 'In' for that RFP. If you want to only include the Geopath IDs for a specific vendor's proposal (in rows), you can select the RFP, select the desired vendor's proposal using the Offers from Selling Company dropdown, and then click "Add Geopath Panel IDs" from the selected RFP.
When you're ready to generate the plan, click "Create."
After saving, you will be brought back to Geopath Site Specific Planning list where you can click "View" next to the plan you created to see your results. Depending on your selections, this may take a minute or so to load. Your results will be displayed like the example below:
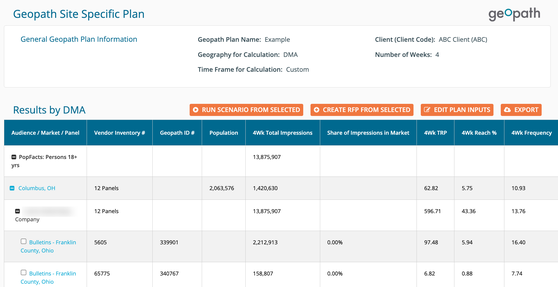
A "Share of Market Impressions" column can also be added to your results. This column calculates the total impression counts associated with your reserved units, and presents it as a percentage of all like unit impressions available in each market.

Please notice that there are actions available for these plans:
- Run Scenario from selected - Select specific units to rerun and view your new results based on only the selected units
- Create RFP from selected - Create an RFP based on the plan with only the selected units
- Edit Plan Inputs - Change your plan criteria and rerun
- Export - Export the plan to a spreadsheet (downloads as .csv)
- Click on the unit title to view more information about that inventory

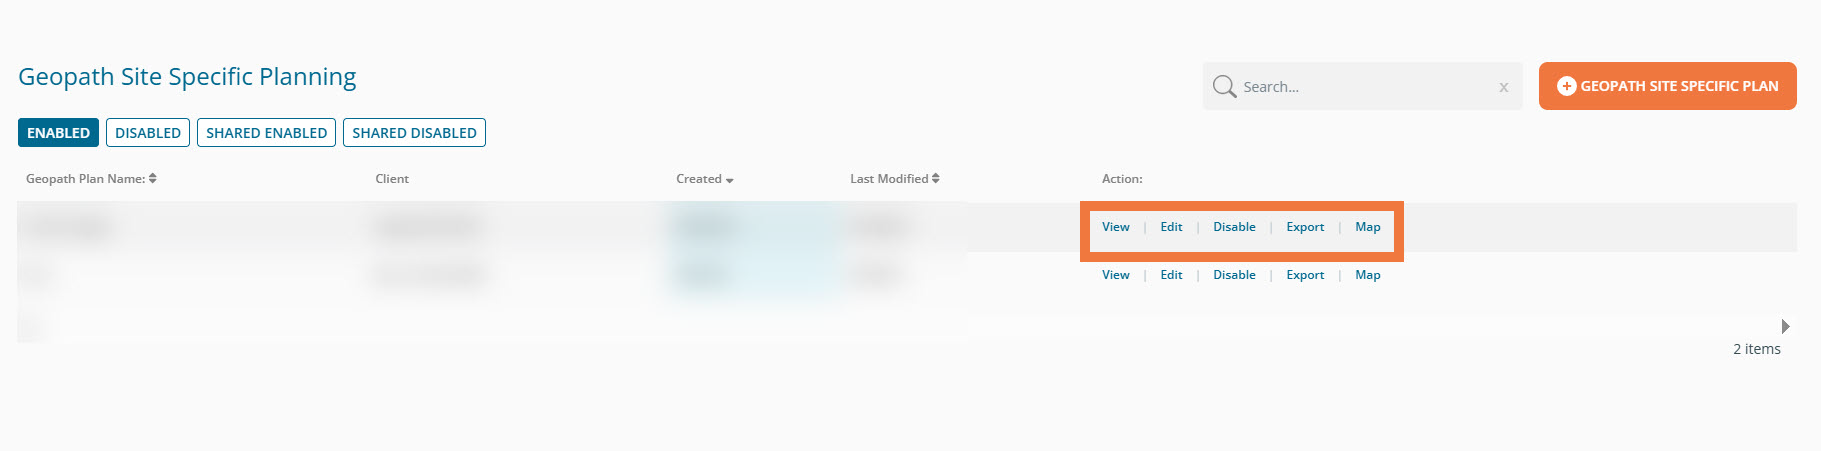
Additional actions (View, Edit, Disable, Export, and Map) are available from Geopath Site Specific Planning as seen here.