How do I add closest location columns to RFP templates?
You can add a "Closest Location" column to your RFP when you create a target location list and include it in your RFP.
You can learn how to create a target location list by following this link.
You can learn how to create an RFP by following this link.
How do I add a target location list to an RFP?
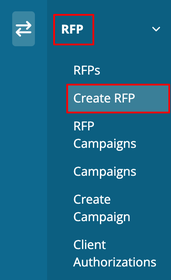
Once you have created a target location list, you can see it in step 1 of the RFP creation process. Go to 'Create RFP' on the left-hand side menu and then fill out the required information in step 1.
After filling out all the basic information and scrolling down, you will find the target location list section.
You can select the target location list you want to add.
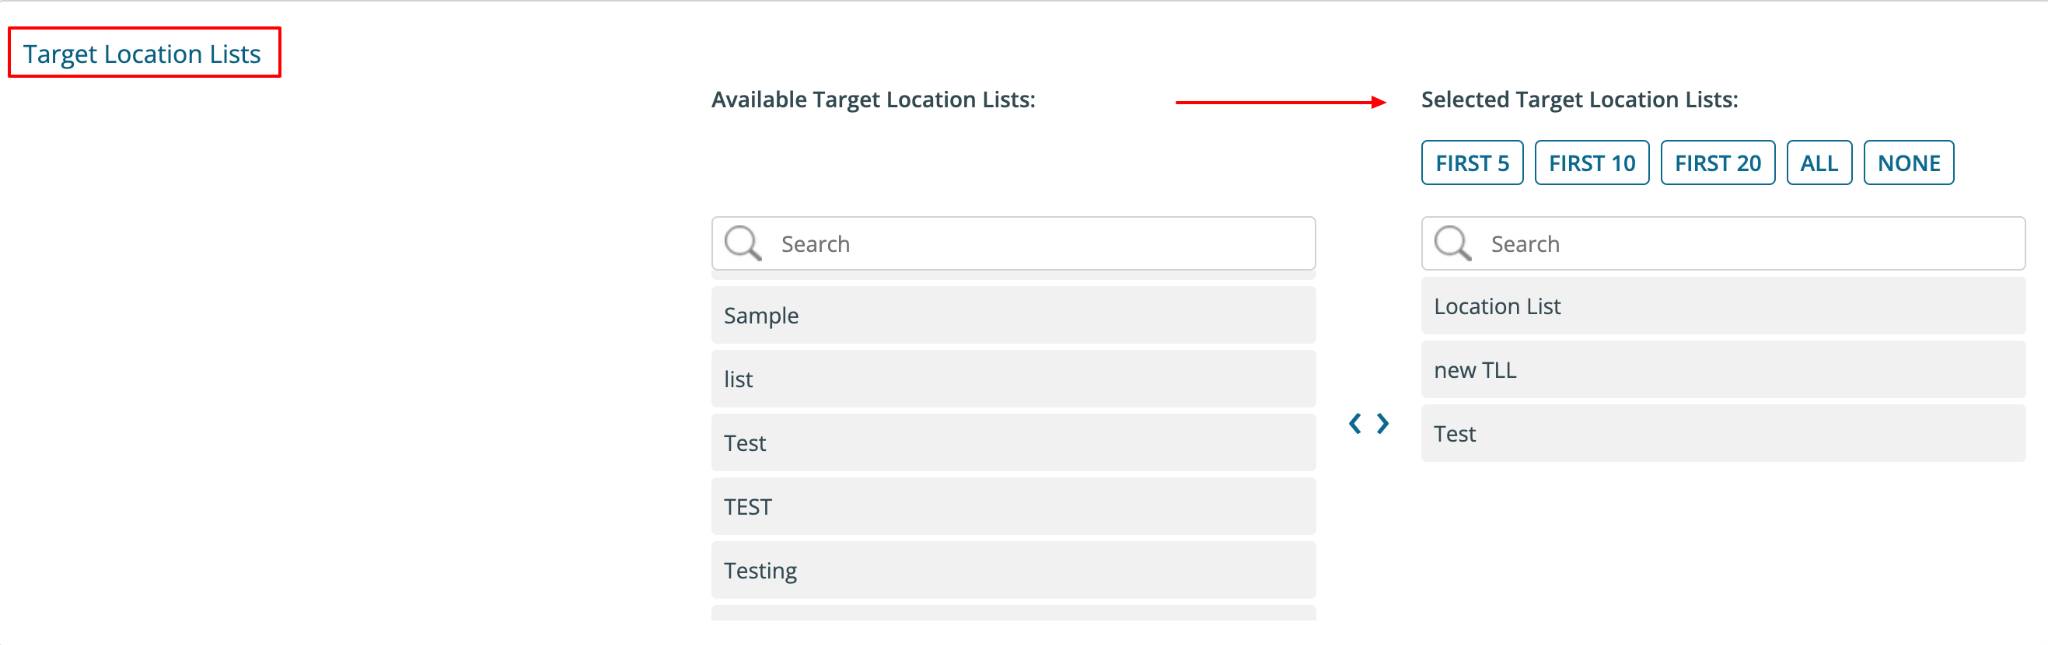
After selecting the target location list and entering all the information, click 'Next' to add the closest location column in the template.

How do I add the closest location column in an RFP template?
Once you complete step 1 of creating an RFP, you can add a "Closest Location" column in step 2. Under "Available Optional Columns," click the arrow associated with 'Closest Location' to move it to the included columns section. You can also add 'Closest Location (mi)', which shows the closest location in miles.
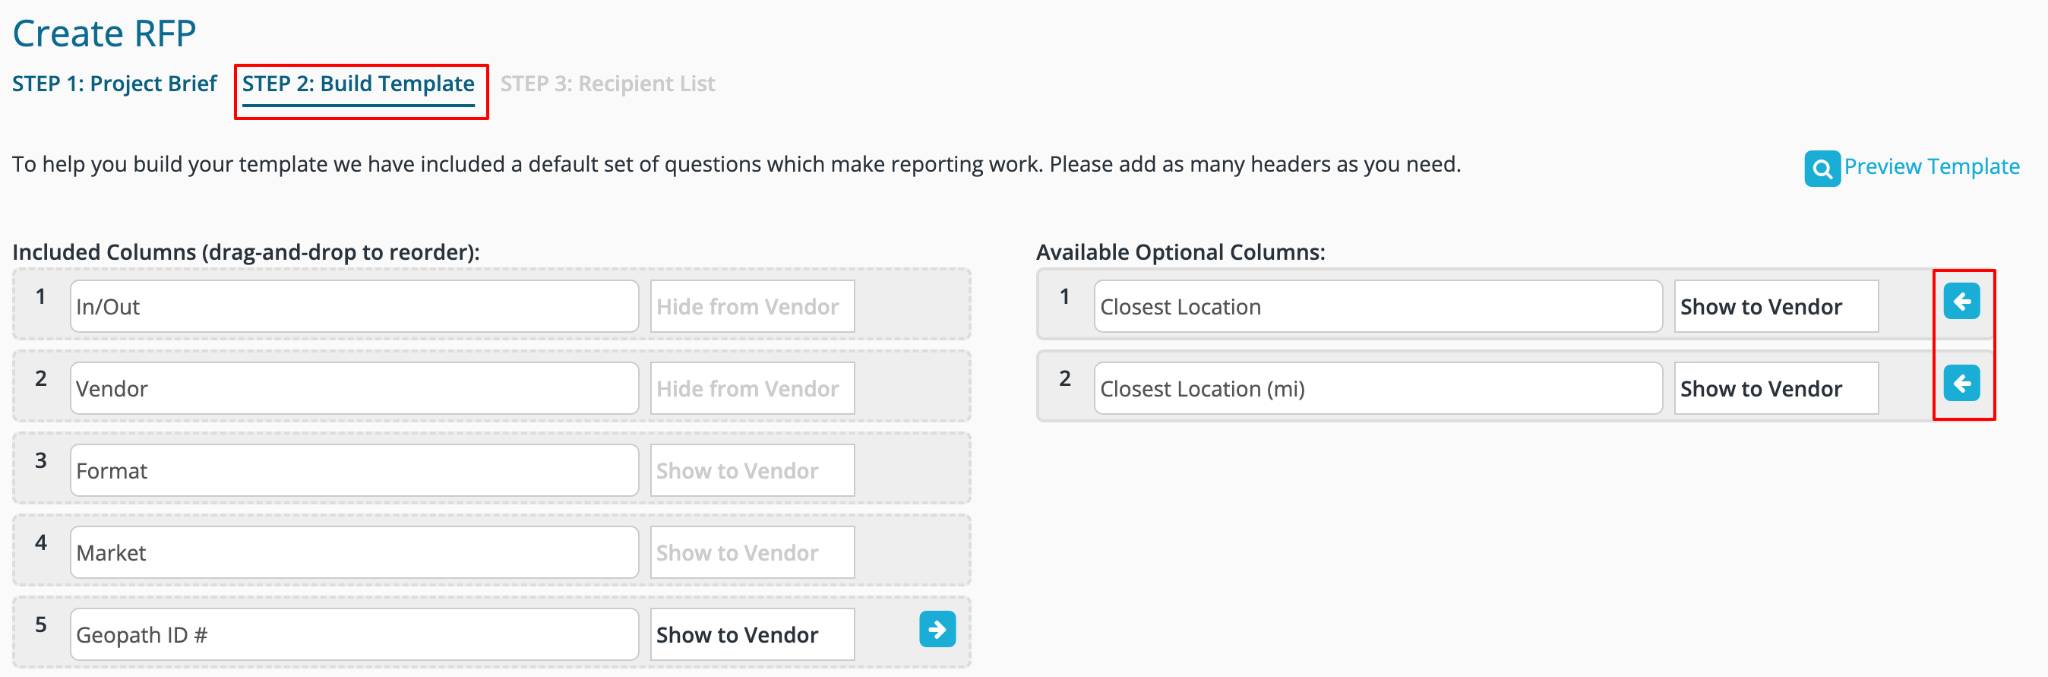
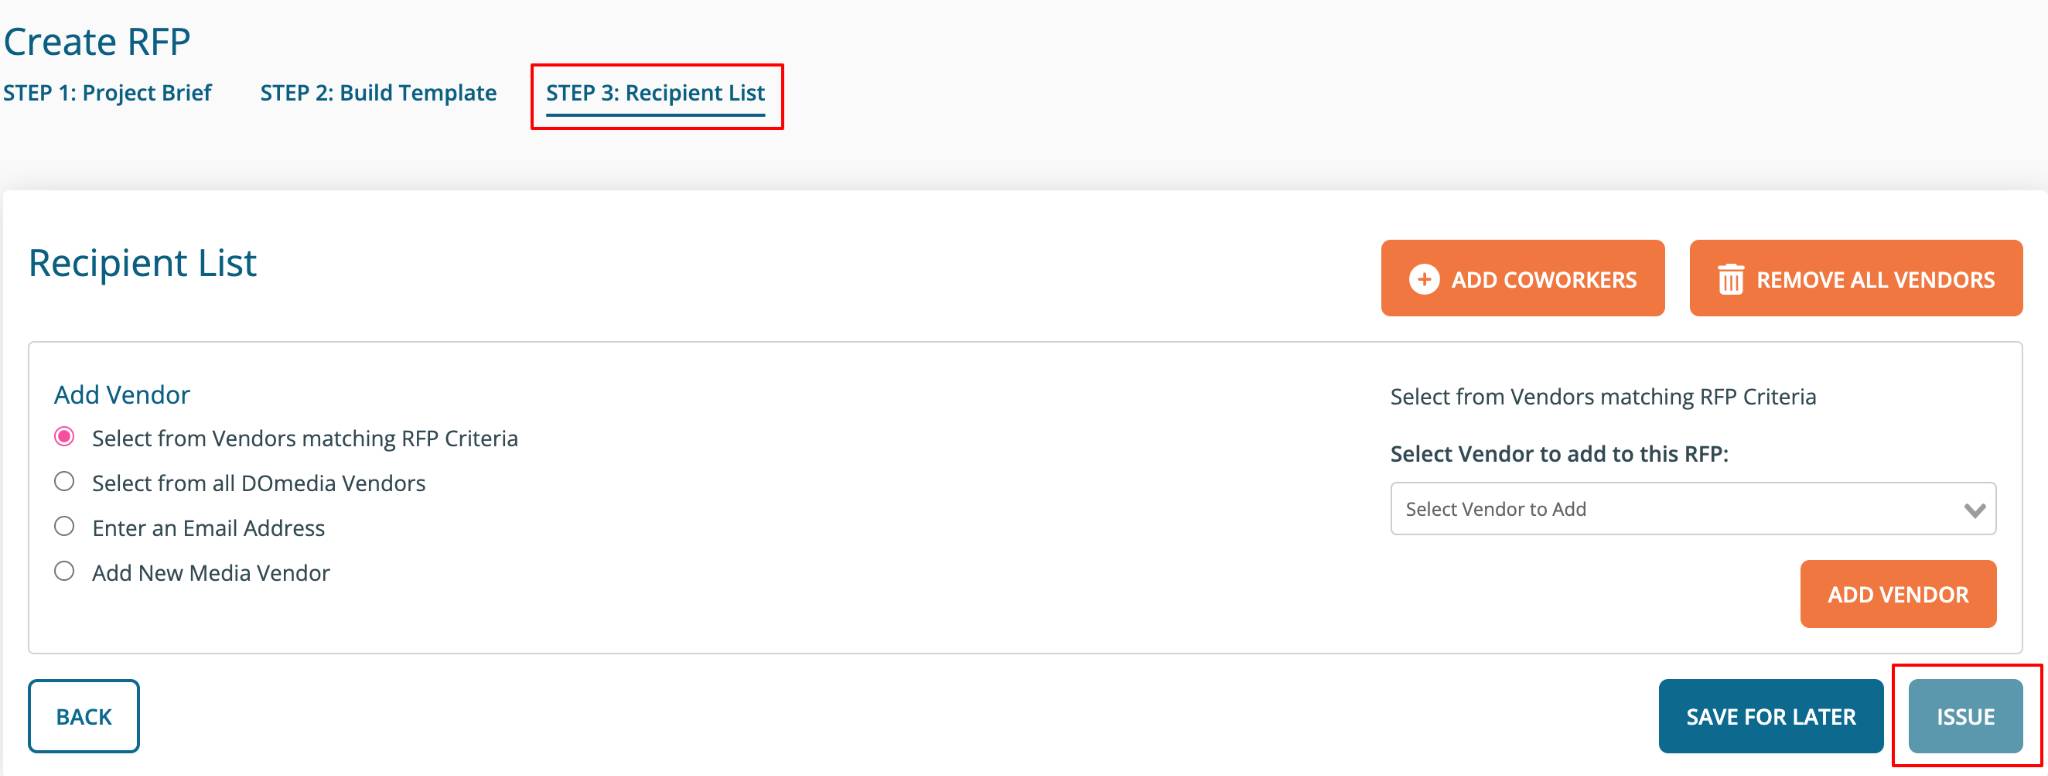
After adding the columns you want, click 'Next' to proceed. Then complete step 3 of creating an RFP and click 'Issue'.
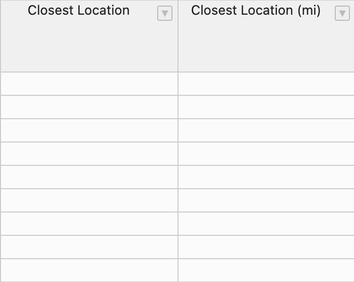
Now, you can view your RFP. Go to 'RFPs', choose the RFP you just created, and then click 'Compile'.
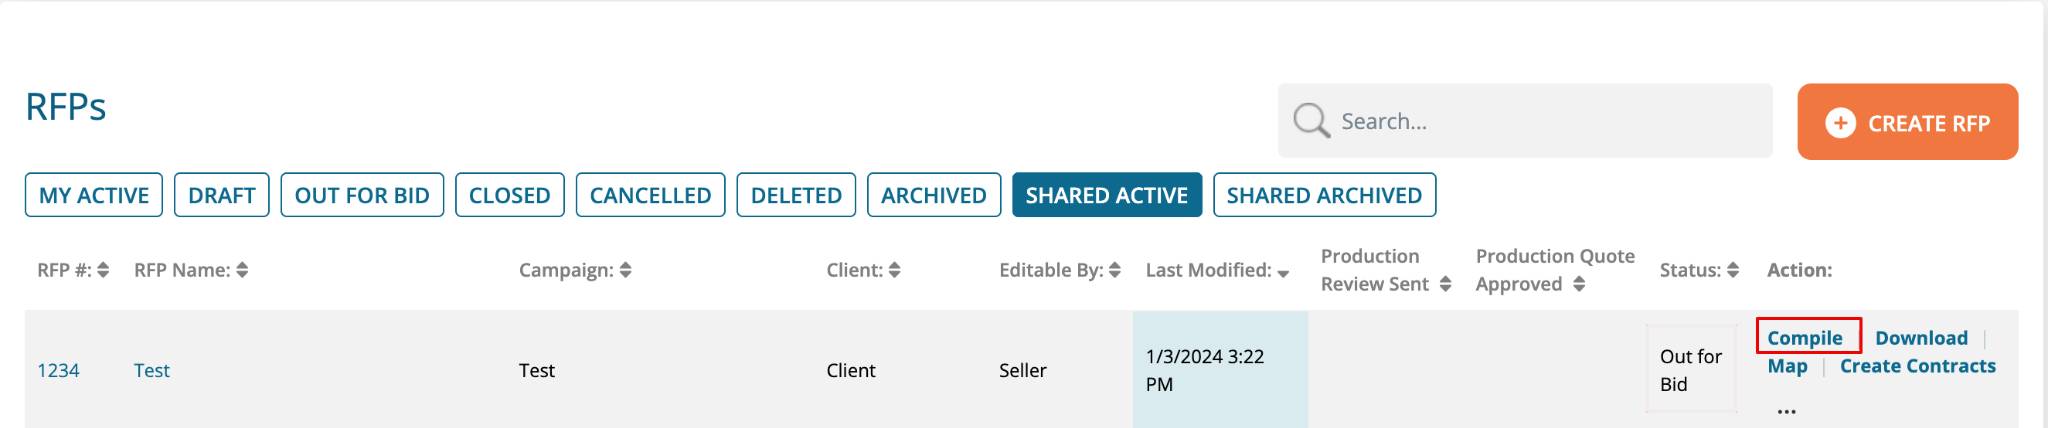
You will see the 'Closest Location' column displayed in the RFP.