Seller: How do I respond to a BillboardsIn RFP?
To access the BillboardsIn RFP, you can either:
(a) Click the RFP Dashboard button within the RFP email; or
(b) Go to DOmedia.com and log-in with your account information. Then, Click Propose and click RFPs.
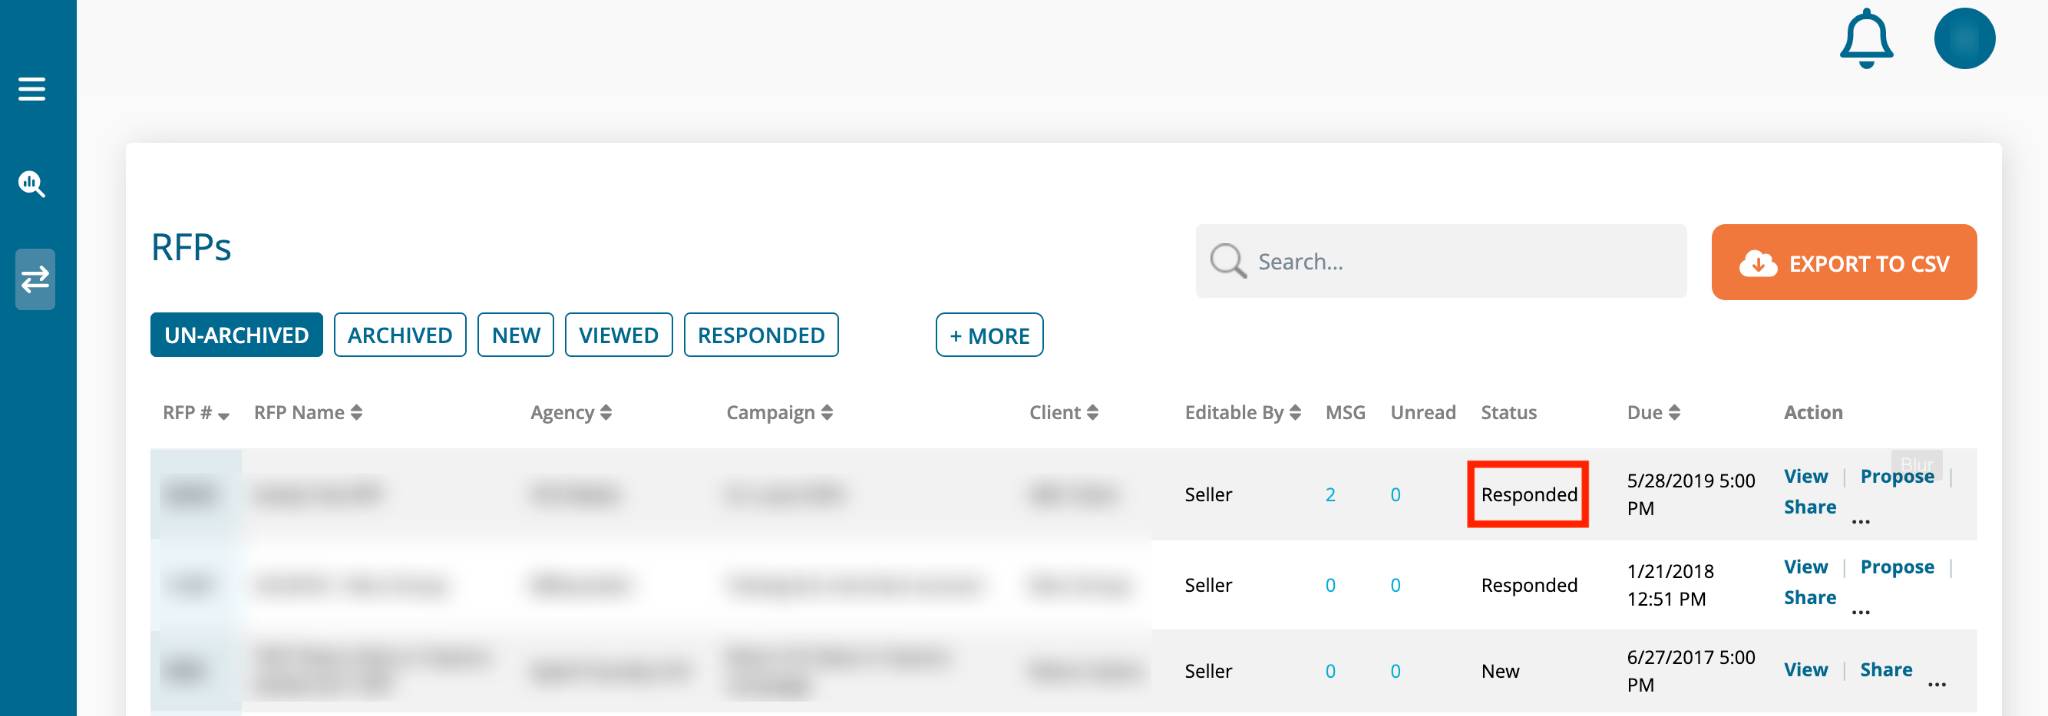
Your RFP Dashboard shows all of the requests that you’ve received from agencies. For BillboardsIn requests, you will have 48 hours to submit a proposal from the time that you received the RFP request. You can identify all BillboardsIn RFPs under the Agency column. Any RFP with a Status of “New” or “In-Progress” are those currently eligible to submit a proposal. Any RFP with a “Cancelled” status means that the 48-hour deadline has passed, and you are no longer able to submit that RFP.
Once you’ve identified the RFP(s) that you want to respond to, click View.
If you agree with DOmedia and BillboardsIn Terms of Service, click the checkbox followed by I Agree.
This will then take you to the Project Brief page of the RFP. This contains the local buyer’s requirements, such as start/end date, media type(s), and monthly budget.
Scroll down to the bottom of the page and click Next.
To help with the submission process, the Proposal Template will be pre-filled with all eligible assets meeting the local buyer’s requirements, specific assets within their target area (based on inventory latitude/longitude) and assets meeting their requested media type(s).
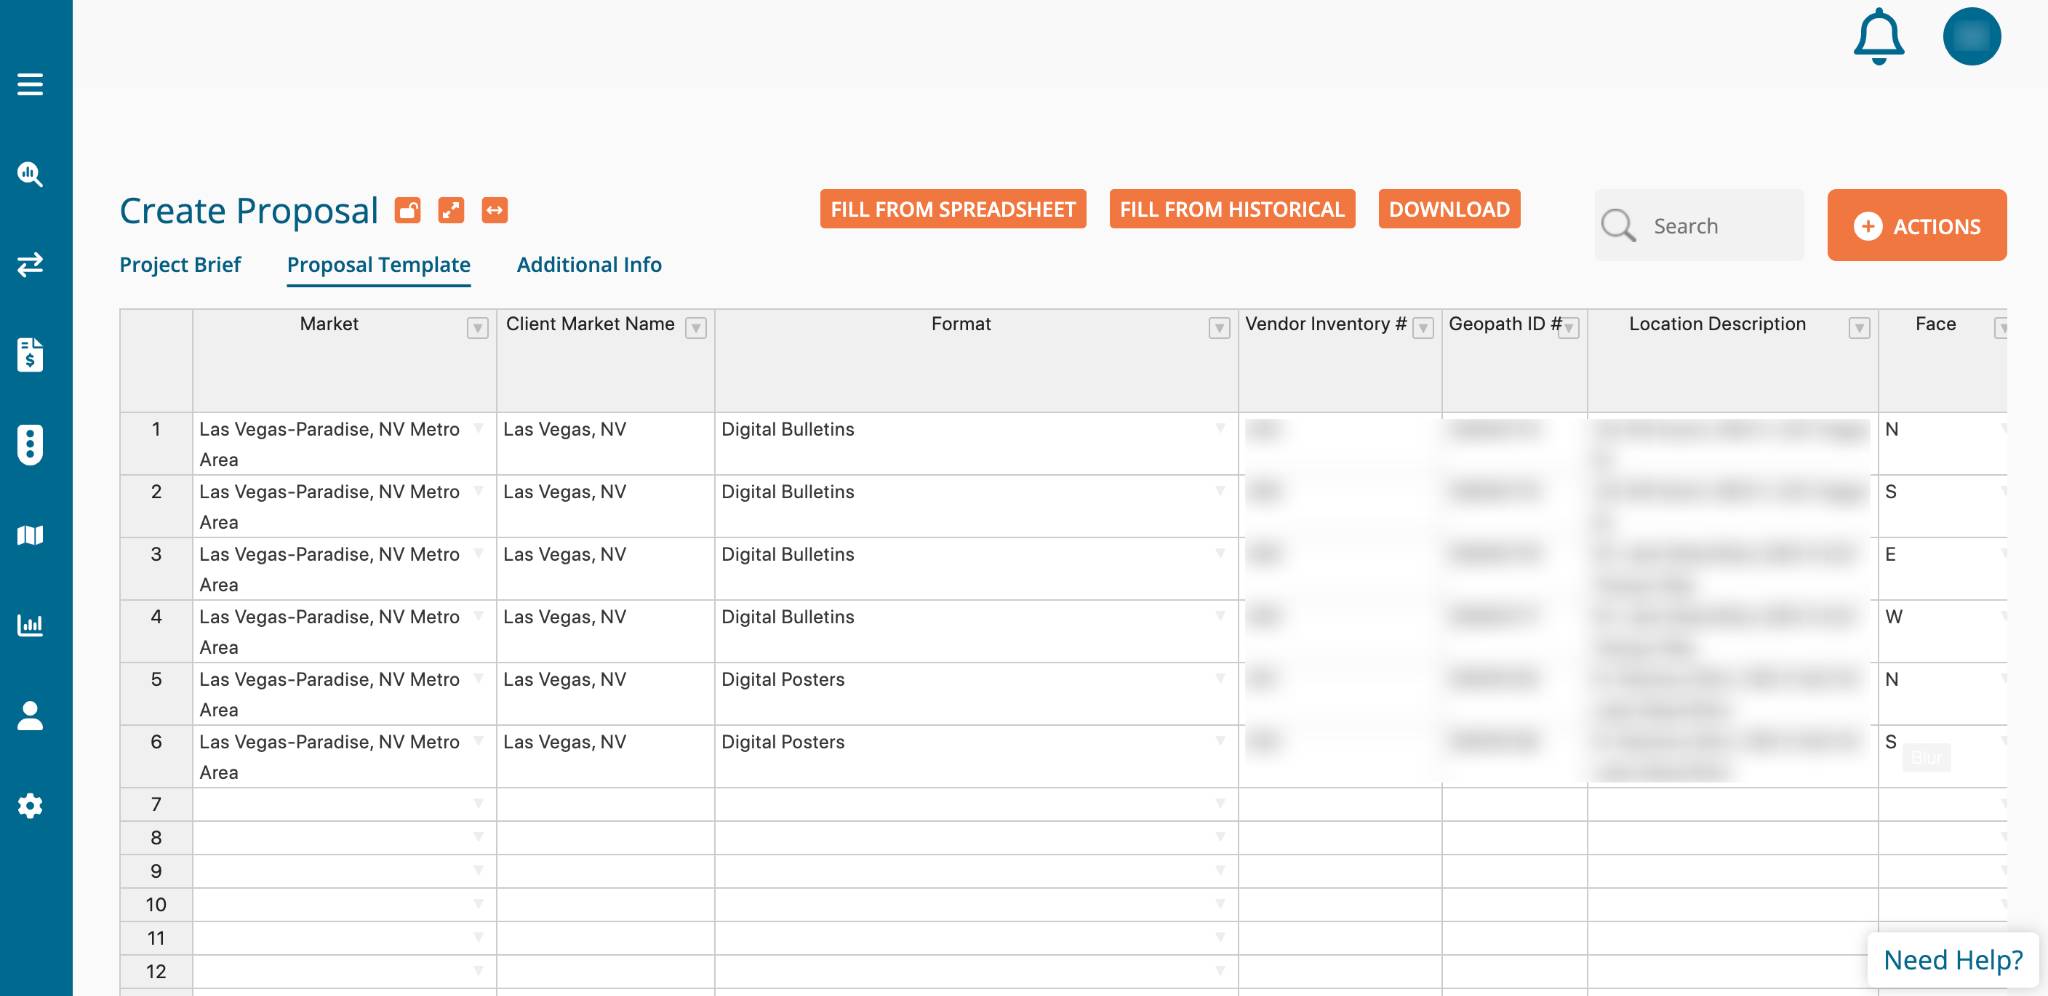
Please note that this is a strict RFP (unlike other RFP’s that you may have seen from other agencies). That means that you are unable to add rows (additional assets to propose) or edit the pre-filled contents (however, you can edit the Units column). Asset start/end date flexibility will be eventually added, but please note that those columns are currently locked from edits as well. Additionally, there are some columns that you will be required to fill out to submit an asset as part of a proposal:
- # of Cycles (pre-filled based on dates requested)
- Cycle Type (pre-filled based on dates requested)
- Net Media Cost/Cycle (enter the cost per cycle; not the enter flight cost)
- Installation Cost (if that asset has one)
- Production Shipping Address (remembers selection from previous proposals)
- Production Due Date
Pro Tip: If you do not see inventory pre-filled that should meet the local buyer’s requirements, that could mean that you have some assets that do not have a latitude/longitude associated with them. Unfortunately, you are unable to add new rows for BillboardsIn RFP’s, but if you update/add your asset locations in DOmedia, that will then ensure it will be included (and eligible to propose) in future BillboardsIn RFP’s! If you have any questions about adding new or updating previous inventory, please reach out to OOHsupport@domedia.com.
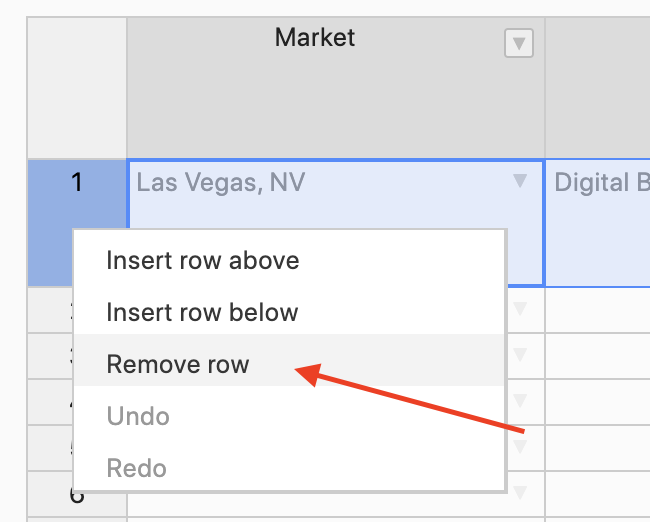
If any of your included inventory is not available during the date range requested (or you no longer have this asset), no big deal! You have two choices.
Choice 1 - Delete button - If you have a few rows to remove, simply click the grey numbered cell (on the very left of the row), highlighting the entire row. Then, tap the “delete” button on your keyboard, or the "remove row" button, and the content will be deleted—removing the item(s) from your proposal (just like deleting a row in excel).
Choice 2 - Filter - If you just want to filter down to the inventory you want to keep:
1.) Click the arrow next to the "Vendor Inventory #"
2.) Clear all selected items
3.) Select the inventory #s you would like to keep
4.) Click "OK"
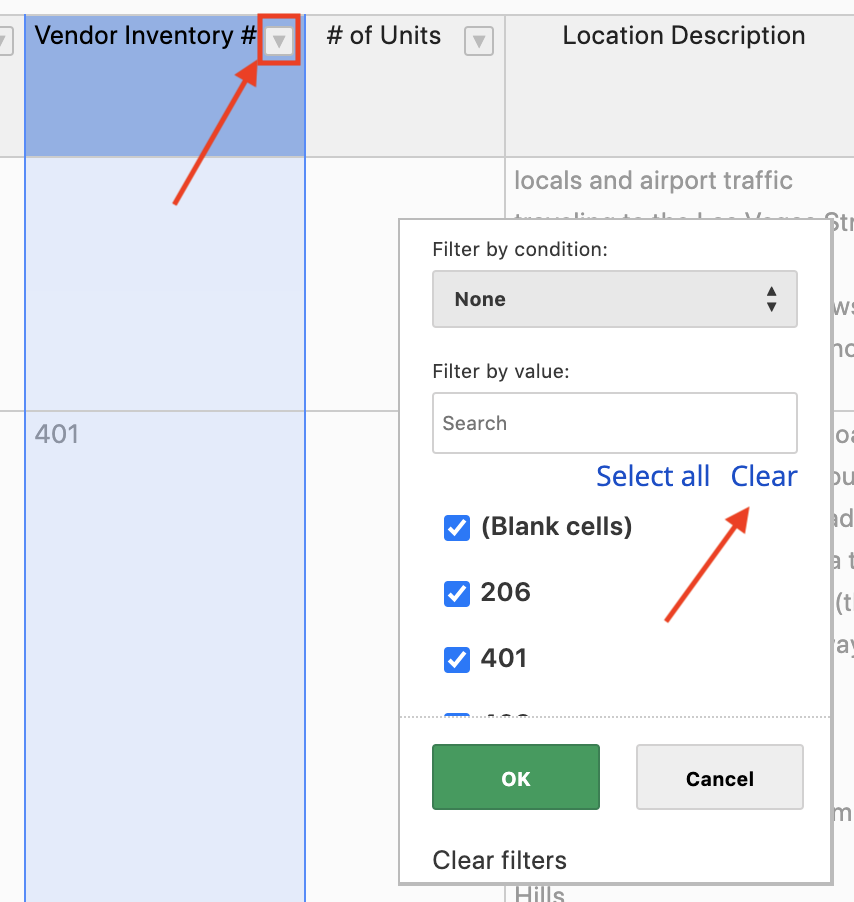
You can also filter based on the other column headers as well.
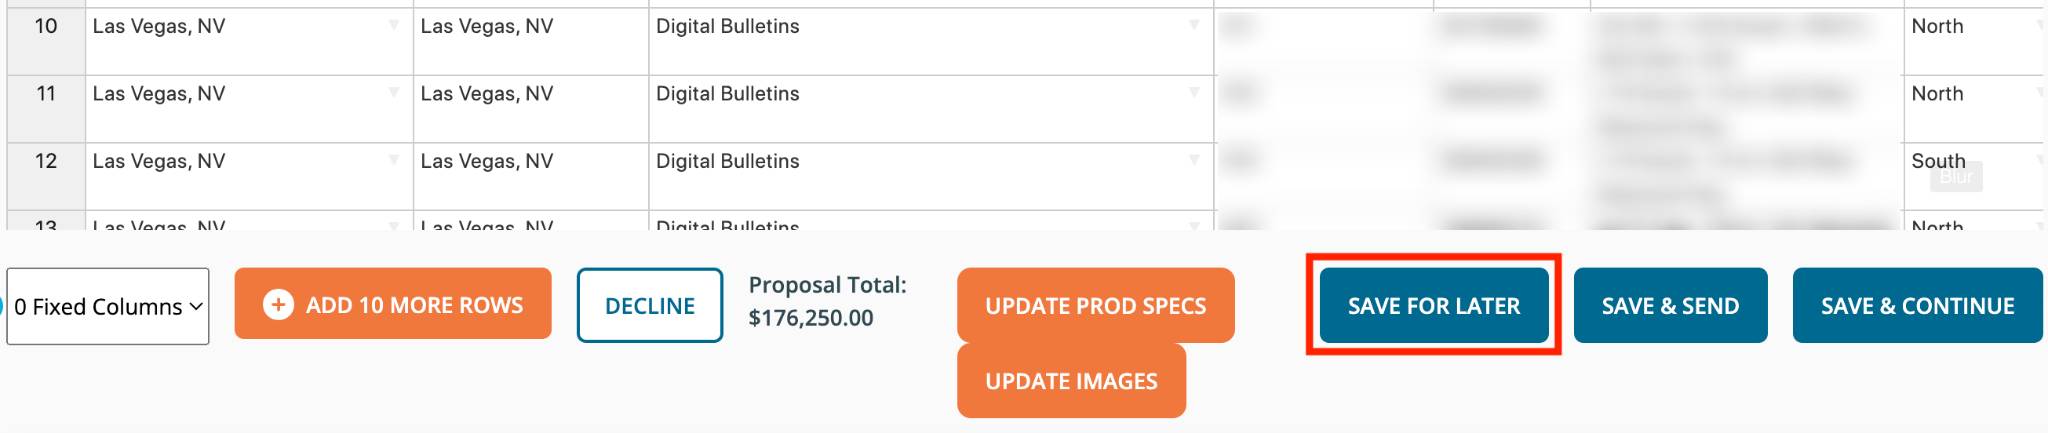
Pro Tip: To not lose any progress made, click the Save for later button beneath the proposal grid. This will save all of your changes you’ve made so far and will not submit the proposal.
Additionally, always refer to the Validation Errors box beneath the grid on what items are still missing from your proposal. This box will be updated every time you click the Save for later button, so you can always have a real-time snapshot of what steps are left for submission.
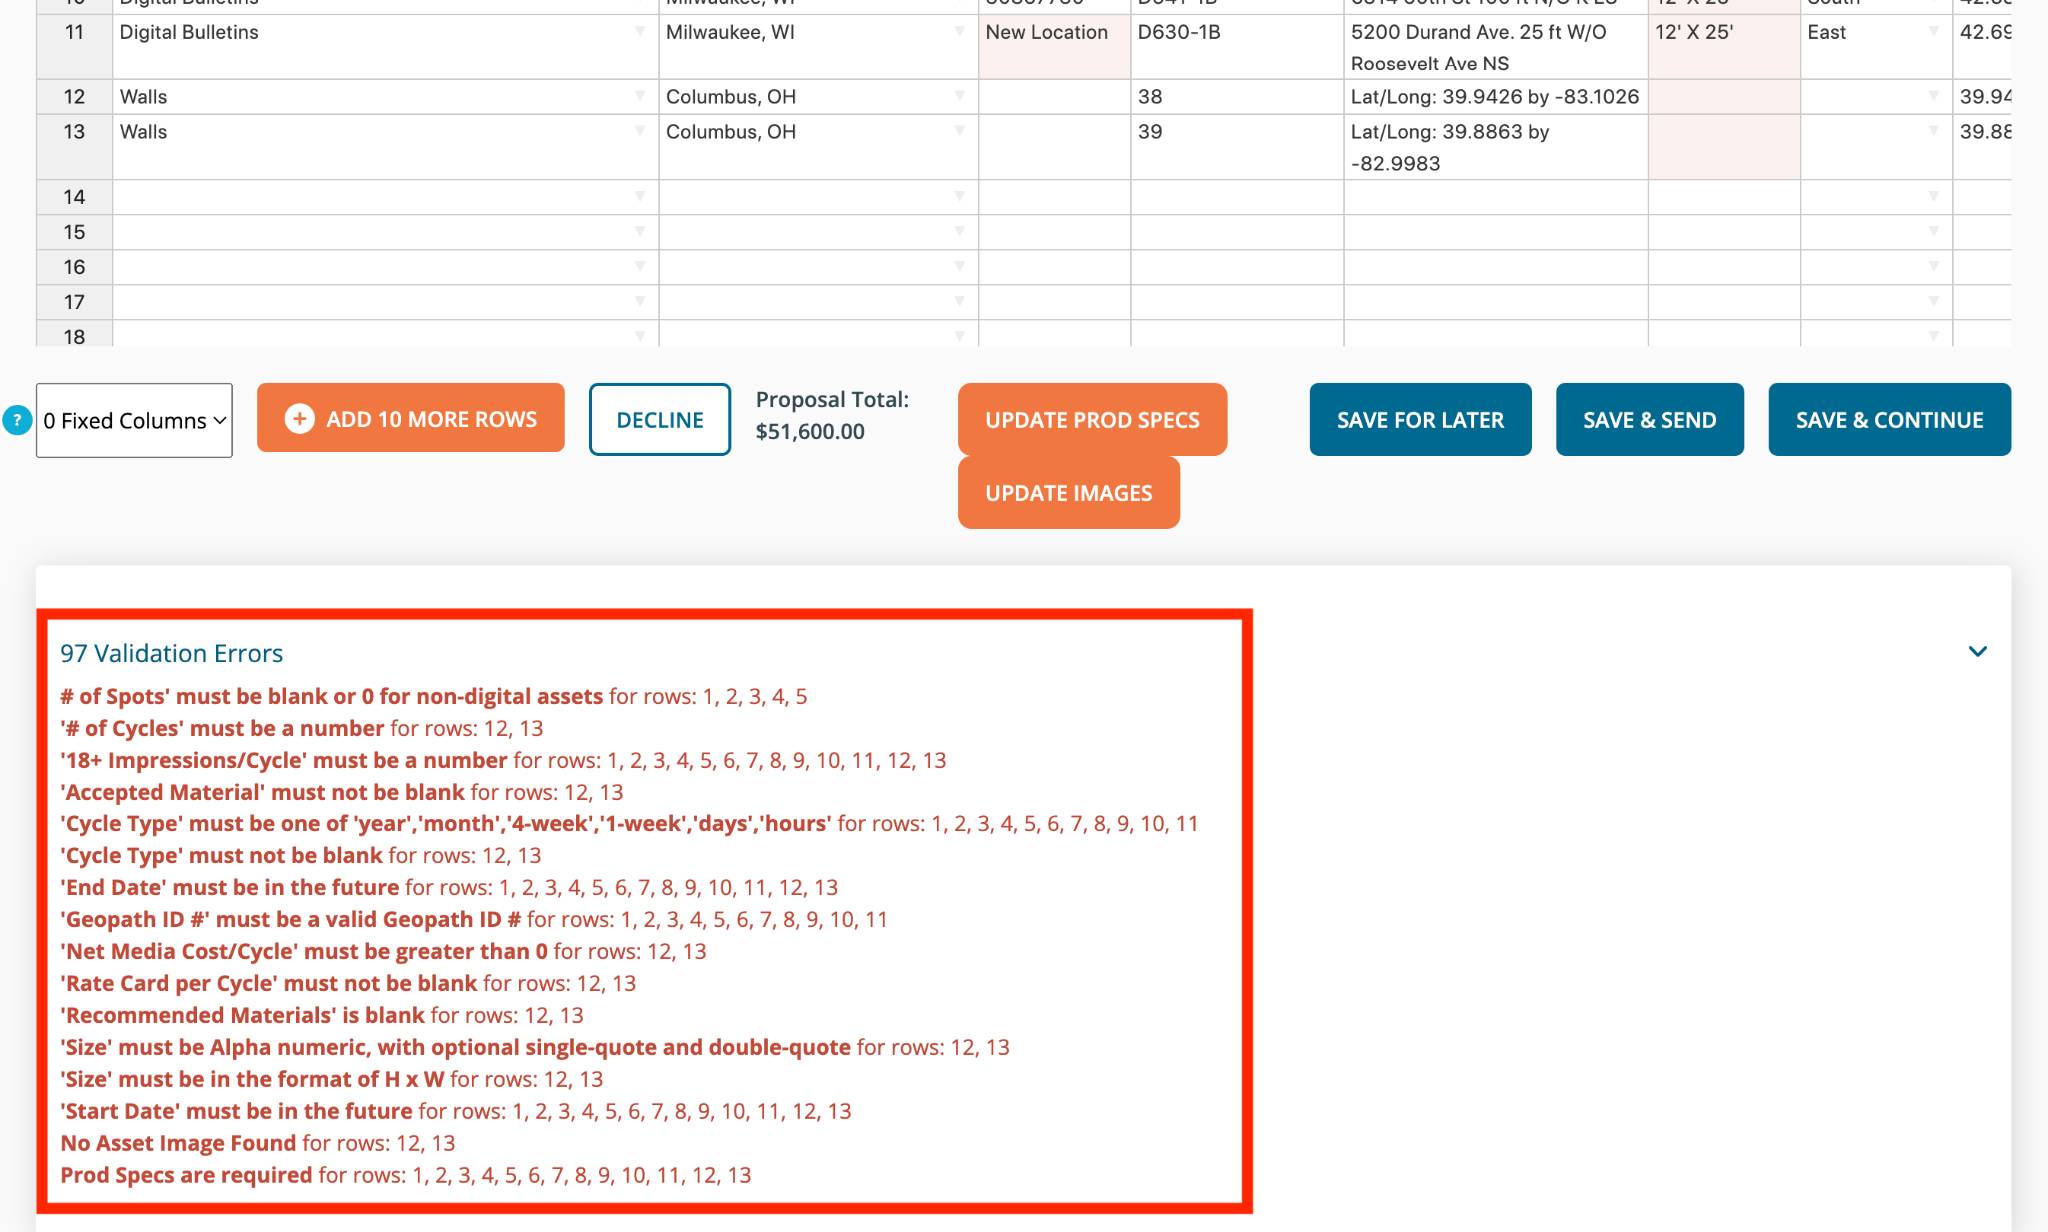
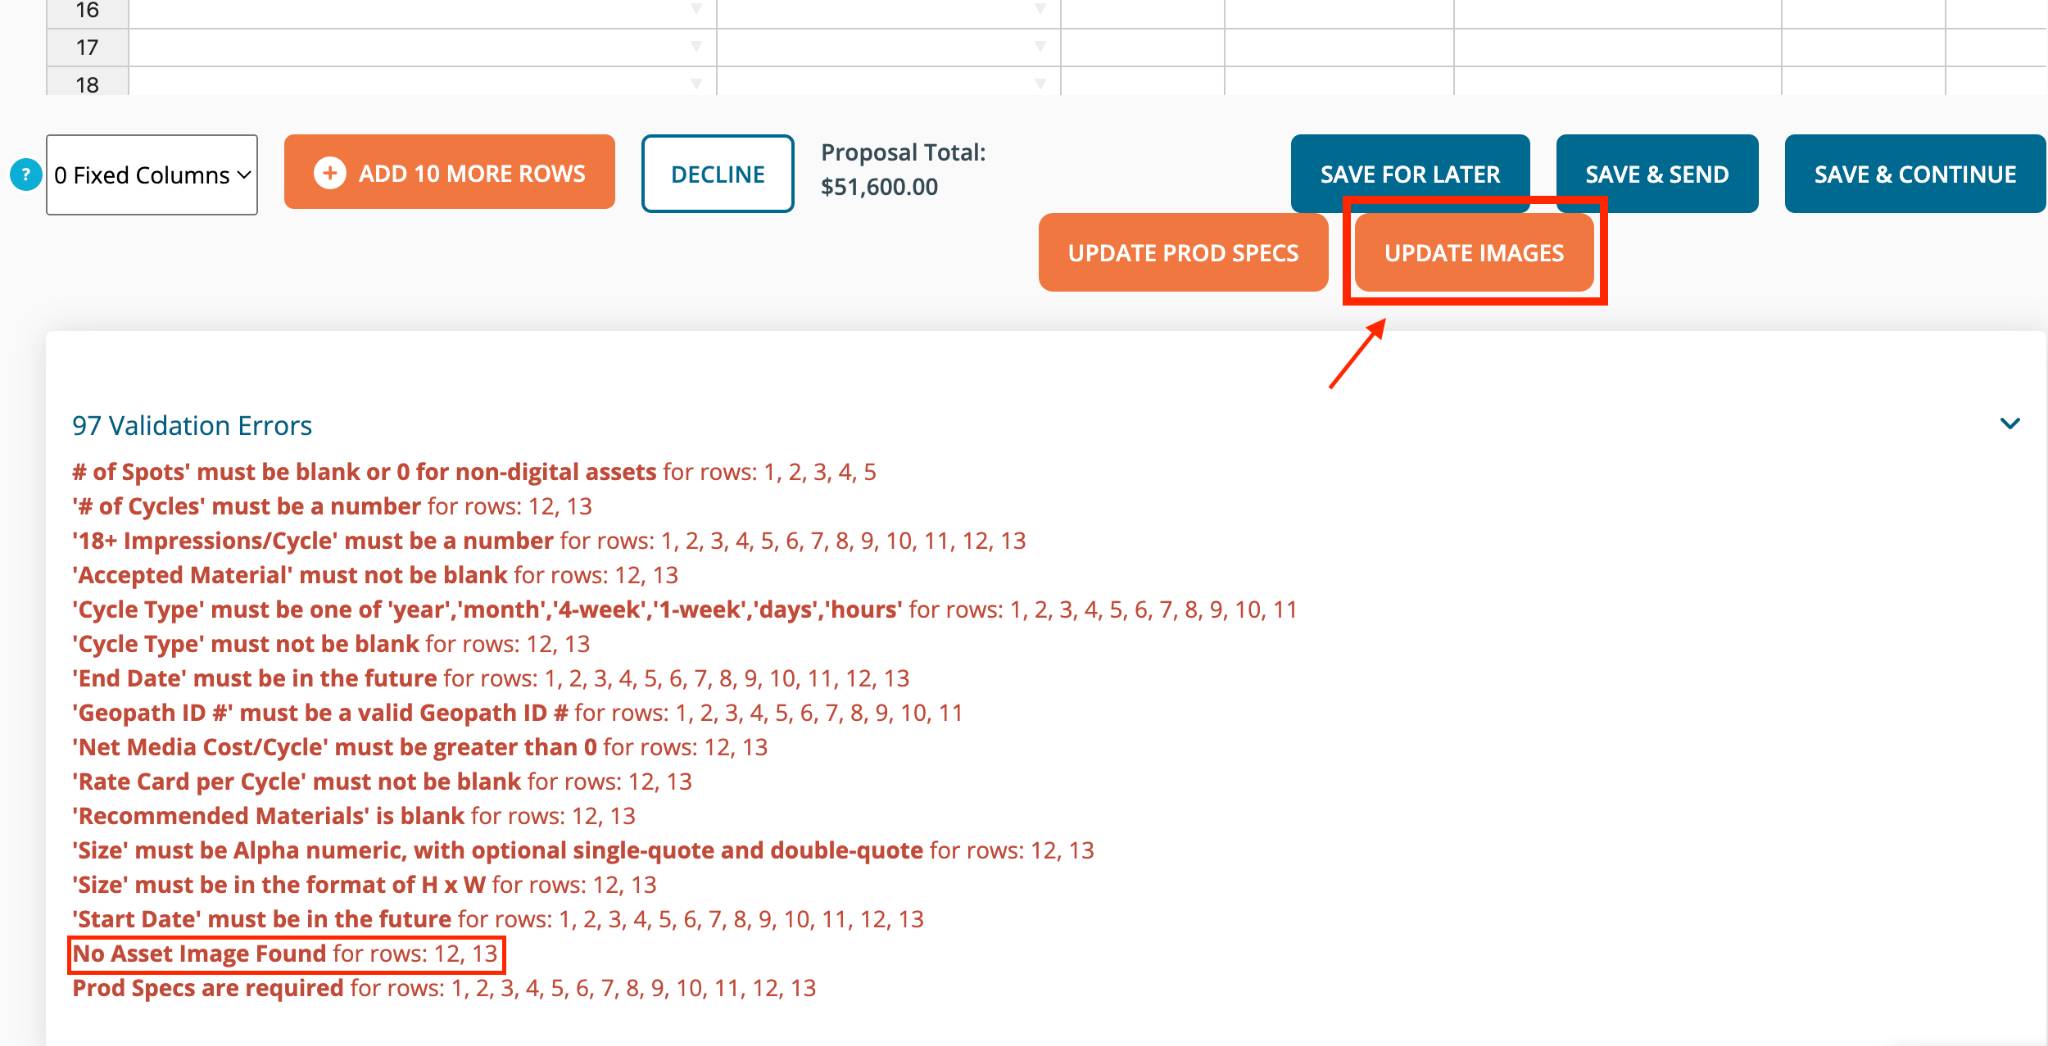
Given that these RFP’s are from local buyers (many of whom are new to the OOH space), asset images are required for each proposed item. If any of your items are missing an image, it will show up within the Validation Errors box (labeled as “No Asset Image Found”). To add these images, simply click the Update Images button.
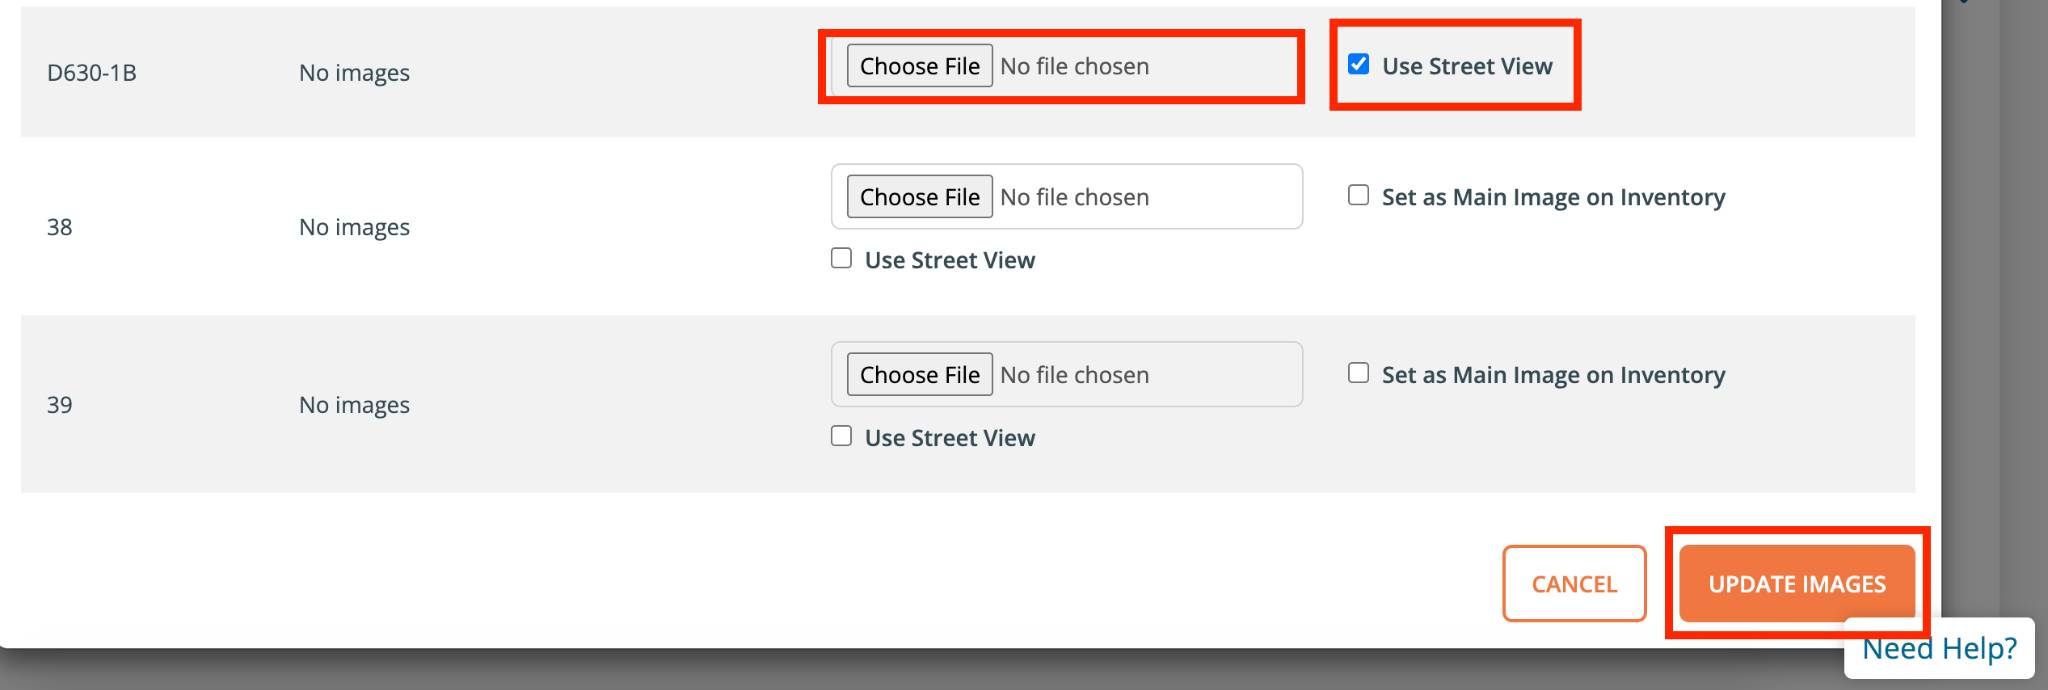
This will bring up the Add Images window. Here, you have two ways to add inventory images:
(1) Upload the file via the Choose File button; or
(2) Use the Google Streetview (based on the inventory address) by checking the Use Streetview checkbox. To assist you with the image upload process, the Streetview preview is pre-populated for every inventory item.
Pro Tip: Once you complete this process, it will automatically include the image(s) within future BillboardsIn RFP’s, eliminating the burden of you having to do this more than once for any item!
Once all of your images have been added and/or verified, click the Update Images button, and you will be directed back to your proposal grid.
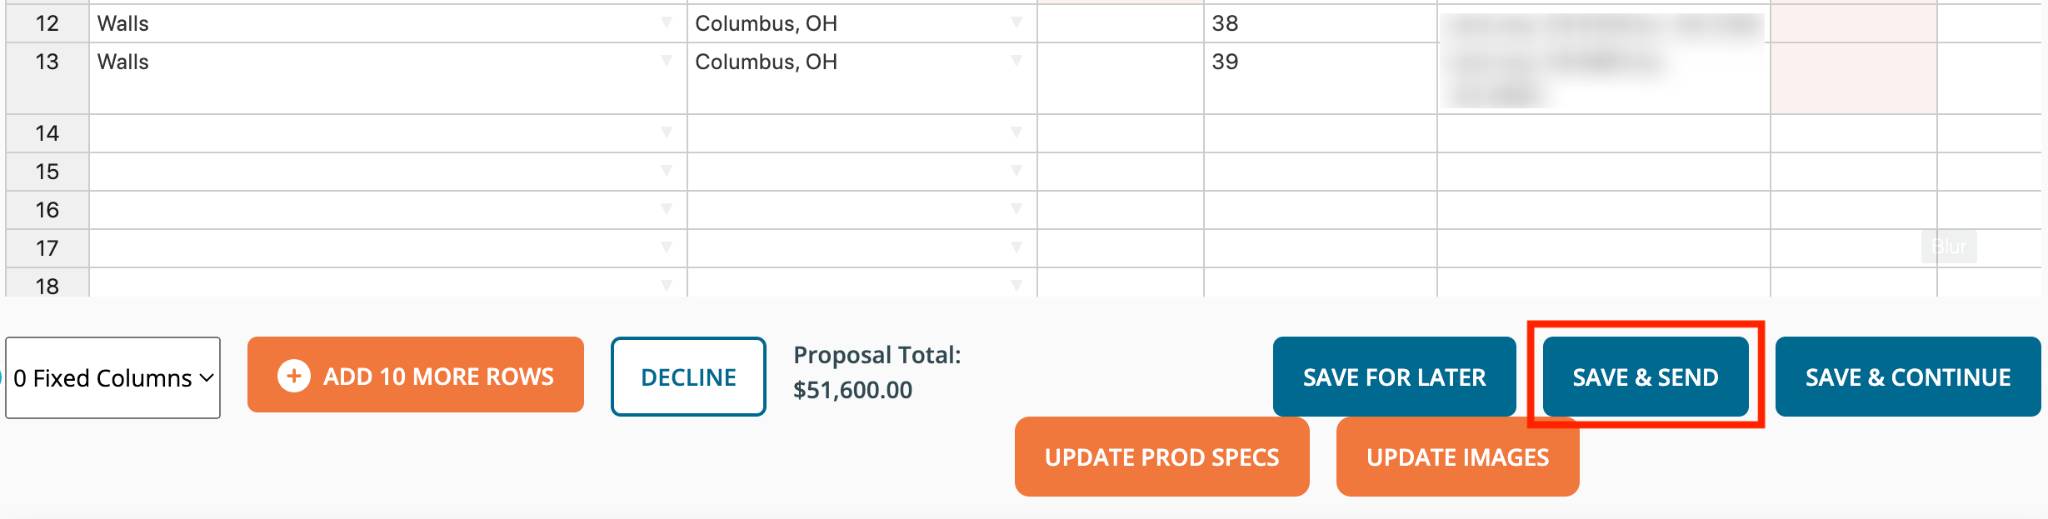
Continue adding any final requested information. Once you click Save for later and there are no remaining items needed (as in, nothing shows up within the Validation Errors box), new buttons will appear beneath the proposal grid.
Click the Save & Send button and you are now finished!
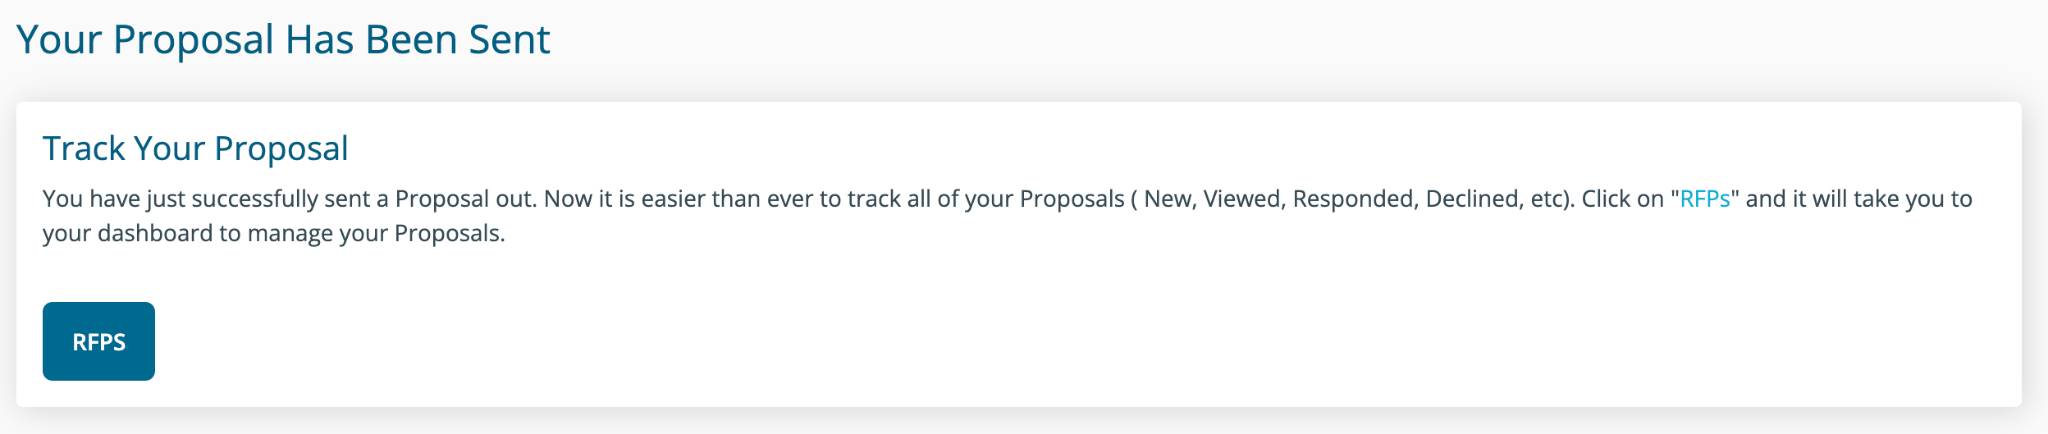
A confirmation message will appear saying “Your Proposal Has Been Sent”. You have just successfully submitted a BillboardsIn proposal!
When you go back to your RFP Dashboard, you will now notice that the status has been updated to “Responded.” Always double-check this Dashboard to ensure that you submitted the proposal.