Buyer: Custom Color Column
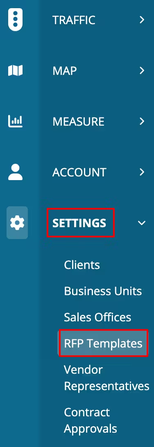
Begin by clicking 'Settings' and then 'RFP Templates' on the left-hand side.
The Template Management page allows you to edit and create new templates that will be used in the RFPs you produce. Select "Create New RFP Template" or you can click "Edit" for an existing one.
On the template creation page, you can be selective with the columns you would like to include in your RFP grid. In this situation, you can choose to include the "Custom Color" column. Once you add the 'Custom Color' column to the template, click 'Save' to continue.
From there, you can create a Project Brief by hovering over the 'RFP' tab in the white navigation bar at the top of DOmedia's homepage and clicking 'RFPs'.
Then complete each step of the RFP creation and send it to the desired vendors. Once you have a response you can review what the vendor sent back by clicking 'Compile' in the right-hand Action column of the RFP Dashboard.
Clicking 'Compile' will take you to a new page in which the assets the vendor has provided will be populated in the grid. Scroll to the 'Custom Color' column, and click the drop-down arrow in the right-hand corner of the column to display all of the available colors.
The available colors include yellow, green, blue, red, purple, orange, navy, pine, maroon, aqua, lime, and brown. You can use these colors to represent various things such as marking an asset as 'Yes', 'No', or 'Maybe'. These colors will only appear on the Buyer facing grid, it does not affect what the Sellers see when they view the RFP.